


Read this blog for all the advice you need to install rod decals with the precision and appearance that rod builders want.
Rod Building’s 5 Tips for Decal Application
Many of the decisions in custom rod building are about tailoring the rod’s components for performance, but that doesn’t mean the rod can’t look good doing it. Sometimes all it takes is a well-placed decal to transform the look of a standard finished rod into a true custom rod built just right.
Plus with new Designer Custom Rod Decals, adding a rod decal of your choice to the rod blank is a great way to truly customize a fishing rod to make it unique to you, or for a customer.
Not to mention, it’s really easy when you do it right!
How to Improve a Custom Decal’s Finished Look
Whether it’s the name and logo of your rod building business, your rod’s target species, the flag of your home state or even your favorite college team, there are plenty options to customize your build and make it your own.
When done right, a finished decal will wow your buddies on the water and give you the pride a custom rod builder deserves.
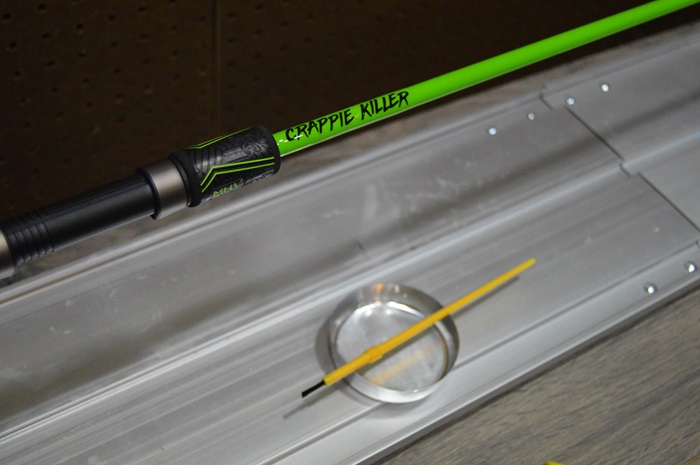
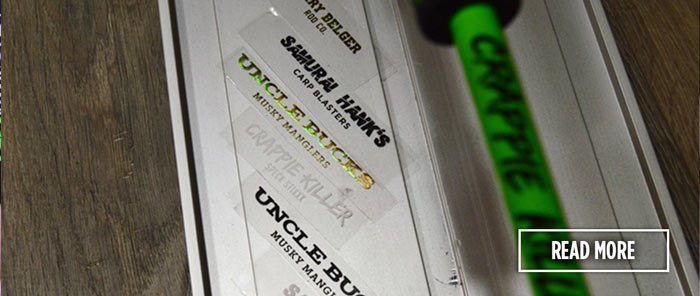
1. Trim Excess Material from the Decal’s Edges
To start off with an easy one, you can improve the appearance of your rod decals by simply reducing the amount of excess material around the decal.
Although you may think this extra space surround the decal works to center it, it will actually just bring more of a headache in the process when compared to one that has been trimmed down to fit the essential image or message from the decal.
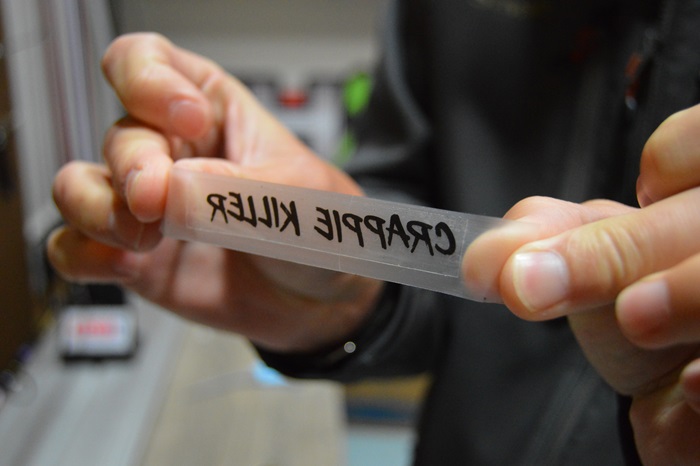
For instance, a text decal often comes with a lot of blank space around the words and this can be trimmed down to avoid some common issues while applying the decal.
Right off the bat, it’s clear that larger decals are more cumbersome during application. More difficult to work with and taking more epoxy to apply, large decals aren’t always avoidable, but should be trimmed down to look and function better on the water.
While a decal with more surface area is tougher to apply, it also requires more epoxy supplies to install. Sure this difference in epoxy is fractional, but over 3-4 rod builds, it will quickly add up and take away from your stock of supplies.
In order to cut supply costs and avoid harming the quality of custom rod decal, it’s best to trim these decals down as much as possible and then watch as you reap the benefits of a better looking finished rod.
2. Hide the Decal’s Seam Underneath the Rod Blank
The best rod builders gain their status from a combination of practice, experience, and exposure. From customizing handles and threadwork to applying decals, there are certain tips that seem apparent, but also deserve more attention to help rod builders across the board.
For example, it may seem as easy as it is obvious to hide the seam of a decal on the underside of the rod, however, it takes a keen sense of rod building to establish just how to do it.
Let’s say you are building a spinning rod, which means the guides line up with the reel on the underside of the rod blank. Whereas, if you are building a casting rod, then the reel and guides align along the top of the rod.
Since a spinning rod and a casting rod are built on opposite sides of the blank’s spine, you can use this knowledge to note the top of the rod from the bottom. Keeping this top and bottom principle of rod building in mind, you can easily conceal the decal’s seam on the underside where it is far less noticeable to you and your customers alike.
Placing the seam of the decal along the underside of the rod blank perfectly hides this subtle imperfection for a more professional final appearance.
3. Try this Epoxy Process with Rod Decals
In addition to hiding the decal’s seam on the underside of the rod, this is another tip that works to expertly conceal that unsightly seams on a rod decal.
Many rod builders will tell you that applying a light layer of epoxy before applying the decal will look much better when it comes to finished results. But few choose to explain why this is the case.
Applying a light coat of epoxy to start before laying down the decal will visually disguise the seams of the decal on the rod blank.
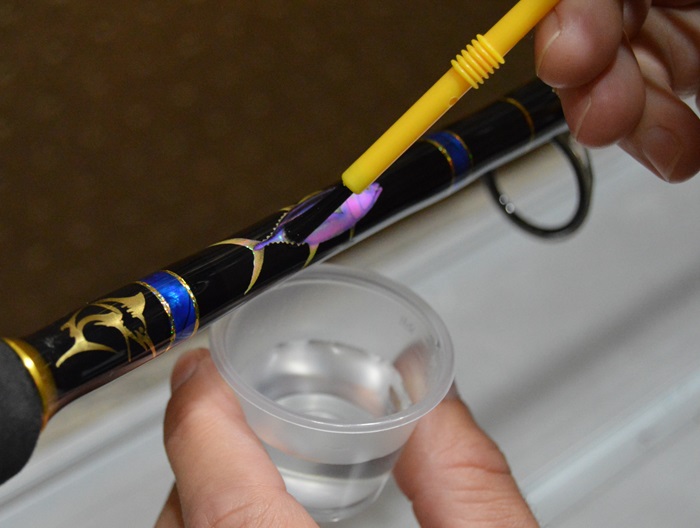
Not only will the decal’s adhesive stick better to epoxy layer, but the initial epoxy layer will hide the seams of the decal once the second layer of epoxy is applied.
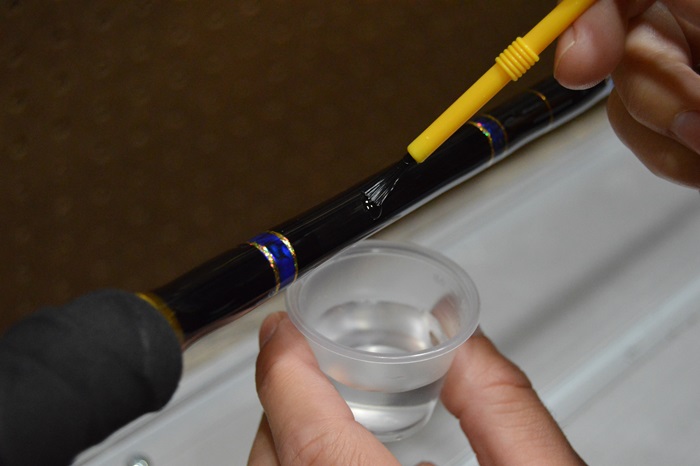
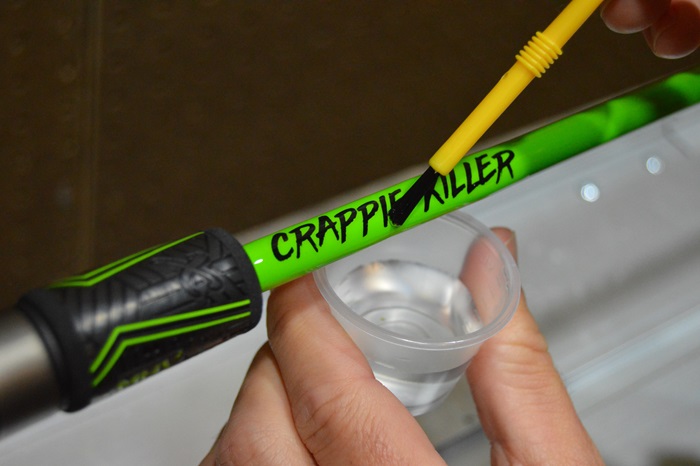
4. Let Mixed Epoxy Sit for 15 Minutes
When using an epoxy finish like ProKöte’s two-part epoxy, you have to mix together equal parts of a resin and a hardener to get the appropriate finish. Obviously the right mixing process is important, but there is more to consider when using a two-part epoxy.
Namely, there is also the state of the chemical reaction to take into account before you begin lathering it over the rod decal. Hot finish, as it’s referred to by rod builders, is when the finish is freshly mixed and the initial reaction between the resin and hardener produces a considerable amount of heat.
When working with rod decals, hot finish is not what you want to use over the decal because the heat will interfere with the decal’s adhesion. Slowly causing the decal’s edges to peel back, applying hot finish is an easy way to ruin your rod decal.
To solve this problem, simply let the mixed epoxy sit for about 15 minutes before you apply it directly over the rod decal.
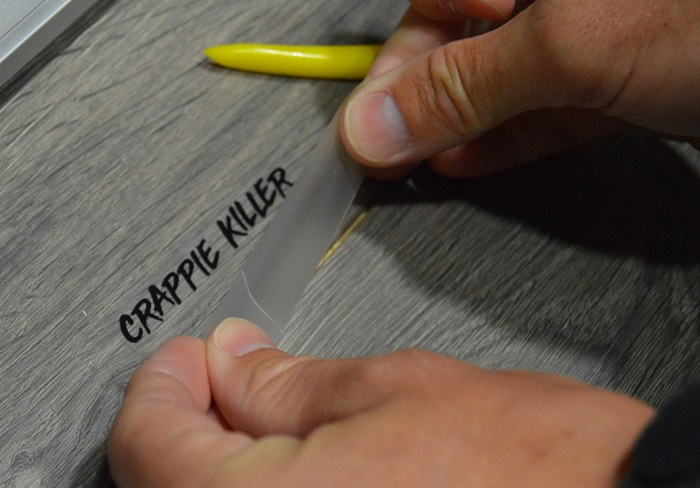
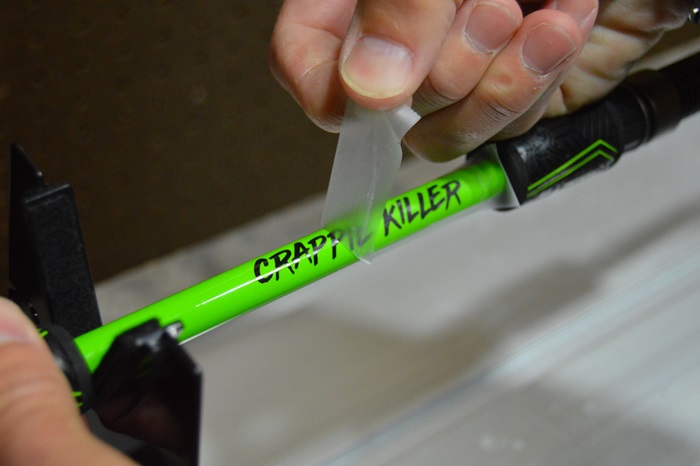
5. Avoid Fingerprints & Hair on the Decal’s Adhesive
Probably the most common problem when applying decals, getting fingerprints or even strands of hair trapped underneath the decal is a quick way to ruin the decal’s appearance on a custom rod. Not to mention that after adding epoxy finish, that decal’s distraction will be there for a lifetime.
Although it may not seam noticeable at first, the epoxied decal will make the hair or fingerprint stick out like a sore thumb…
But seriously to get a cleaner decal application, simply follow these quick steps:
Step 1:
Apply scotch tape over the top of the decal; tape should be slightly longer than length of the decal to make a tape handle.
Step 2:
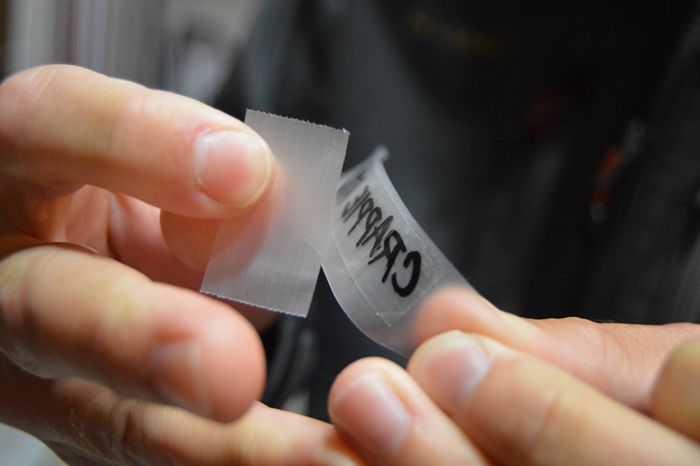
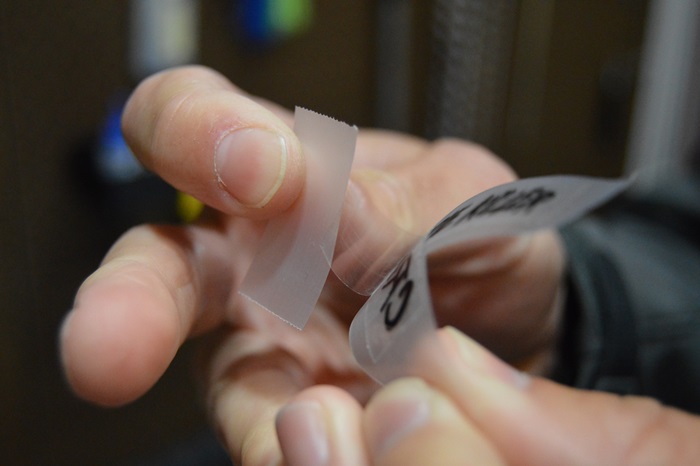
Next apply a small strip of tape on the backside on the decal to remove the backing from the decal’s adhesive side.
Step 3:
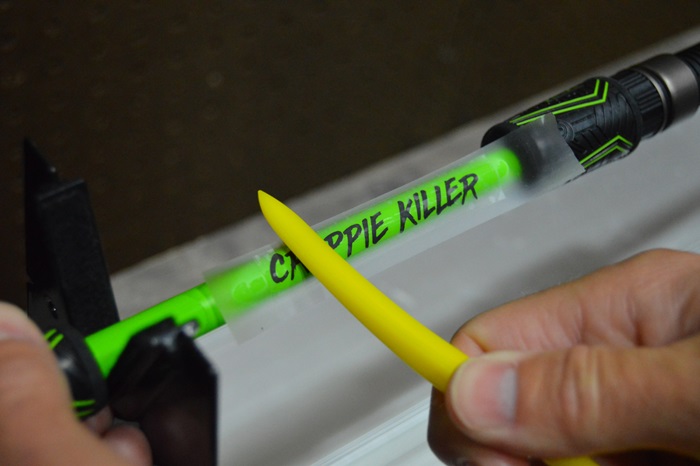
Position the decal with the scotch tape still over the decal and burnish out all the air bubbles from underneath the decal.
Step 4:
With the decal completely adhered on the rod blank, slowly remove the tape from the decal.
Step 5:
Then just add epoxy over the decal and let that finish cure for an awesome custom rod decal.
Watch Rod Building 101: How to Install Custom Decals On a Fishing Rod
Choose Your Rod’s Custom Decals
Whether you’re feeling patriotic, wanting to represent your rod building business, rooting for your alma mater, or just looking to catch your target fish, there is an awesome rod decal to add to your custom rod.
See more custom decal options below:
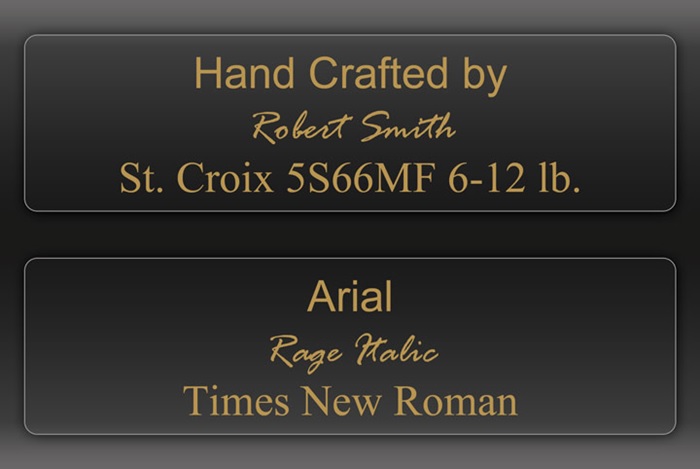
NEW Designer Custom Rod Decals
There’s no better to promote your rod building skills than custom decals that reflect the hard work you put into each and every rod build. Given the 12 new font options, you can easily upgrade each custom rod with the professional look and lasting pride that customers want from a rod building brand.
Check out all the new fonts offered in the blog below:
NEW Custom Rodskinz with Text
Customize your fishing rod with species inspired rodskinz and incredible graphics that include TWO lines of custom text!

How to Install Rod Skinz
Rod Skinz are larger decals that look great above the foregrip, between the split grips, or even as underwraps for guides.
If you have a scuffed or scratched rod blank, rod skinz are a cool way to conceal this damage and make that rod look as good as new!
See More Options for Rod Skinz:

Custom Rod Decals & Stickers:
Gamefish Rod Decals
These full color, laser cut gamefish rod decals are approximately 2″ x 1″ and can be placed directly on fishing rod and finished (decals are self-adhesive).
Choose from our vast selection of over 60+ types of freshwater and saltwater gamefish!

Rod Decal Install Kit – Gamefish Decals
Easily customize fishing rod in no time with these fast application decal kits.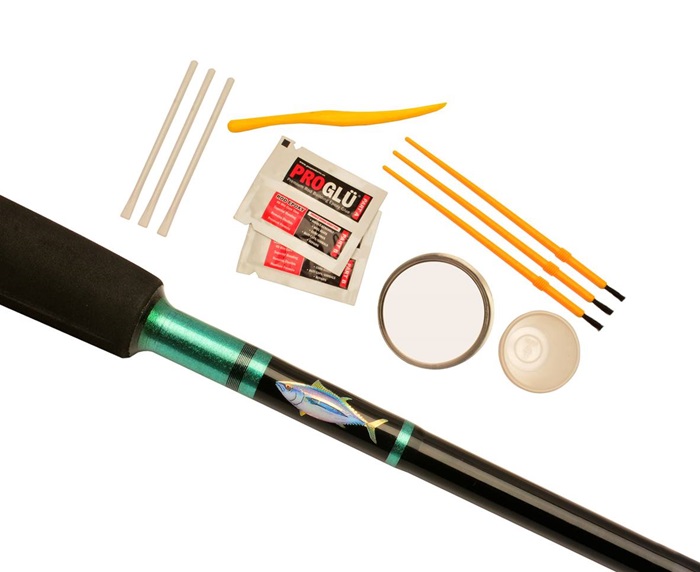
Each kit comes with all the supplies you will need to add your favorite species or the rod’s target fish to your rod in minutes.
College Rod Decals
Now you can sport your favorite college team on your next custom rod. 57 of the most popular college teams from the ACC, Big 12, Big East, Big 10, CUSA, MAC, MWC, Pac 10, SEC, WAC, and independent schools.
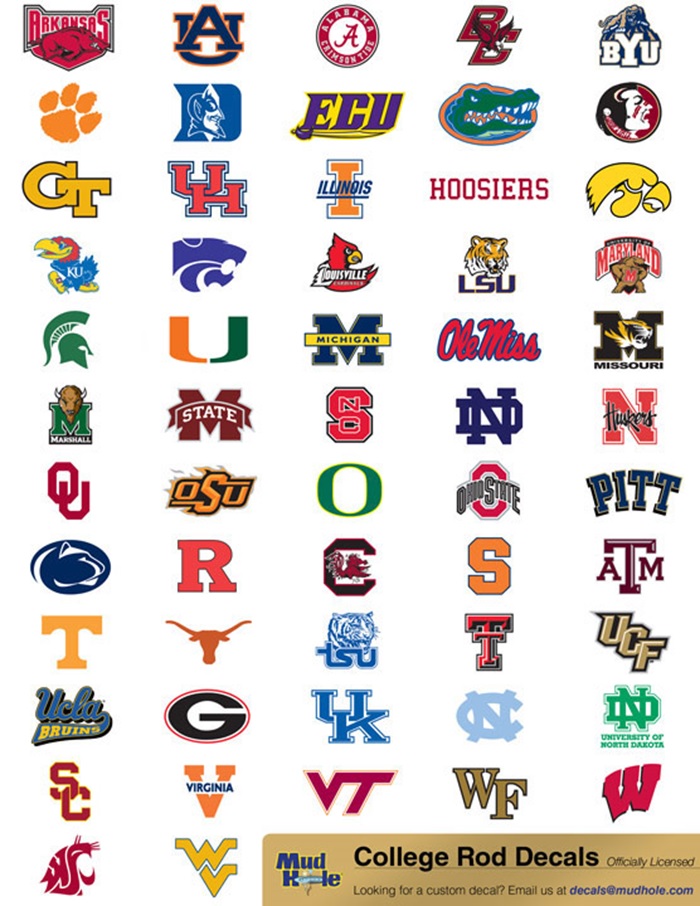
These officially licensed full color college decals are printed with UV resistant inks and feature “laser cut” edges with a thin white margin around the contour to provide contrast against your rod blank.
Decals measure approximately 5/8″ and are suitable for all freshwater, fly and inshore rods.
Rod Decal Install Kit – College Decals
Easily customize any fishing rod with your alma mater or favorite college with these fast application decal kits. Each kit comes with all the supplies you will need to add that custom college touch to any fishing rod in minutes.
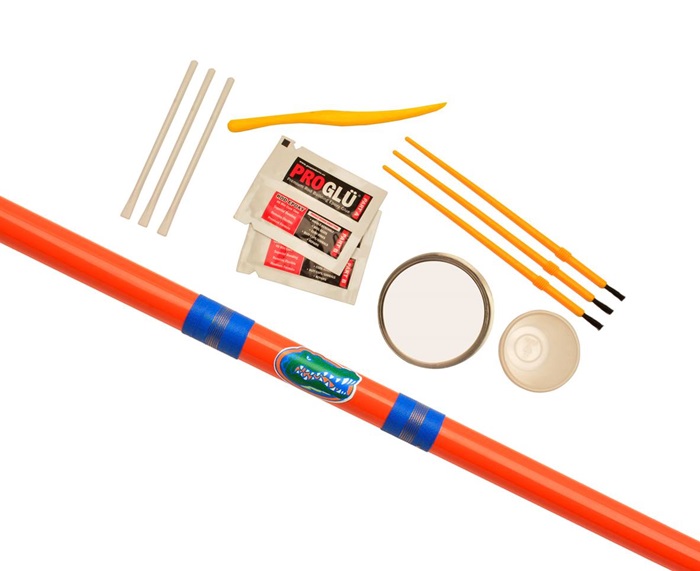
Give these decals the ol’ college try!
Custom Text Decals
Custom text decals are a great way to personalize your fishing rod. Put your contact information in case it is lost, your company info, or add any text you want.
All you need to do is select the size decal you want, and up to 3 lines of custom text with individual fonts for each line. These peel & stick decals are also available in Metallic Gold & Silver or White, and are available in 3 sizes: Small, Medium, and Large.
Rod Decal Install Kit – Custom Text Decals
Easily customize your fishing rod with your name, company info, and more using these fast application decal kits. Each kit comes with all the supplies you will need to add custom text to any fishing rod in no time!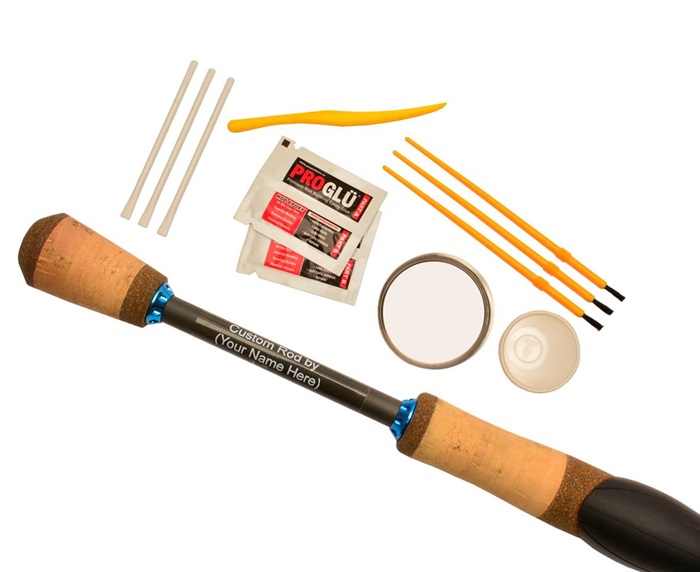
Small decals are 3/8″ high and suitable for fly rods and spinning and casting rods less than 12# line class.
Medium decals are 1/2″ height and suitable for 12# to 30# line class rods and fly rods over 10 weights.
Large decals are 3/4″ height and suitable for rods over 30# line class.
All decals are approximately 1″ to 1-1/2″ long depending on the amount of text.
Quick Decal Application Instructions
Want to add a custom decal to your fishing rod, but don’t have a rod dryer or enough time, then this quick decal kits are designed for you.
Simply using the clear two-part epoxy ProGlu and your hand to rotate the blank, you can add your favorite decals faster than ever. ProGlu is designed for rod builders by rod builders, and this proprietary formula of epoxy was engineered to dry quickly and clearly with superior adhesion and longevity over the life of your rod.
Step 1:
Mix equal parts (1:1 ratio) of Part A Resin & Part B Hardener thoroughly for 3 minutes. Next pour the mixture into an aluminum dish to release any remaining air bubbles.
Tip: Heating the bottom of the aluminum tray for a few seconds with a lighter to help release the bubbles.
Step 2:
Place the decal on your fishing rod (make sure it is a clean, dry surface) and gently smooth it out with the burnishing tool.
Step 3:
Apply a smooth, even amount of epoxy over the decal and fishing rod turning the rod as you apply.
Step 4:
After the decal is epoxied, slowly rotate the blank with your hand for 10-15 minutes depending on the amount used and stop once the epoxy doesn’t sag.
Step 5:
Allow the epoxy to fully cure for 40 minutes after application, and then your custom decal is ready to go.
See MORE Fishing Rod Decals at Mud Hole
Mud Hole is your one stop shop for everything custom rod building. From our expertise, to our inventory, we are proud to help you assemble your new favorite fishing rod.
Build the rod you always wanted—with the unique decals that suit your style now!
Credit: Source link


