


Find out how to repair a loose reel seat and restore the performance of your favorite fishing rods.
How to Repair Reel Seats the Rod Building Way
Few things are more frustrating than fishing with a loose reel seat. But now with these 4 simple steps, you will solve the riddle of the loose reel seat with a fast and easy fix.
Let’s start with the repair tools and supplies:
Or check out our Repair Kits!
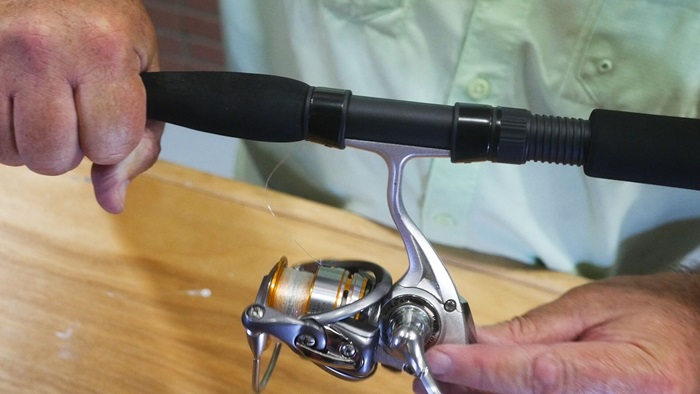
1. Mark the Reel Seat
With the reel removed, make four equally spaced marks under where the reel foot mounts.
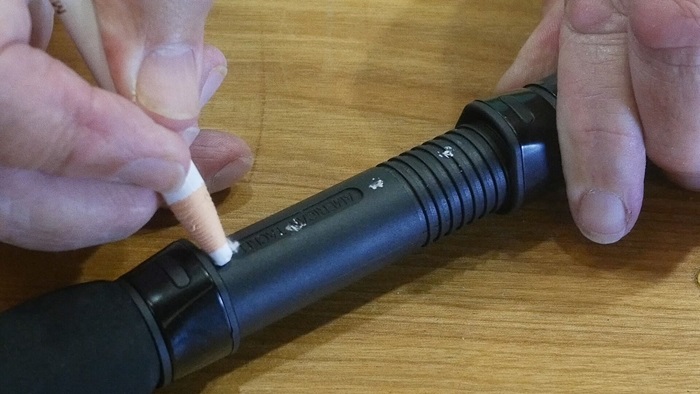
Since these marks indicate where to drill through the reel seat, placing each mark under the reel foot conceals the repair once you’re back on the water.
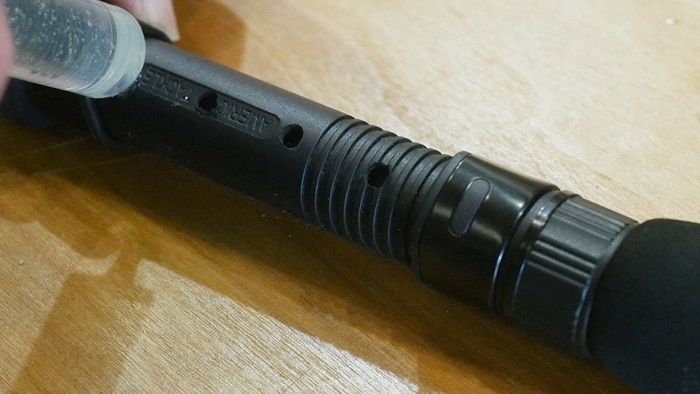
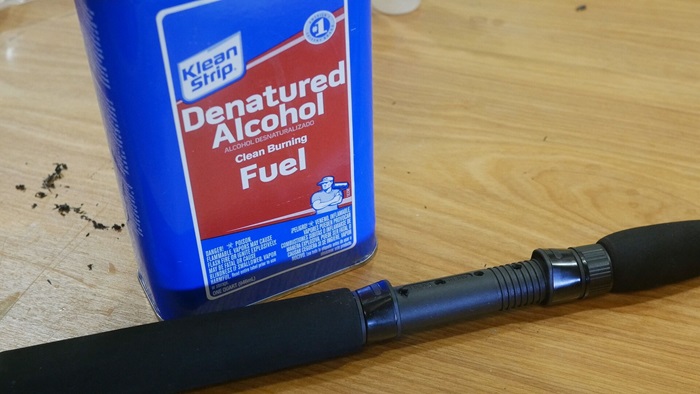
2. Drill a Hole in Each Mark
Next, carefully hold the reel seat down with your off hand and drill a hole through each mark along the reel seat.
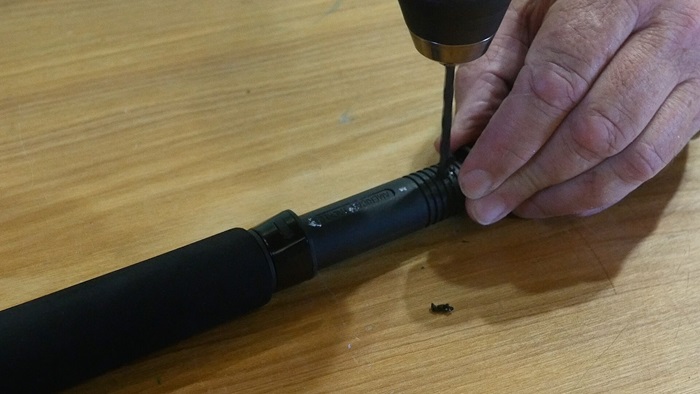
To drill through the reel seat but not the rod blank, firmly introduce the drill bit to the reel seat then slowly increase pressure until the drill has passed completely through the reel seat.
Stop the drill as soon as the hole is made.
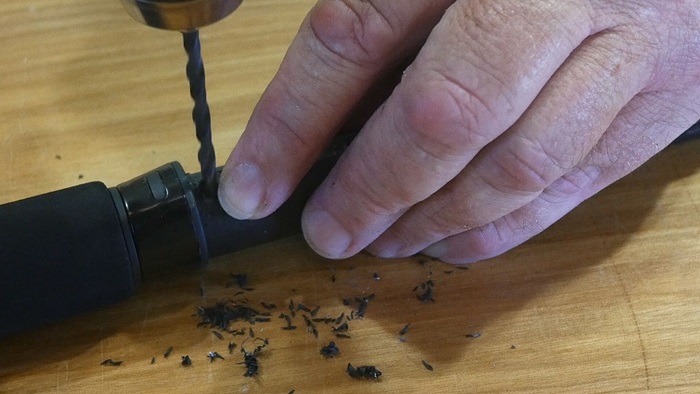
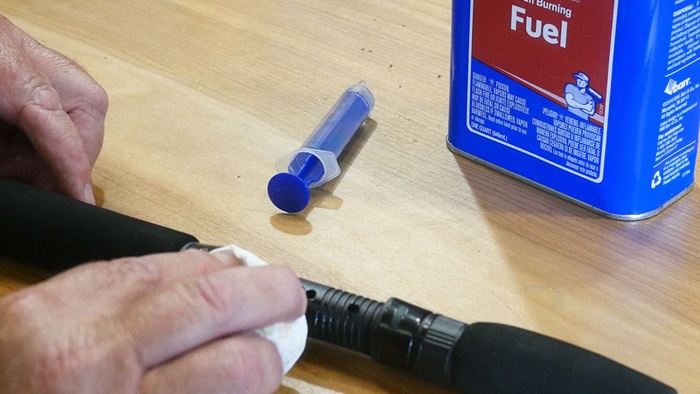
After drilling four holes, use a razor blade to clean up and remove any lingering bits of material around the holes.
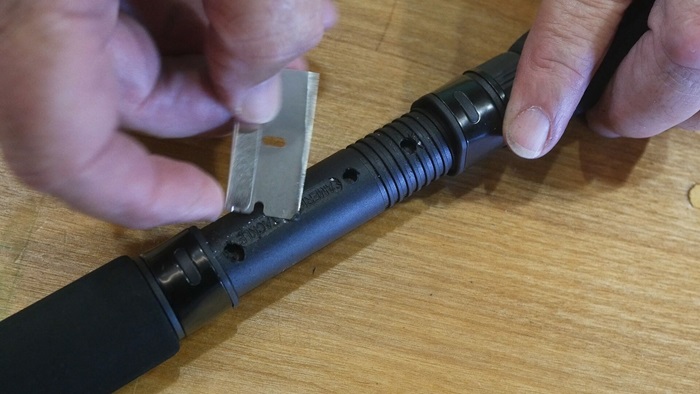
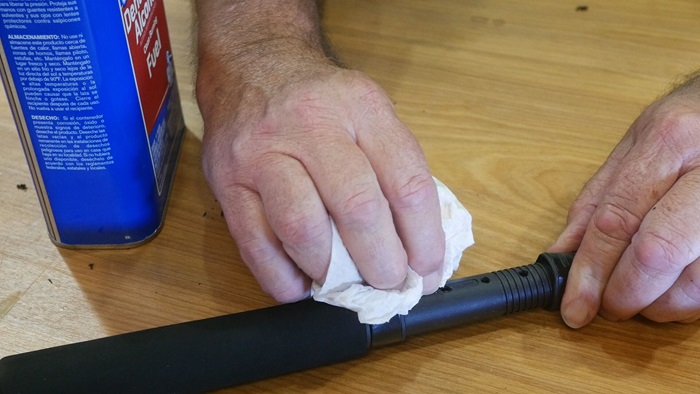
Once the holes are clear, wipe the reel seat down with denatured alcohol to give it one last cleaning before moving on to the epoxy.
Note: Use a drill bit that’s about the same size as the syringe you will use to inject epoxy later on.
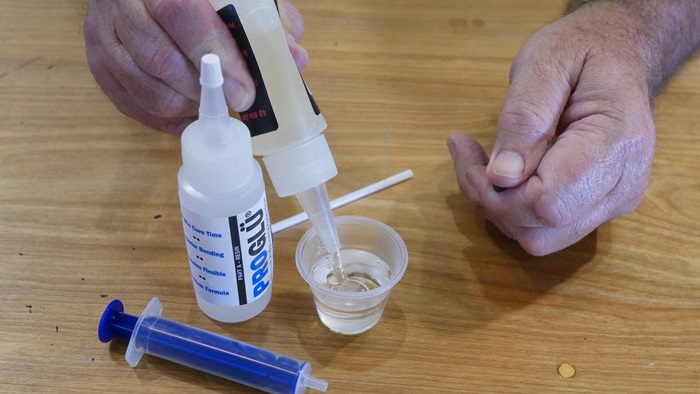
3. Mix and Inject Epoxy Glue
For this step, you will mix and then inject the epoxy glue underneath the reel seat.
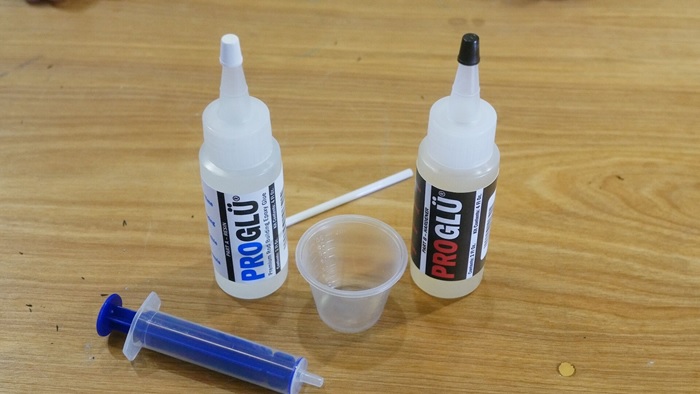
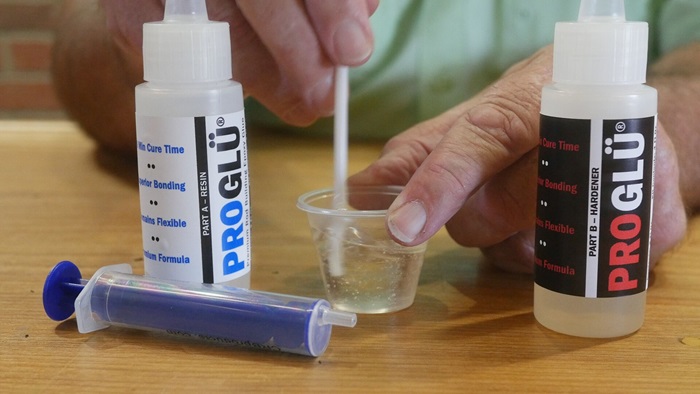
Rather than using your typical paste epoxy, use the two-part ProGlü so that you can draw it out with the syringe and insert the flowing epoxy into the reel seat. The flowing epoxy will better seal off any empty space between the reel seat and rod blank.
To mix the two-part ProGlü, pour equal amounts into the mixing cup and then use the stir stick to churn and fold the epoxy into itself. This mixing technique will adequately blend the epoxy for the best results.
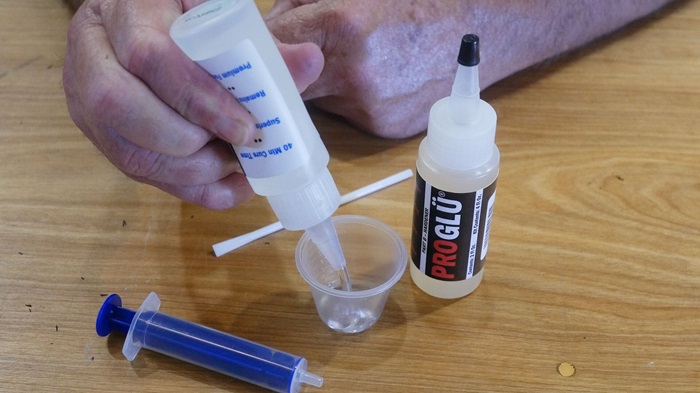
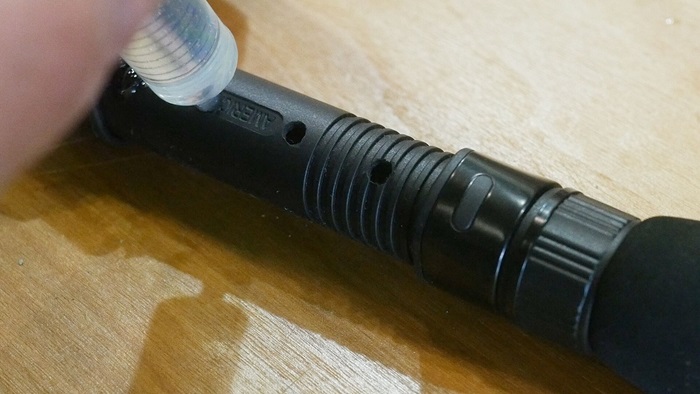
Next, use the syringe to draw out the epoxy glue and slowly inject each hole along the reel seat.
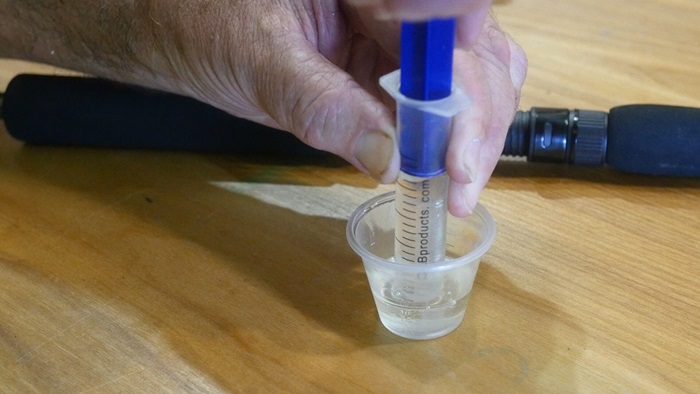
Insert epoxy in each hole until the area appears full.
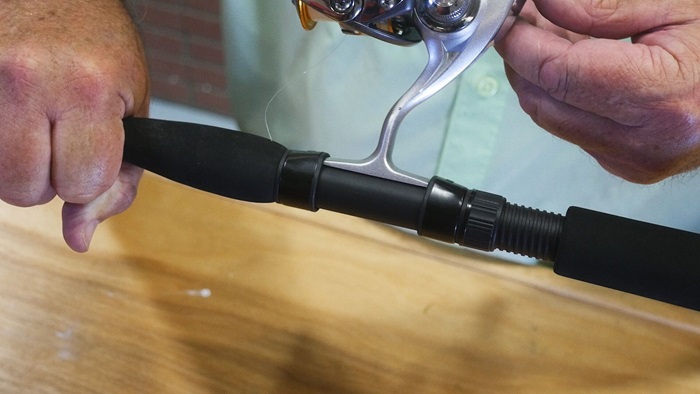
4. Rotate the Reel Seat 360 ̊ and Cure
With the ProGlü injected under the reel seat, rotate the reel seat a full 360 degrees in order to ensure the flowing epoxy reaches every possible open space.
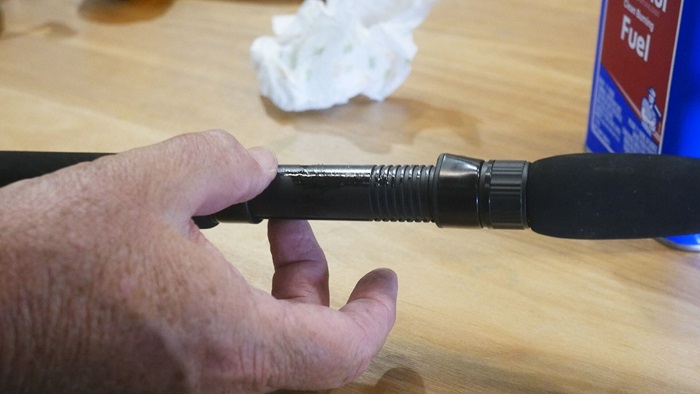
To double check you rotated the reel seat 360 ̊, make sure the reel foot hoods are centered with the rod’s guides.
Once the reel seat is in the right position, re-wipe the reel seat’s exterior with denatured alcohol to remove any excess epoxy.
Then just give it a full day to cure and your reel seat is ready to go!

Get Back out Fishing!
In rod building and rod repair, there are always many questions. Luckily for each category, there are even more answers.
Whether replacing a guide, fixing a tip top, or repairing a broken ferrule, the Mud Hole Blog has you covered with all the tips, tricks, and advice necessary to stop asking questions, and start building solutions.
Rod repair is the best way to get your favorite fishing rods back on the water without sacrificing performance and our blog is an awesome place to find more assistance.
Shop our Repair Kits to stock up on all your rod saving supplies!

Credit: Source link


