Learn these 6 simple steps to add custom snakeskin to your rod blanks for awesome in-lays, butt wraps, and under wraps. For the best tips and tricks for snakeskin, follow these step by step instructions or a slither down to the bottom for a video demonstration.
Join Our Newsletter
Rod Building’s 6 Steps for Snakeskin Wraps
Adding snakeskin upgrades any custom fishing rod with a sharp and professional appearance.
When installed and finished correctly, snakeskin wraps are as easy to complete as they are fun to show off.
1. Mark Snakeskin and Rod Blank
Start by looking at the snakeskin and identifying what portion will look best as decoration on the rod blank. For example, a diamondback rattlesnake skin looks incredible when the diamonds are facing you and the seam goes unseen along the underside of the blank.
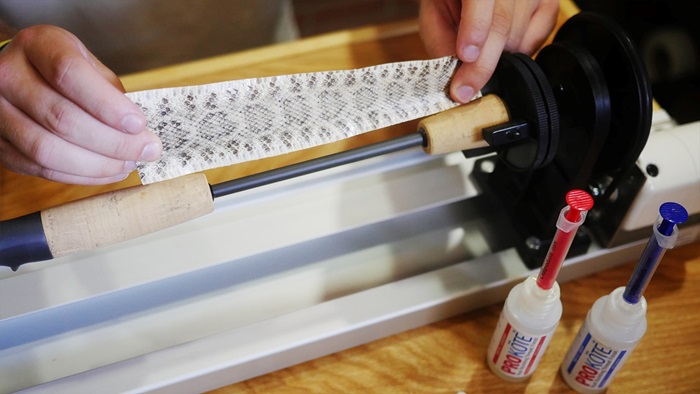
Depending whether you want a snakeskin in-lay, butt wrap, or under wrap, decide where on the rod blank it will go and trim the length of the snakeskin accordingly.
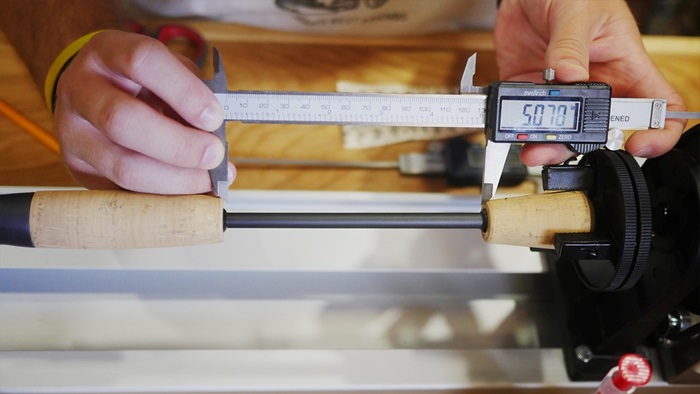
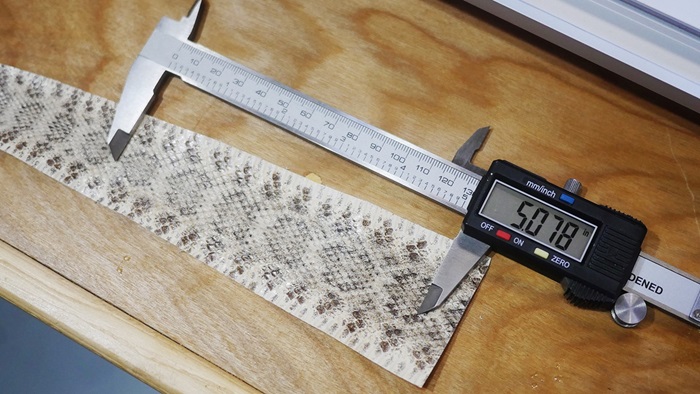
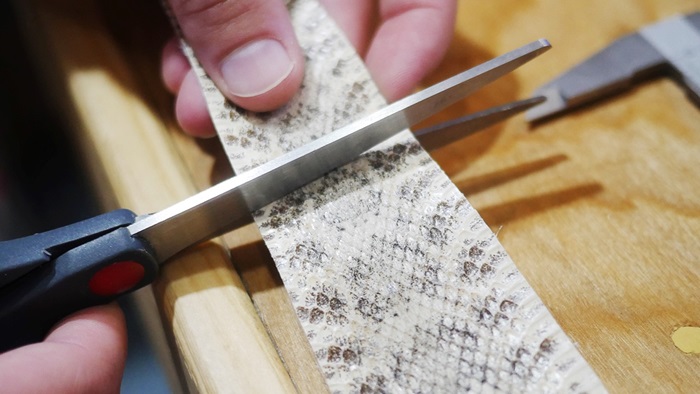
Next, use a straight edge and mark the center of the snakeskin’s decoration, such as the diamonds of a rattler, on the underside of the skin itself.
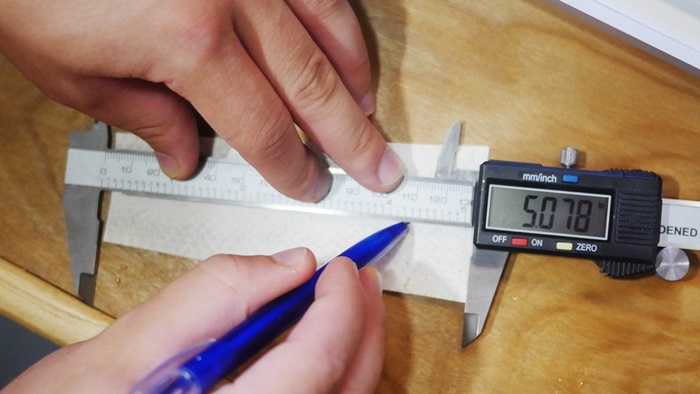
Lay this piece over the blank in the location you choose and use a China Marker to mark where the skin begins and ends on the blank.
2. Measure out the Skin and the Blank
Remove the snakeskin from the blank and apply Masking Tape around the blank at the two marked locations.
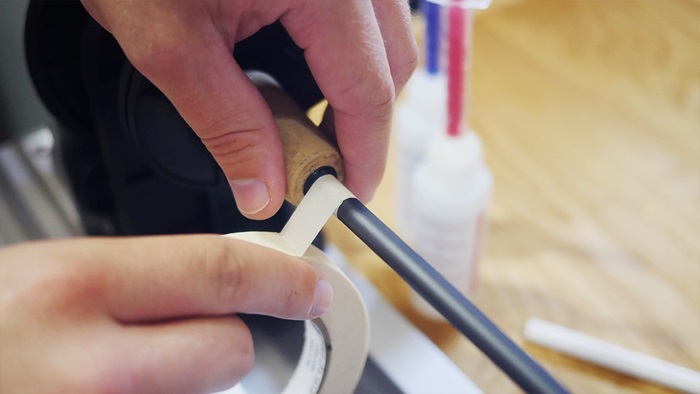
With the tape in place, use a Razor Blade to lightly cut through and remove only the tape strips.
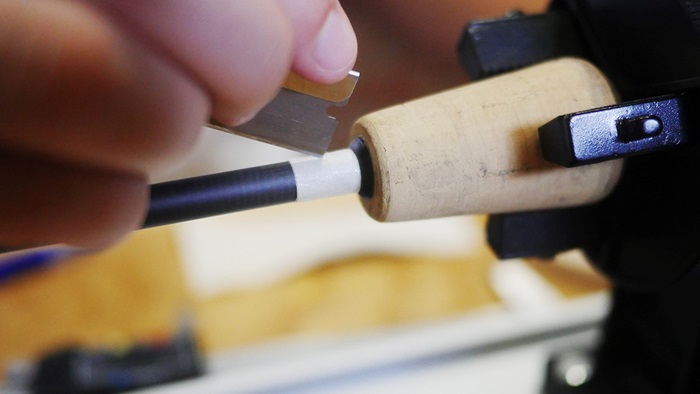
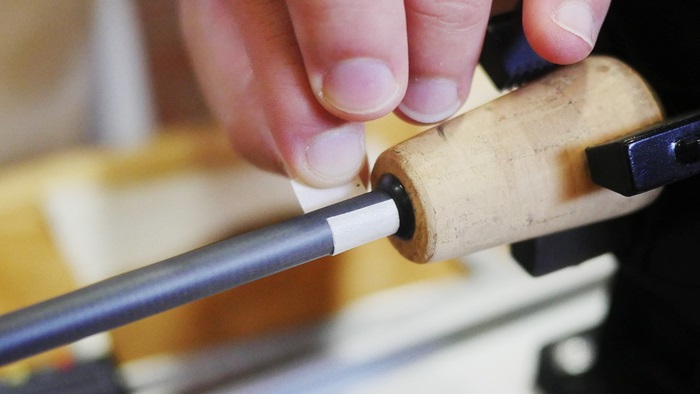
Now, pick off the tape and lay it down on a flat surface. Using calipers, measure the length of the tape strips that was closest to the blank’s mark and record that measurement for each strip.
This measurement represents the exact circumference of the rod blank where the snakeskin will be wrapped. Once these measurements are recorded, measure and mark the center of each tape strip.
3. Use Straight Edge and Cut Snake Skin
With the center of the tape marked, align each strip’s mark with the center mark of the snakeskin and apply each strip to the opposite edges of the skin.
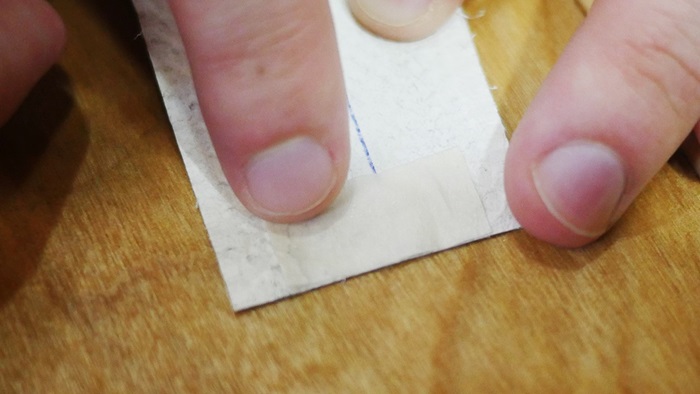
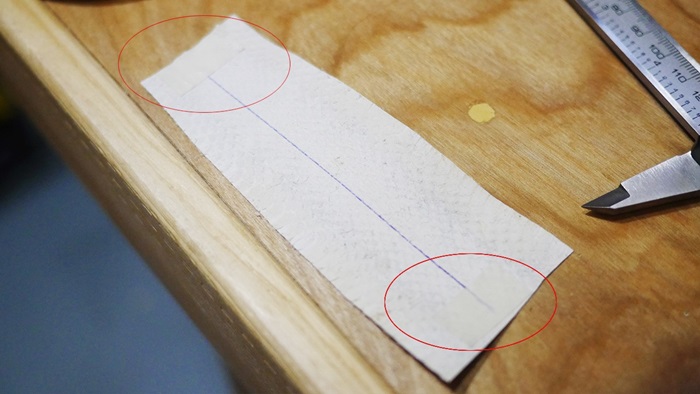
Next, take a straight edge ruler and line it up from one tape edge to the other over the snakeskin. This allows you to cut along the ruler with a razor blade to get the perfect size wrap for your rod blank.
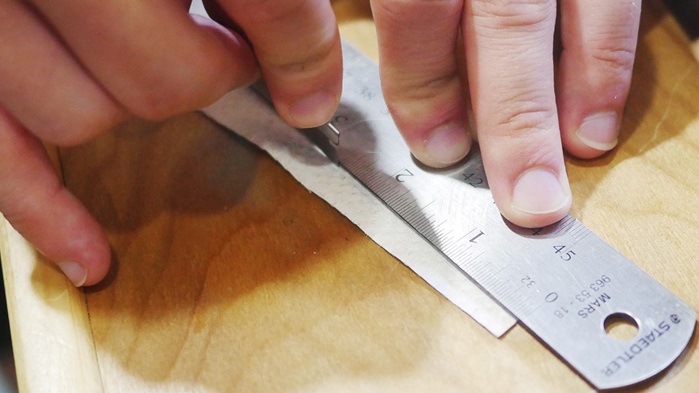
4. Apply Color Preserver to Skin’s Backside
After cutting the snakeskin, remove the tape, and make a mark to indicate the front and back of the skin. This keeps you from flipping the skin during application and ruining the skin’s seamless appearance on the underside of the rod blank.
Now it’s time to apply the snake skin to the rod blank, but you’ll notice the backside of the skin doesn’t adhere well to the blank. To give it a tackier feel and seal it from any epoxy penetration, put a generous amount of Color Preserver over the skin’s backside.
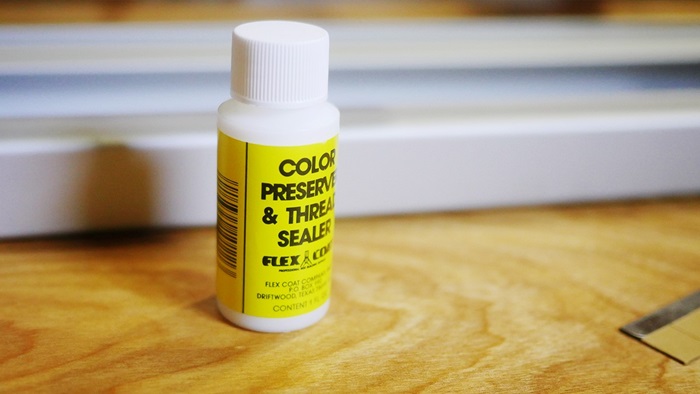
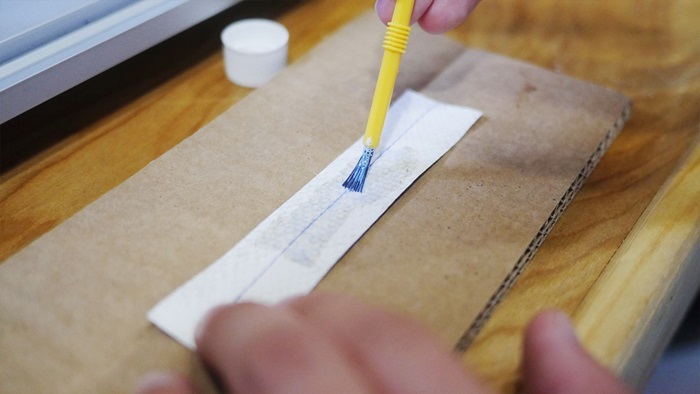
Make sure you thoroughly coat the edges of the snakeskin to prevent epoxy from sliding under it while you add finish.
5. Install and Clamp Down Skin
As you install the snakeskin around the rod blank, be careful not to over-stretch it. Stretching the snakeskin too far can cause scales to fall off leaving blank, empty spots in the skin’s final appearance.
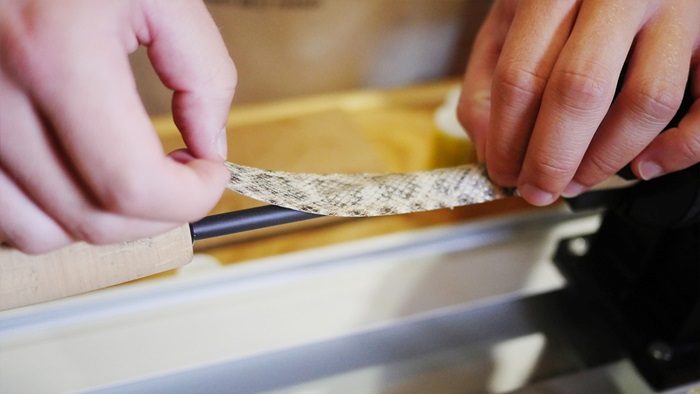
Note: add more color preserver as needed with any trouble spots.
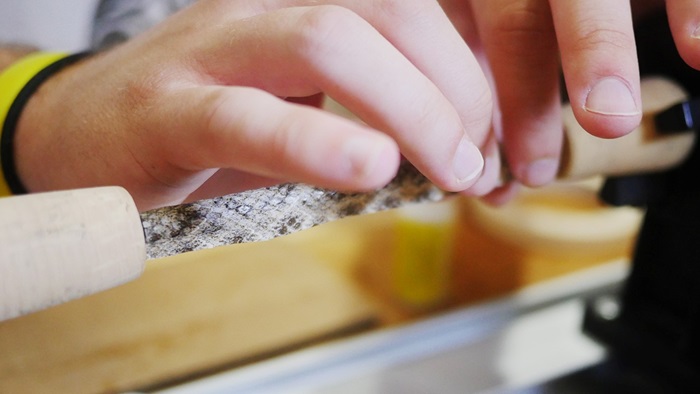
Once wrapped around the blank, apply another coat of color preserver to the outside of the snakeskin to seal it off for future finish.
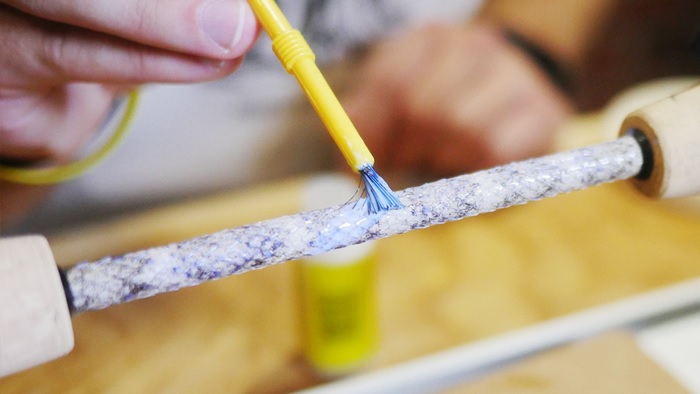
Next, clamp down the snakeskin over the rod blank by wrapping tape about every half inch or so. Wrap the tape so that the adhesive side is facing up to allow the tape to stick to itself and later, leave the scales intact when the tape is removed.
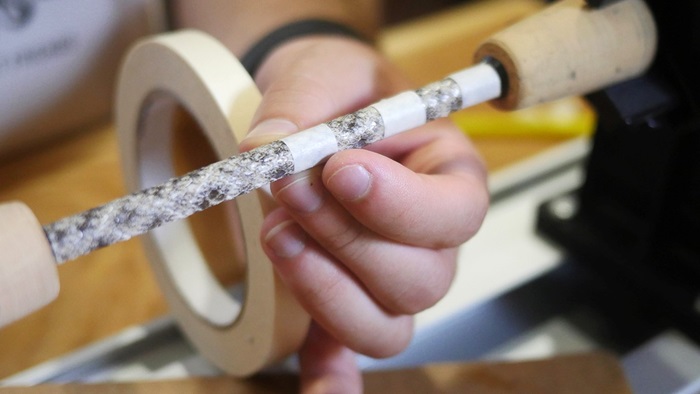
Clamping the snakeskin down forces out any air bubbles underneath the skin. This helps the snakeskin cure smoothly over your rod blank.
6. Finish with Two Light Coats of Epoxy
Once the snakeskin and color preserver has cured on the rod for a few hours, remove the tape and begin preparing a two-part epoxy like ProKote.
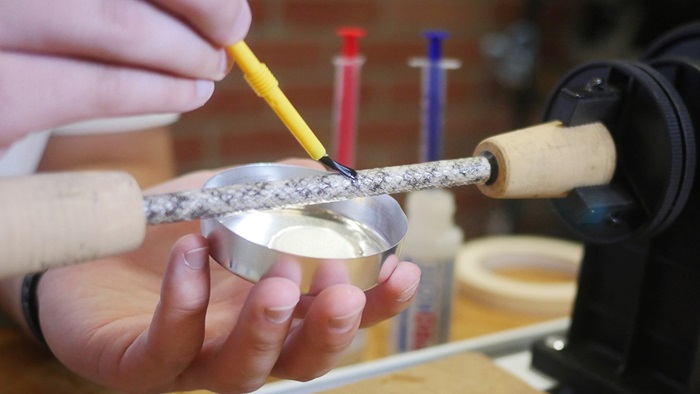
For the first coat of epoxy, add a light amount to keep the skin and scales perfectly in place. Allow the first coat a full day to cure and when you come back, add another light coat to completely finish the snakeskin wrap.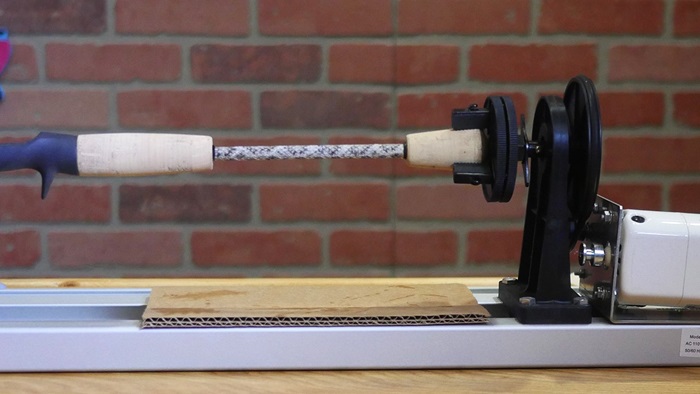
Step by Step Snake Skin Demo from Mud Hole
Catch the guys from Mud Hole Live demonstrate the best tips and tricks for adding snakeskin on your custom fishing rod.
Watch Mud Hole Live’s Snakeskin Demo:
Custom Rod Building Goes Reptilian
Here’s an incredible snakeskin wrap on MHX Regional Pro Jessey Rudolph’s custom fishing rod:


Read more about Rudolph’s custom rod in our blog!
Adding a snakeskin wrap will take your custom fishing rod to the next level with a look that’s truly lethal on the water.
Don’t forget to stock up on Snake Skin and all your Finishing Supplies at Mud Hole!
Credit: Source link


