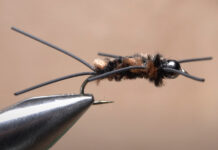
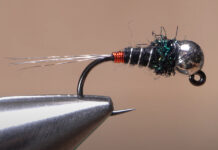
The Woolly Bugger has been catching trout, bass, panfish, and other species for more than half a century, since Pennsylvanian Russell Blessing first tied what he thought of as a hellgrammite imitation in the 1960s. Once a fly becomes popular, variations on the original start appearing everywhere. Back in 2017, Tim Flagler of Tightline Productions taught us how to tie a standard Beadhead Olive Woolly Bugger, and here he reimagines the pattern as a jig fly.
As with all of Tim’s videos, he has thought-out each tying step for maximum ease, efficiency, and effectiveness. He never simply attaches a material without considering the best way to do so, and there are no wasted thread wraps. The lessons learned here–using the wire to anchor the bead, wetting the marabou before tying in, counter-wrapping both the chenille and the hackle, for example–can be applied to many other patterns, as well.
If you’re looking for tips on fishing Woolly Buggers, check out the great video lesson from Jensen Fly Fishing below the recipe.
Woolly Bugger Euro Jig
Hook: 2X-long barbless black nickel jig hook (here a Fulling Mill 5130), size 10.
Bead: Black nickel slotted tungsten bead, 5/32-inch.
Weight: Lead-free round wire, .020.
Thread: Light olive, 6/0 or 140-denier.
Tails: Olive Woolly Bugger marabou.
Flash: Root beer Krystal Flash.
Body: Medium olive Antron Chenille.
Hackle: Light olive grizzly hackle.
Adhesive: Head cement.
Note: Try tying in different colors.
Credit: Source link


