Fly-fishing can seem complicated. There are those long, graceful casts that look really challenging to pull off. There are dry flies, wet flies, streamers, midges and emergers that many fly fishers tie to imitate the natural food in the streams, rivers and lakes. And then there are the knots that you should learn.
It really isn’t that difficult. You can learn the basics and enjoy catching some fish on a fly in a day, then work on incremental improvements as time and your interest allows. When we resume the Payson Parks and Recreation fly-fishing classes again, I hope you will join us if you’d like to learn.
Knots are an example of something that can get in the way for some anglers that can really be managed with just a bit of practice. We learn and practice the basic knots in the class too.
Before I talk about the knots I use in fly-fishing, it might be useful to review the four different sections of line on my fly reel. Each section is tied to the next section with a different knot. The good news is that some of these knots are tied once and then are good for sometimes years at a time.
The first line that goes on a fly reel is the backing, which is the same braided line that bass anglers often use. After about 100 yards of backing is spooled on the reel, then about 90 feet of fly line is added. A tapered, clear leader about nine feet long is attached to the fly line and then about a two-foot section of tippet material, the thinnest line on the reel, is added. The fly is attached to the tippet.
That means that there are just a handful of knots that I need to know how to tie, and in fact there are really only two or three that I tie regularly. The knots I use include: the arbor knot for tying the backing on to the reel, the nail knot to attach the backing to the fly line, a loop-to-loop knot to connect the fly line to the leader, a surgeon’s knot or a blood knot to connect the leader to the tippet, and a clinch knot to tie on the fly.
The surgeon’s knot and the clinch knot are the two I tie about 95% of the time, and both can be tied in about 30 seconds.
I suggest you practice under the best conditions possible. To me, that means under great light at the dinner table. All the knots that I use are demonstrated on YouTube videos that you can watch as you learn and practice.
The knot I tie on every fishing trip is the clinch knot. This knot is familiar to most anglers as the preferred knot for tying the line to the hook, lure, or fly. The demonstrations for the clinch knot are generally a little different from how I tie the knot, however.
Most anglers tie the clinch knot by physically twisting the line around itself to form the knot. Because I am using small flies and a thin line, I prefer to twist the fly six to eight times instead of the line. It creates the same line twists as the normal method, but gives me more control over the tag end of the line that I like to keep short to minimize how much of my tippet I have to cut after tying on a new fly.
The knot that attaches the tippet to the leader is my next most frequently tied knot.
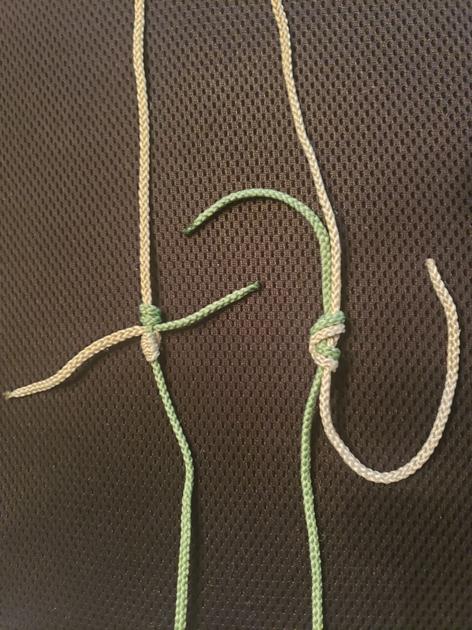
There are two knots that I use for this purpose. One is much simpler to tie, but is a bit weaker and causes a slight bend in the line. It is called the surgeon’s knot. I use this knot a lot because it is quick and works fine, but if I am willing to take an extra minute or two, the stronger knot that keeps the leader and tippet sections perfectly straight is the blood knot.
When I decide to use two flies, I cut one of the tag ends from this knot and leave the other one about 3 to 4 inches long to attach my dropper fly, and then my trailer fly is tied at the end of the tippet about two feet away from the knot.
To connect the leader to the fly line is perhaps the simplest of all the knots if both your leader and fly line have a loop on the end. The loop-to-loop knot can be done in just a few seconds. If the leader doesn’t have a loop on the end, then I would suggest using a perfection knot to create a loop.
The knot that is used to attach the fly line to the backing is called a nail knot. It is called a nail knot because a common way to tie the knot is to utilize a nail to create a pass through space for line when this knot is tied. I have found that a sturdy loop of 20-pound monofilament works even better to create that space and pull the line through the opening to complete the knot.
The arbor knot is used to tie the backing to the fly reel. It too is a simple knot to tie, but once tied, it could be years before you replace the backing and have to tie it again.
The knots that I use the most are the clinch, surgeon’s, blood, and loop-to-loop. Some practice at the dinner table will help you be ready to tie all of them in no time at all on the stream.
Credit: Source link


