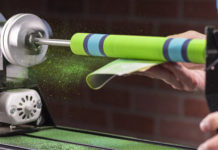
Epoxy finish is the key ingredient to crystal-clear thread wraps in custom rod building. But from the thread and epoxy, to the application, curing time and preservation, there many helpful methods in this blog that you need to ensure your final finish has the perfect appearance!
Learn Simple Tips for the Best Finishing Results
One of the greatest aspects of custom rod building is the community it creates. Whether asking questions or offering advice, rod builders often rely on their peers for a network of information to improve their craft.
Likewise, Mud Hole is always here with videos, blogs, and an experience staff to give you the latest and greatest in rod building tips!
Catch our 4 ways for better epoxy finish below:
1. Thread Wrapping
Thread wrapping is far from difficult, especially with CRB HWS-1 Hand Wrapper, however when it comes to wrapping guides, the correct distance up the guide foot is important once you start applying finish.
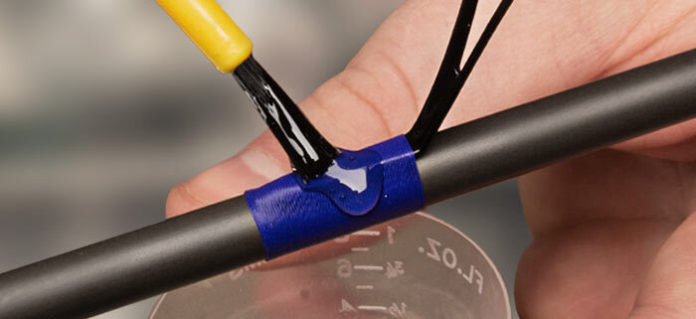
For instance, if you wrap too far up the guide foot and onto the frame, epoxy can run up from the thread wrap to seal off the guide’s eye. The picture below shows a guide wrap in danger of sealing off the eye.
This isn’t an impossible fix, but it is much easier to just avoid altogether.
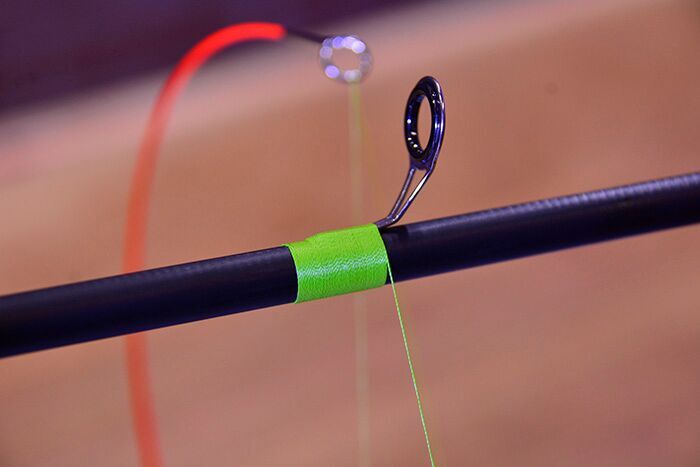
The following example is a quality thread wrap that is easy to epoxy with no added worries.
2. Mixing and Finishing with Two-Part Epoxy
When it comes to mixing epoxy, the wrong technique can interfere in the curing process and the epoxy’s resulting appearance. Some rod builders tend to whip the hardener and resin together, but this won’t speed up the process and rather, will add more bothersome bubbles in the mixture.
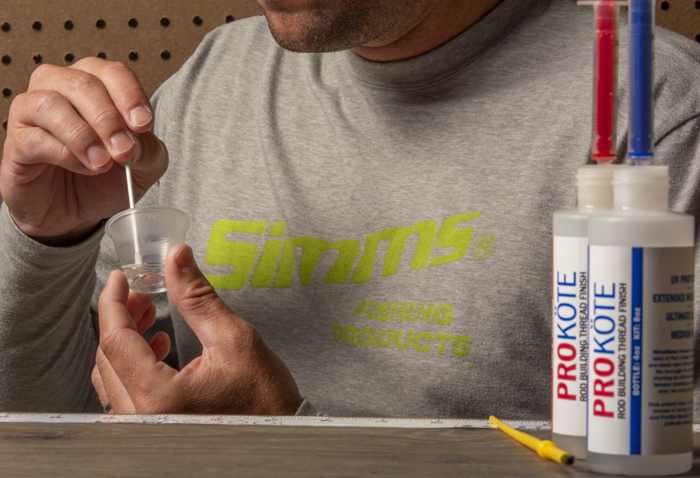
Avoiding these bubbles in epoxy isn’t hard with the right technique and supplies. Start by stirring the mixture slowly and rotating from clockwise to counterclockwise every few turns. This works to fold and churn the two parts together, while removing the air bubbles at the same time.
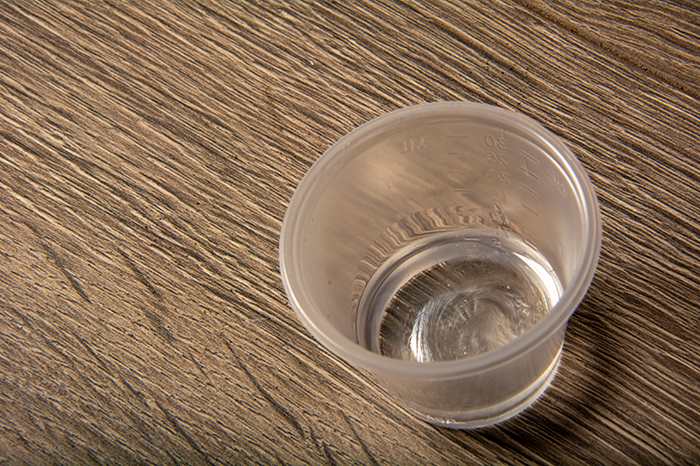
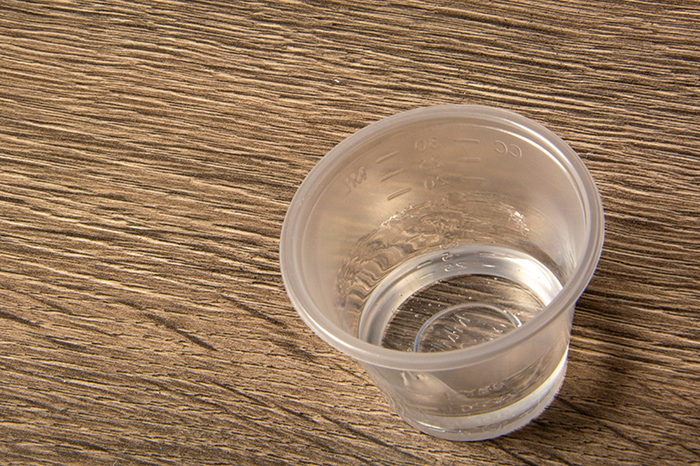
Stirring slowly and consistently will result in epoxy that is thoroughly mixed. Next, pour the epoxy into an aluminum dish to preserve the epoxy’s life and release any remaining air bubbles.
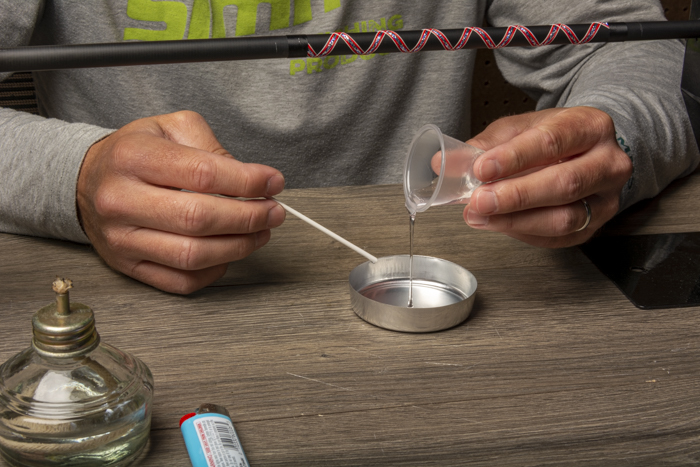
If the proper epoxy mixing technique is too tedious or time-consuming for you, consider upgrading your Rod Building System with the CRB Epoxy Mixer to mix the epoxy hands-free and increase the epoxy’s working time. The CRB Epoxy Mixing System is the ultimate tool for blending any two-part epoxy and conserving its usable life because it continuously churns and folds the epoxy into itself while you work.

Or, if you have a shaky hand or a hard time with straight edges, there are a few simple methods to facilitate your application of epoxy finish.
To start, many rod builders will softly press palm of their hand against blank as it turns to steady both your hand and the brush. This works well, but make sure you avoid resting against the blank and applying too much pressure.
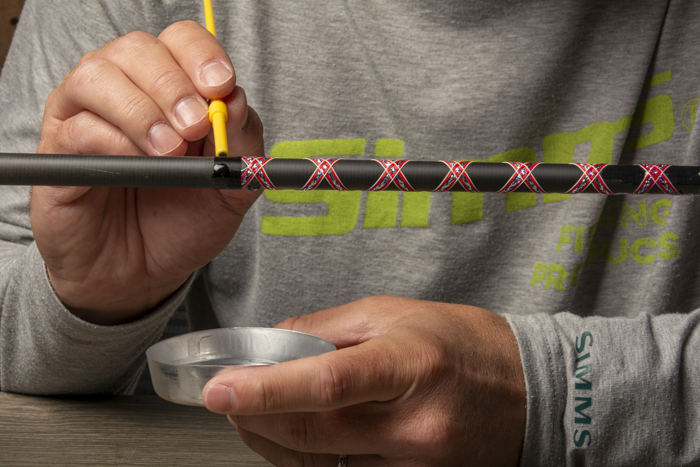
Other rod builders will often take their off-hand and use it as rest or level for their brush hand. This helps keep the brush steady as you epoxy over each thread wrap and its edges.
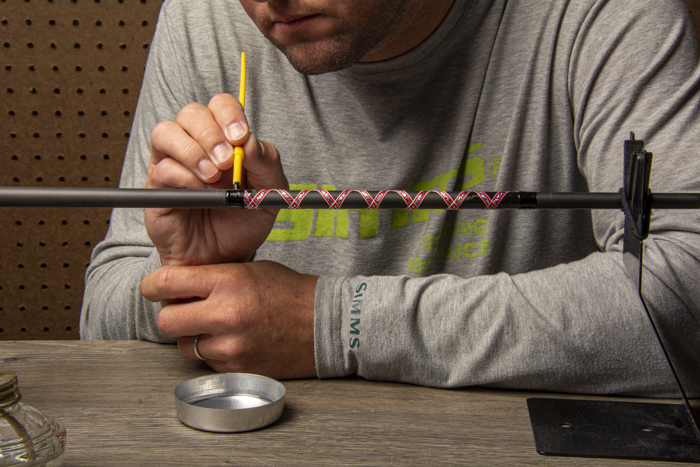
Mixing and applying epoxy with these methods will not only improve your epoxy’s finished look, but also boost your overall rod building experience.
3. Double-Checking Your Epoxy
Once you have applied epoxy to your thread wraps, the epoxy finish is now in its earliest and most important curing stages. Therefore, double-checking the finish is one of the most pivotal parts of the epoxy’s curing process.
Since this is the most crucial stage of curing, monitoring your finish is essential to make sure there’s adequate coverage over your thread wraps and that each wrap’s epoxy is curing correctly. For example, if there are any remaining bubbles in the finish on your thread wraps, you can use a flamed finish technique with an alcohol burner to heat and remove the bubbles from the epoxy.
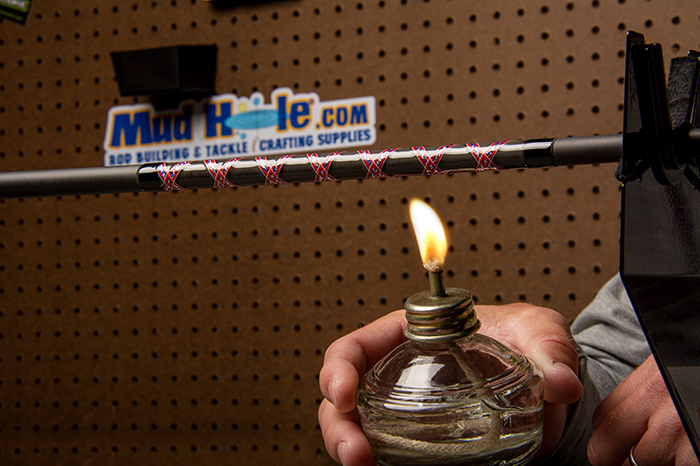
Simply waft the flame under the epoxy and release the trapped bubbles. Remember, never hold the flame too close to the finished wrap or up against the wrap for too long because this will damage the finish.
To see all the epoxy essentials used above, check out the Finishing Kit with Epoxy Mixer!
After checking in on the epoxy finish a few times in its first 3-4 hours of curing, you will want to have a gauge to determine when the epoxy is hard enough to touch and of course, fish. To do this, just keep the aluminum dish with the excess epoxy handy to check its hardness and avoid tampering with the actual finish on the thread wraps.
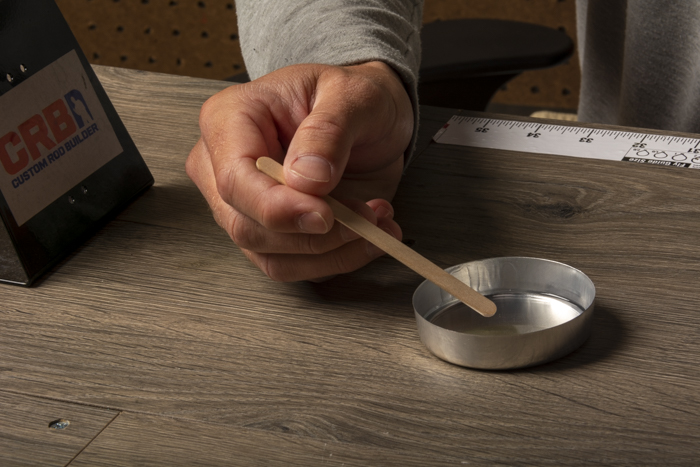
Most two-part epoxies, like the crystal-clear ProKöte Thread Finish, must cure for a full 24 hours before fishing, but having the excess epoxy nearby helps confirm when the finish is truly ready for the water without leaving fingerprints on the epoxied thread wraps.
4. Protecting Your Curing Epoxy
Once you’re done applying epoxy, not only does double-checking help get a high-quality finish, but also additional protection is available to keep your finishing rod safe and secure from outside influence.
Whether it’s damaging temperatures or contaminants, the CRB Tent Kit is the greatest tool bundle available for protecting and maintaining your curing epoxy.
Regardless of where you build your rods, CRB developed the Tent Drying System in order to keep all your unwanted debris out and uphold a stable curing temperature within the tent. A total of 110” in length (2 x 55″ segments when assembled), can fit up to 9ft fishing rods.

This tent is a basic “Dryer Box” that fits over your existing power wrappers, CRB aluminum base stations, and CRB single and triple rod dryers. Just assemble and drop it over—it’s lightweight for single person operations, features windows to keep an eye on your rod when drying, and collapses into a convenient carry bag for storage. The CRB Tent Drying System allows for a controlled environment so that your rod build can dry safely within the enclosed tent.
In addition to the Tent Drying System, this CRB’s mini Work Bench Heater features a compact design perfect for warming up a chilly workspace or regulating the temperature inside a CRB Tent creating a perfect drying environment. The CRB-Heater is powered by a 50W heating element with a 3500 RPM Fan Motor. Each unit utilizes incorporated safety features to prevent overheating.
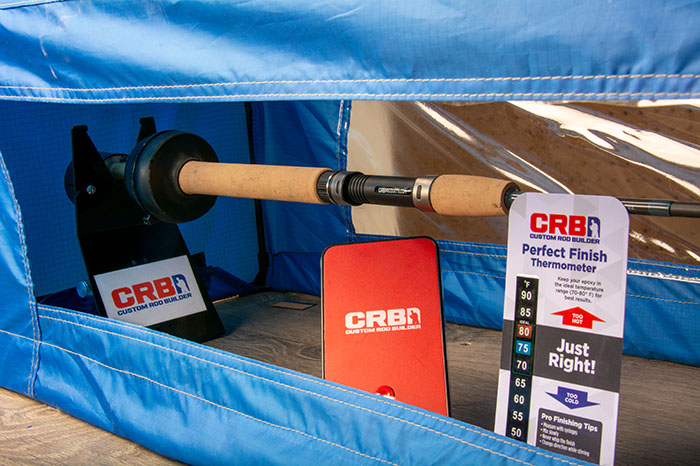
Along with the CRB Tent and Heater, the CRB Tent Kit includes a handy peel-and-stick thermometer that has an easy-to-read temperature gauge to let you know when your work room is the ideal temperature for finishing your custom fishing rods. The sticker also includes useful finishing tips to make sure your wraps come out just right, every time.
Create the perfect rod drying environment with this CRB Tent Kit.
Try a Rod Dryer that Suits Your Finishing Needs
Whether adding multiple dryers to increase production efficiency, finding the right RPM choice with a wire chuck, or even choosing a dryer clutch, a variable speed dryer, or even both benefits combined – We can help with our wide variety of rod dryers!

Epoxy Finish Made Easy
Using these 4 methods for better epoxy, any rod builder can take their skills and their custom fishing rods to the next level. Nothing gives your custom fishing rods that sleek, professional look more than a sharp epoxy finish to seal the deal.
Don’t forget to stock up on all your Finishing Tools and Finishing Supplies at Mud Hole!

Credit: Source link


