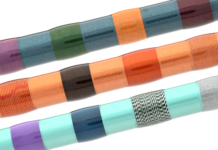
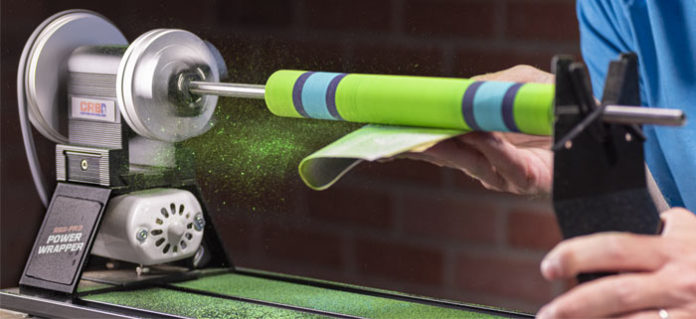
Learn how to design your own custom EVA fishing grips with exciting colors and then bring your design to life with the 10 steps in this blog on shaping EVA grips!
10 Steps to Shape DIY Color EVA Grips
Follow our how to guide and shape your own custom EVA grips with the colors of your choice!
Materials & Supplies for Grip Making
Step One: Design Your Grips
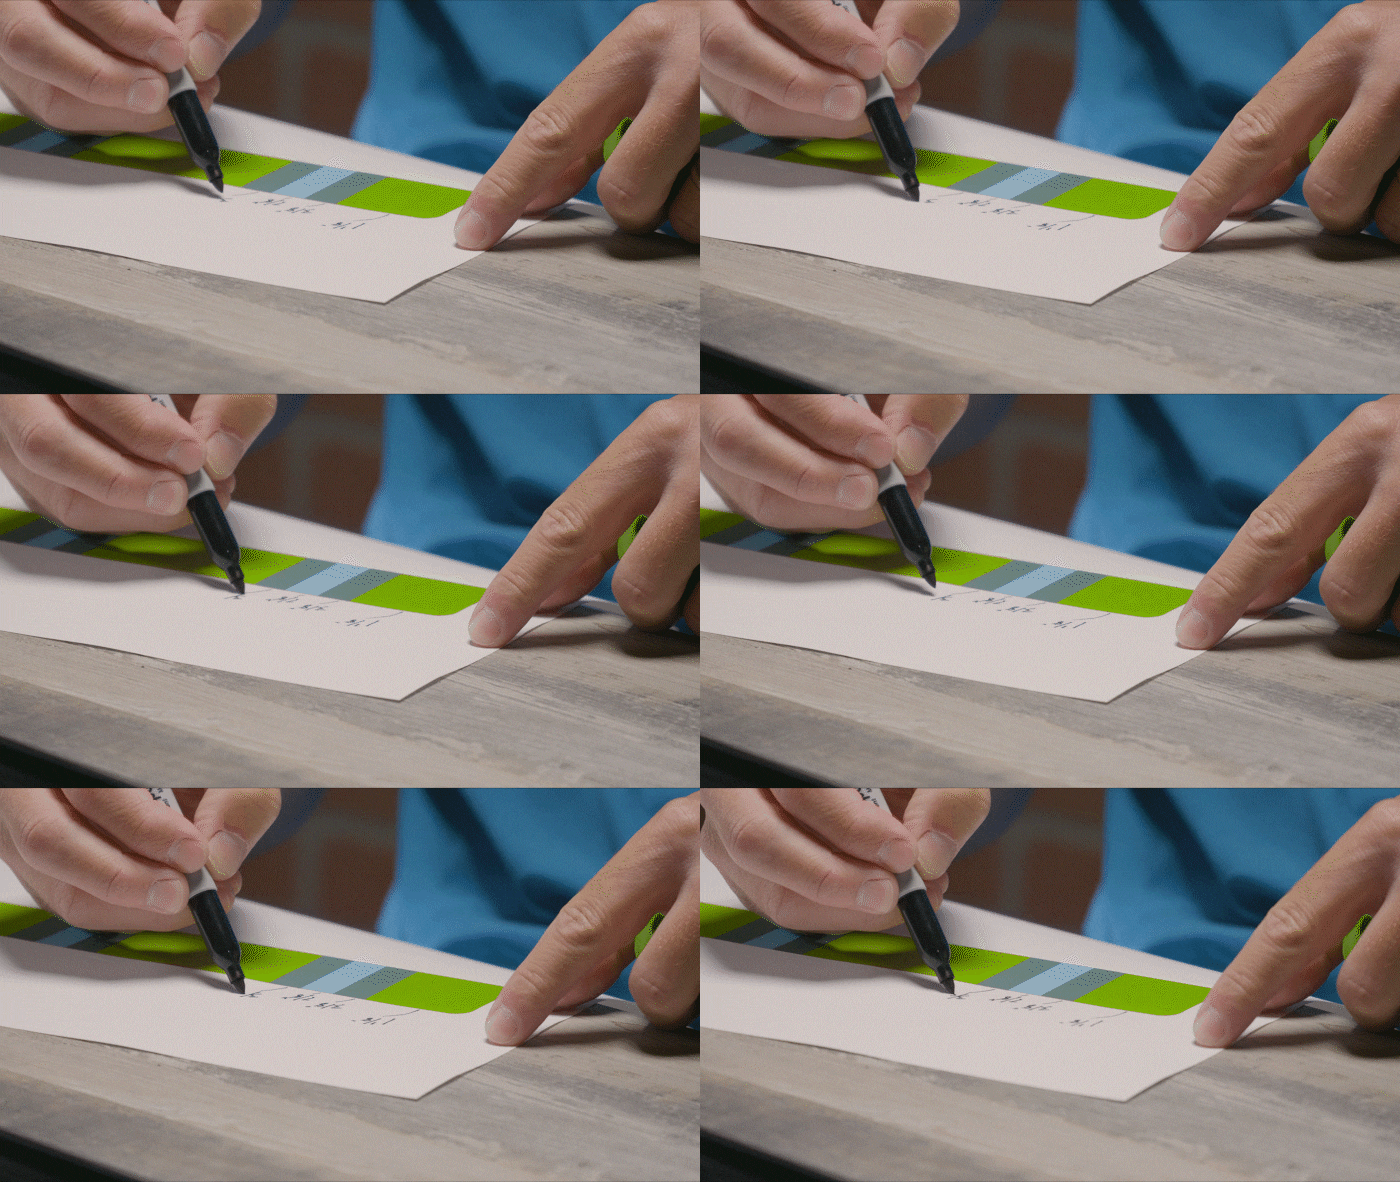
Create a visual roadmap & make your measurements exact.
Step Two: Measure Twice & Cut Once
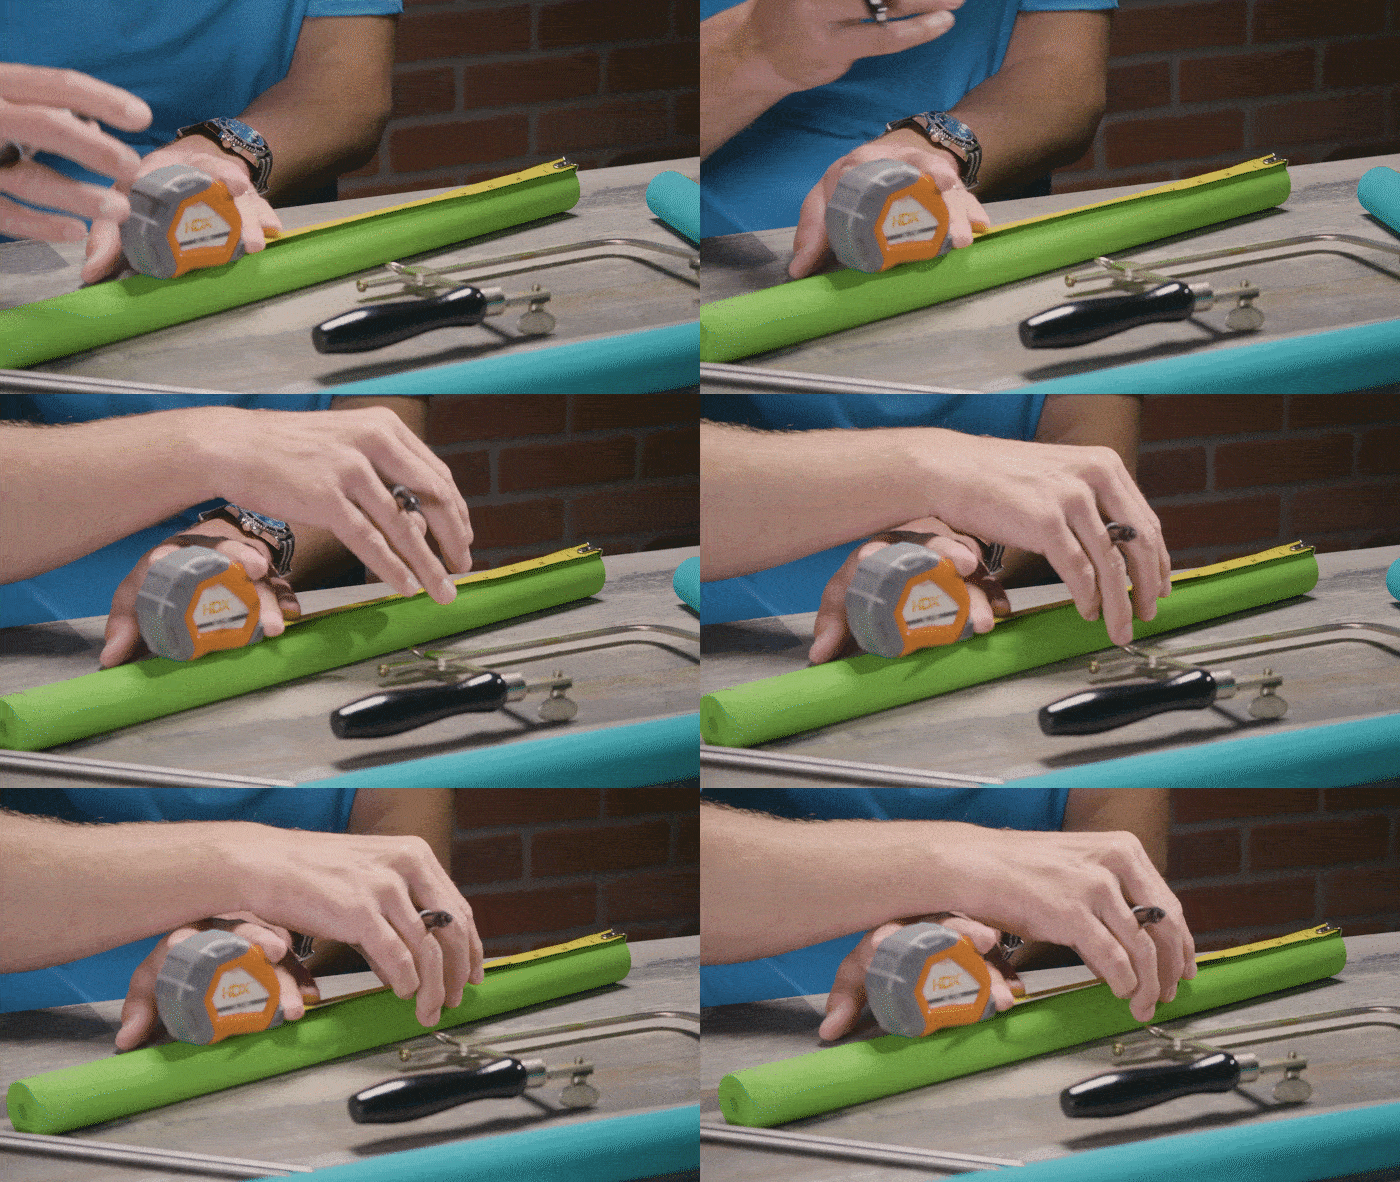
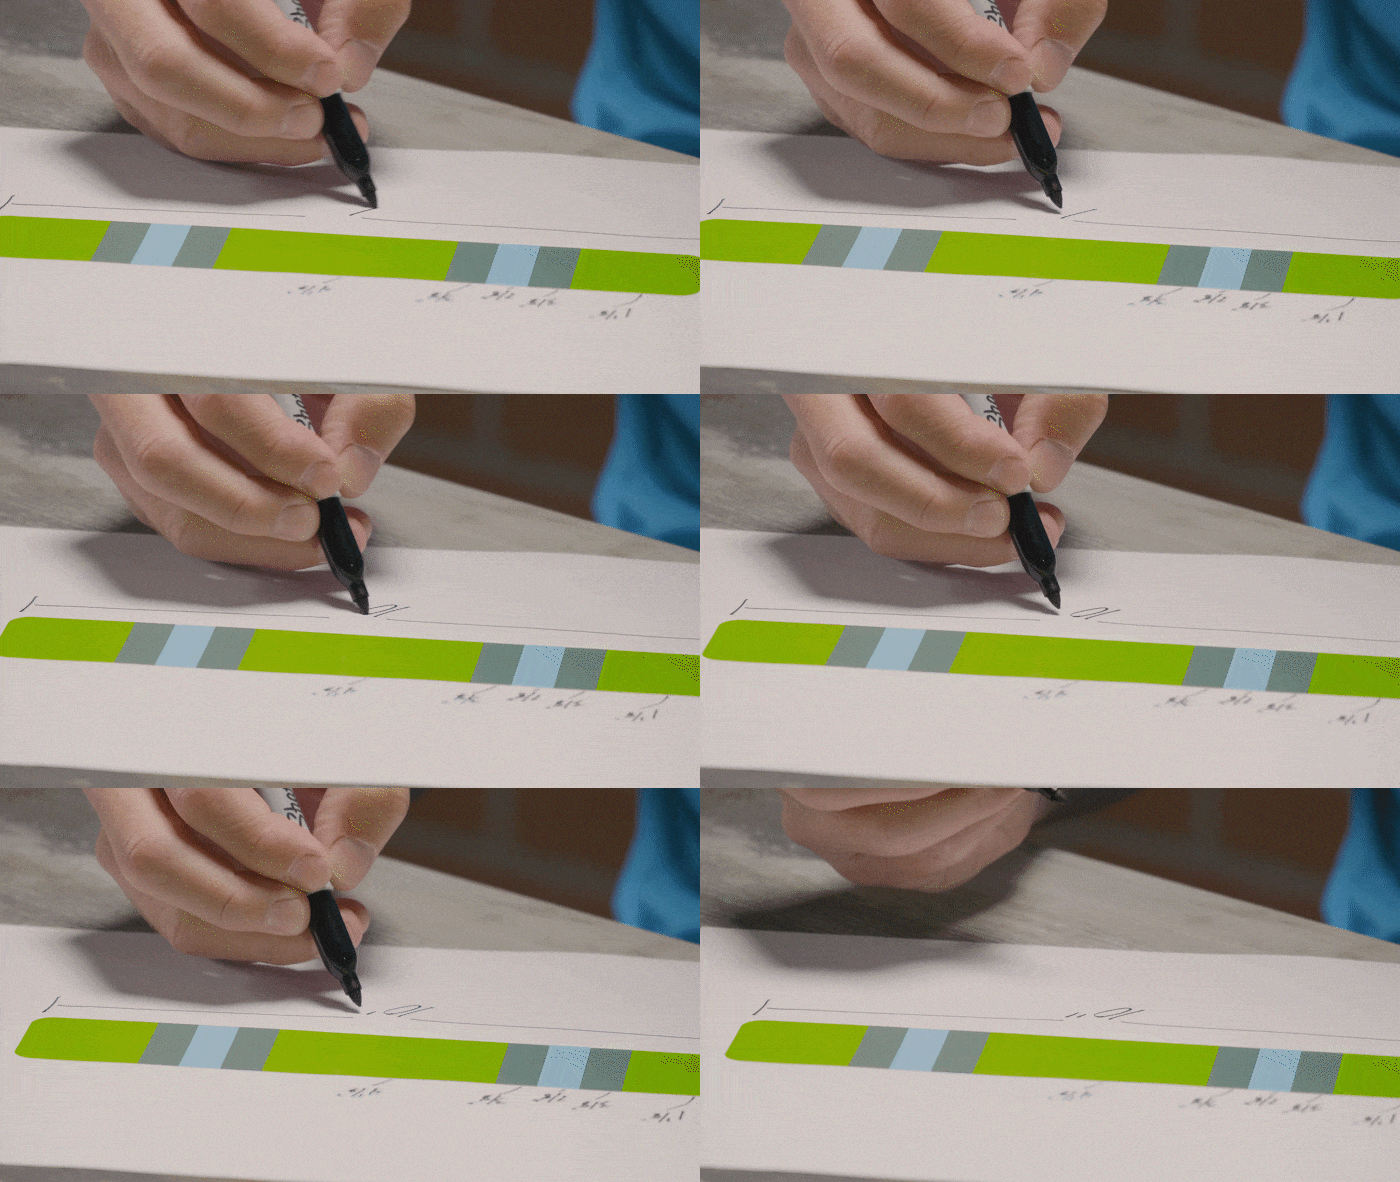
Use the roadmap to precisely measure & mark the EVA before cutting.
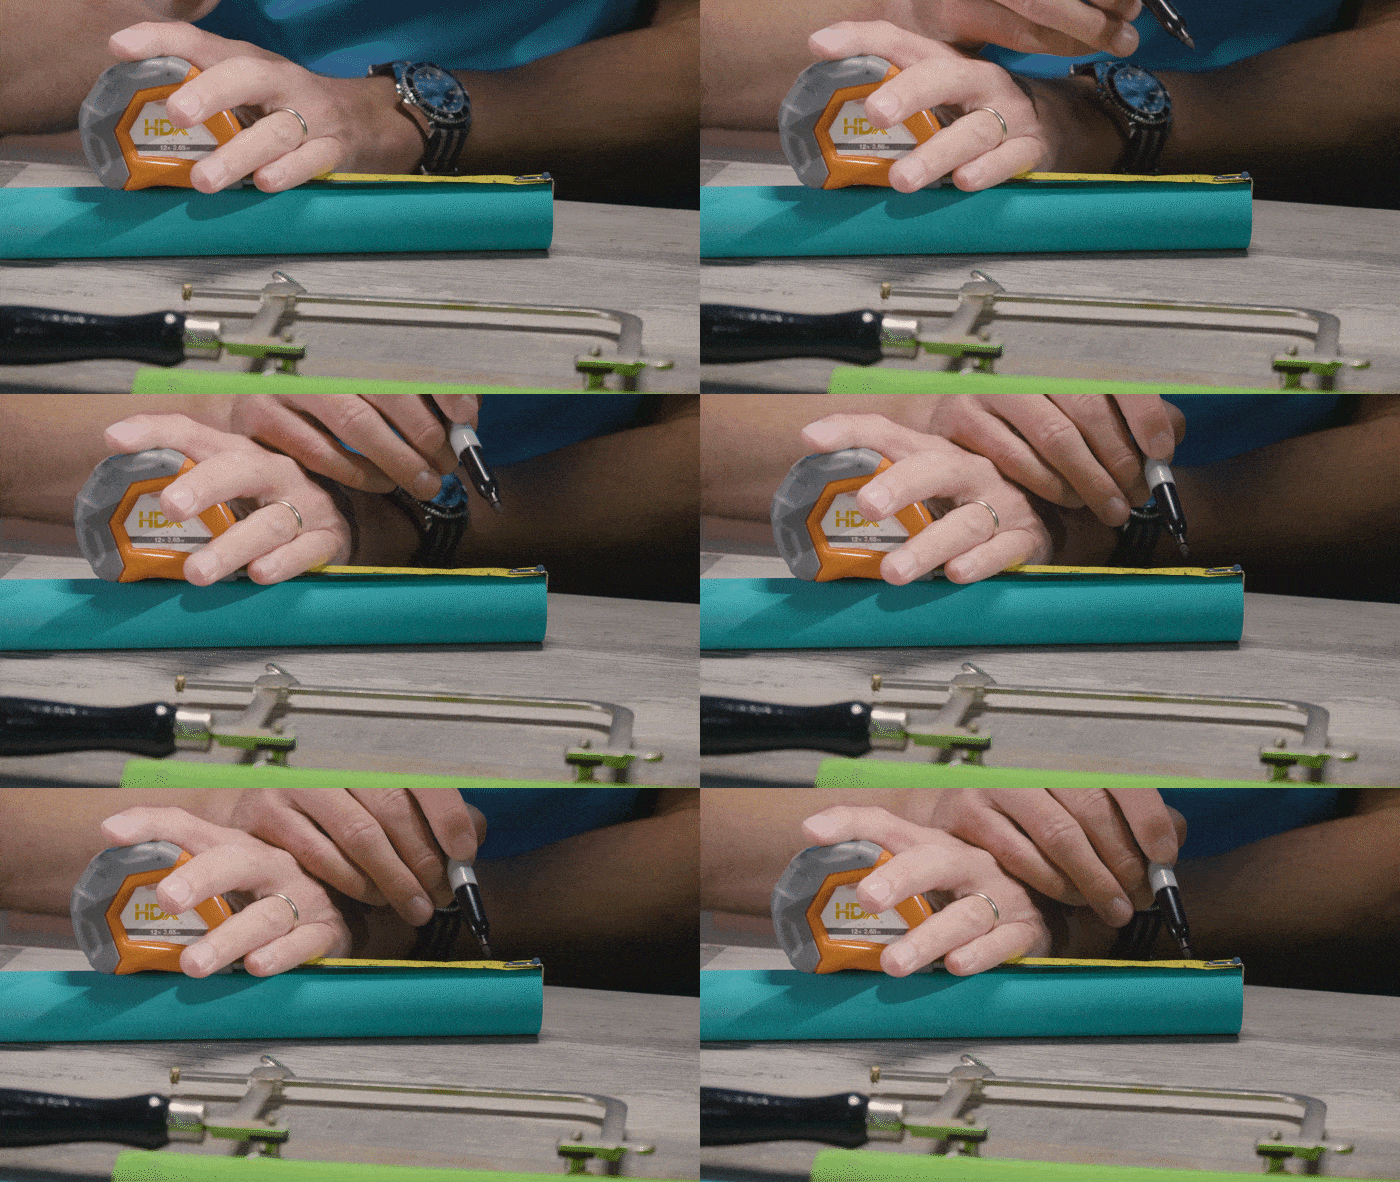
Step Three: Make Your Cuts
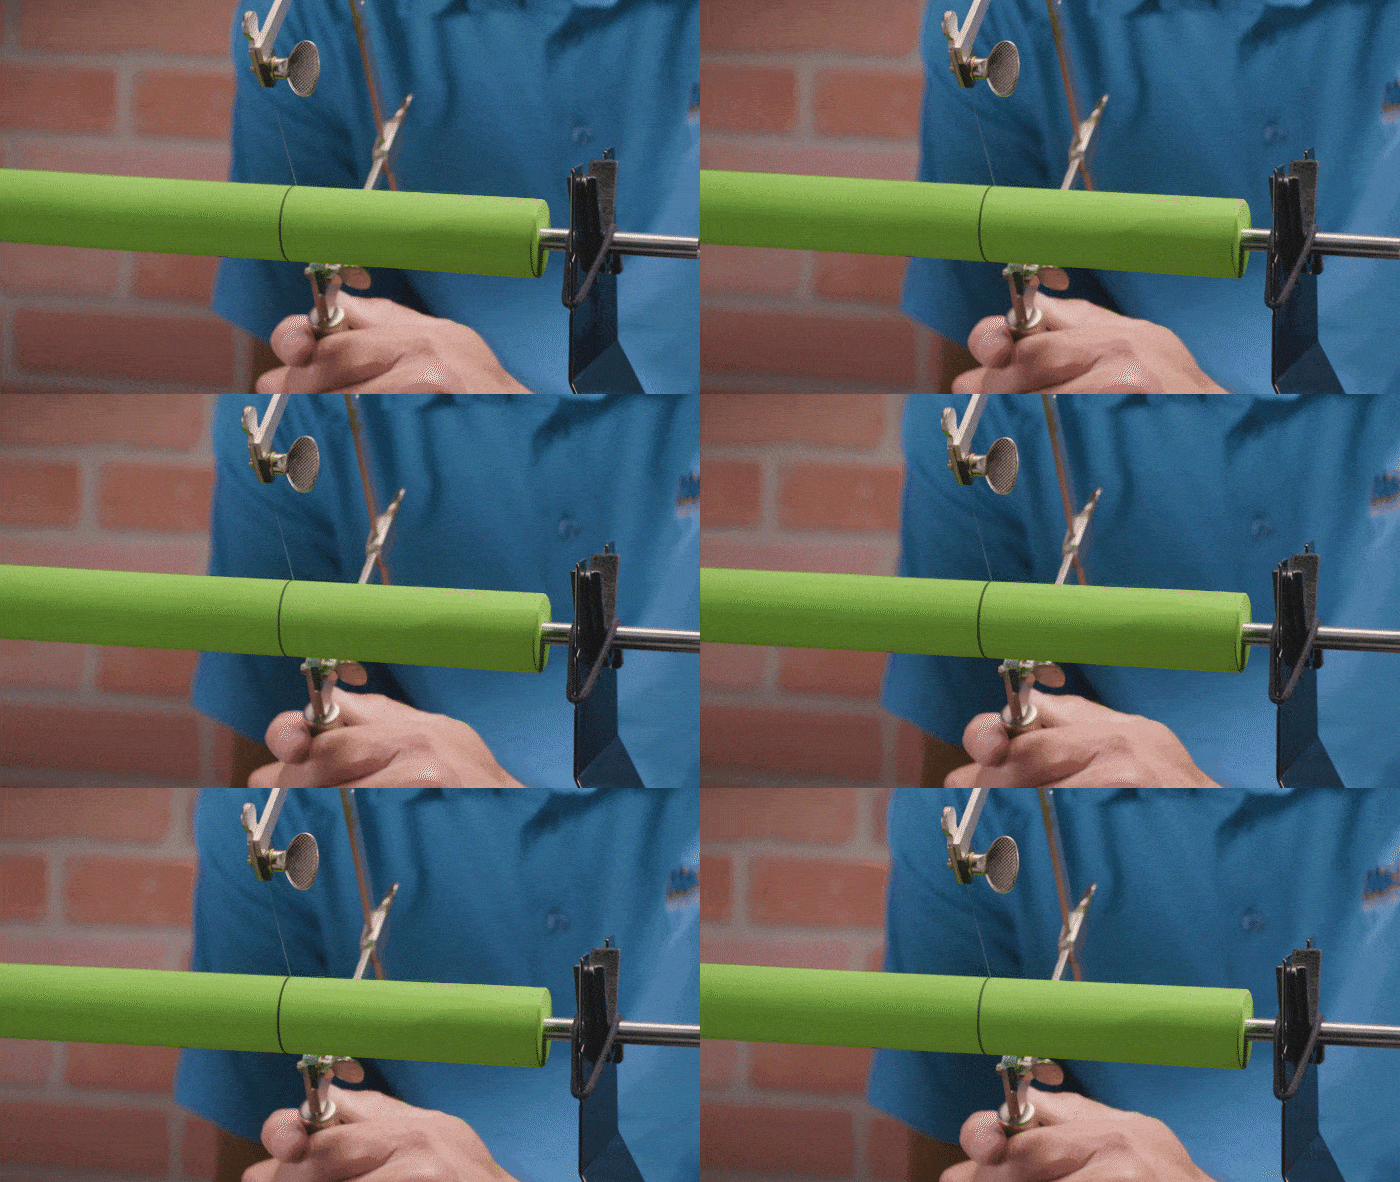
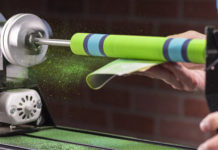
Carefully use a cork jig saw to apply pressure as the grip spins & cut it cleanly.
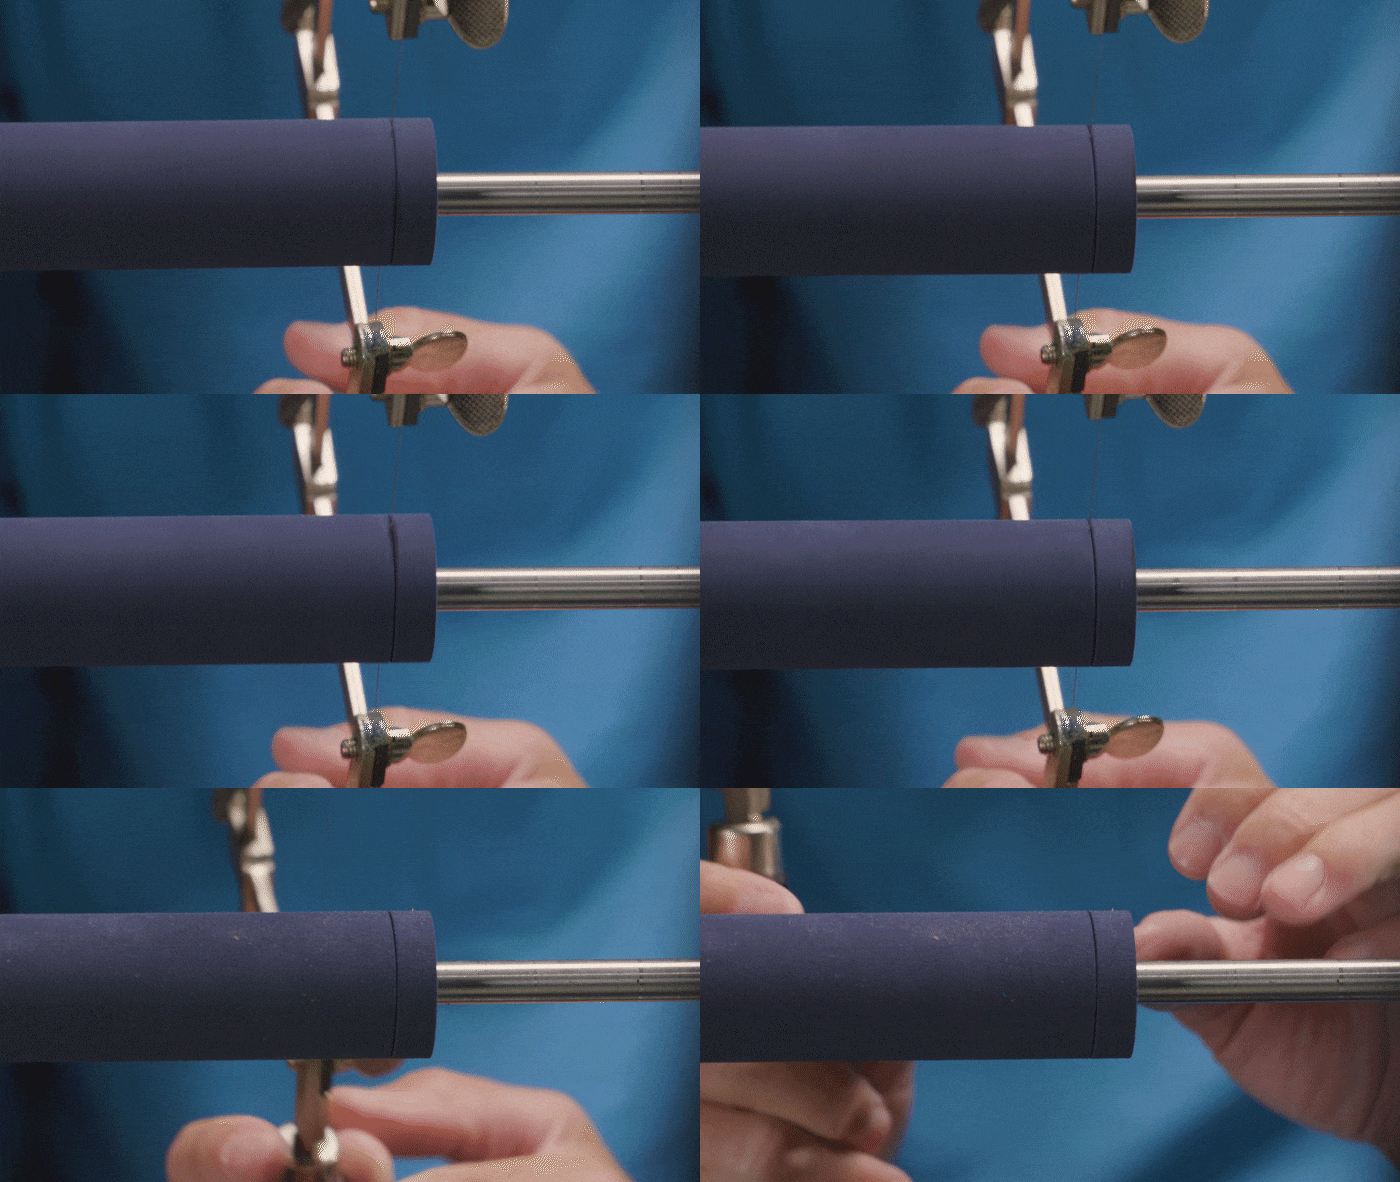
Step Four: Lay Out Your Pieces
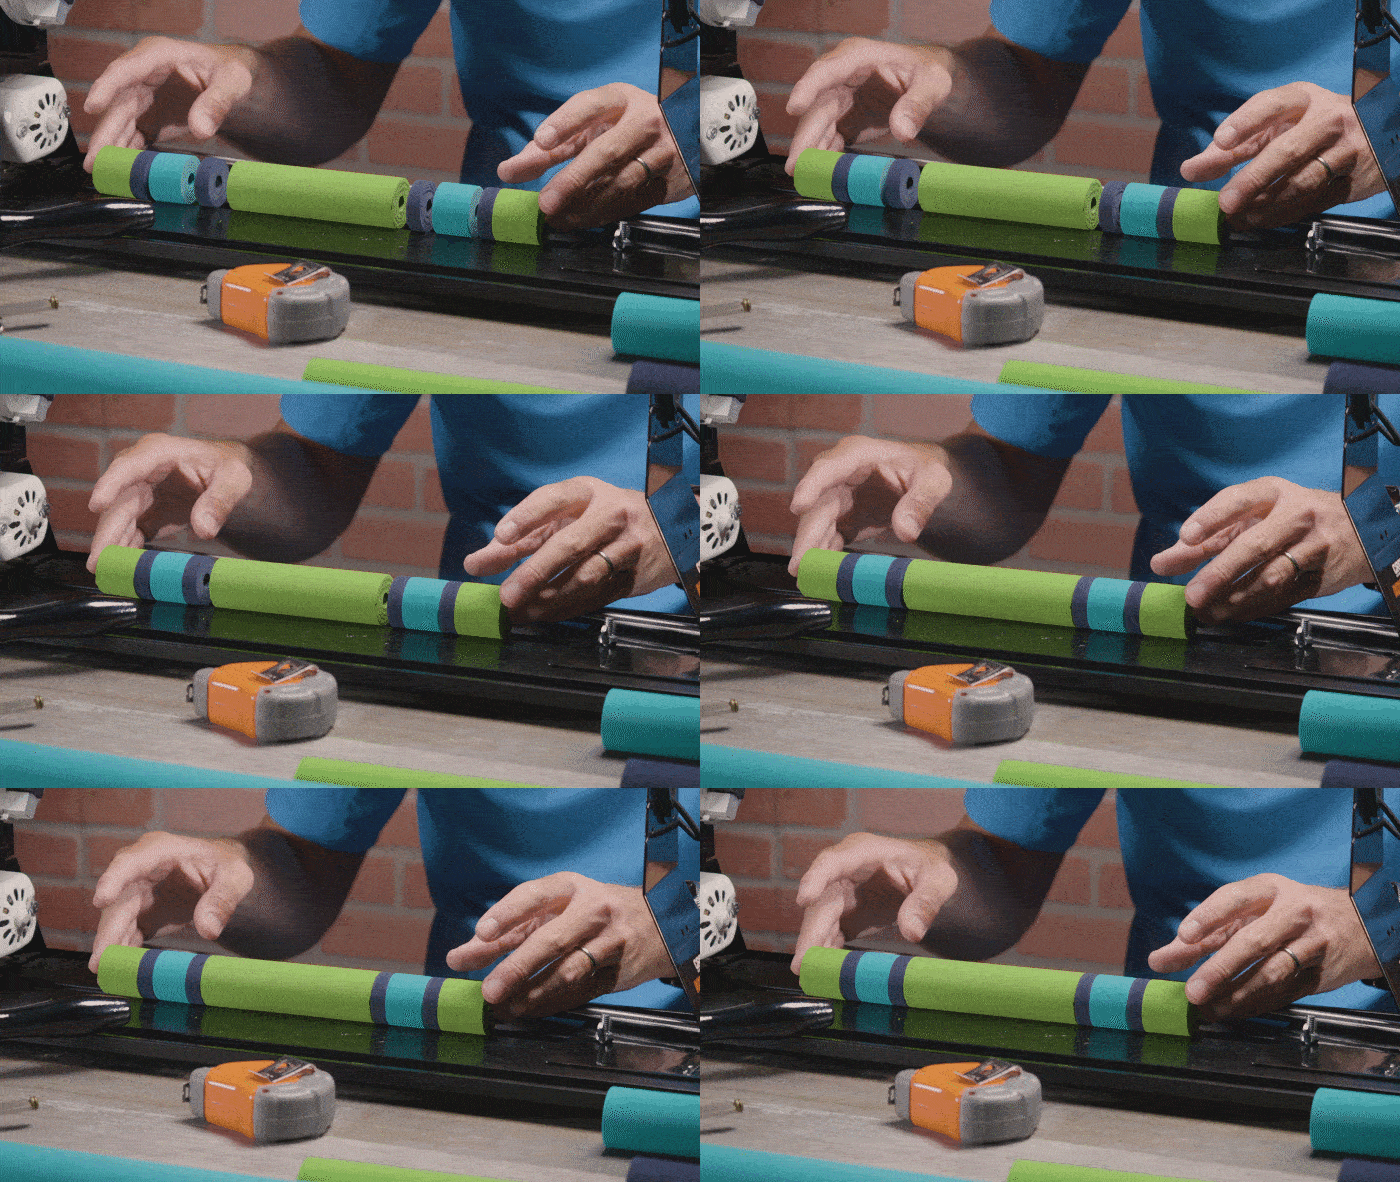
Line up your pieces & make sure you are happy with your cuts.
Step Five: Time to Glue
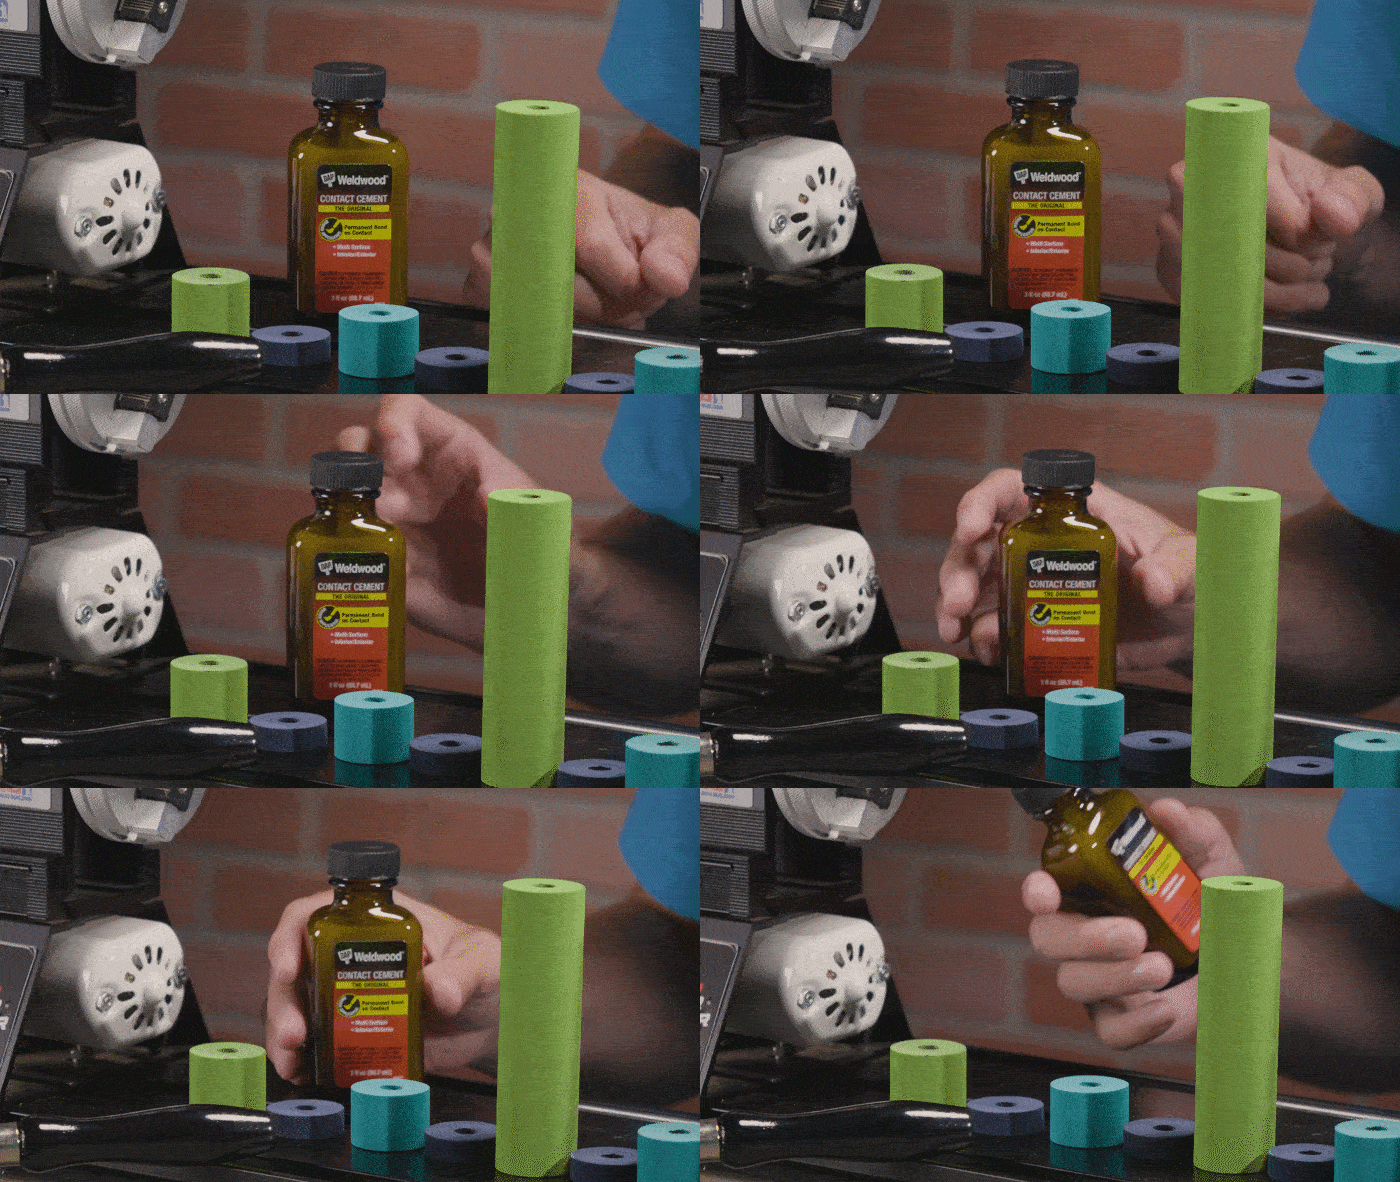
Apply 2 thin layers of contact cement to one side & wait 5 minutes in between layers.
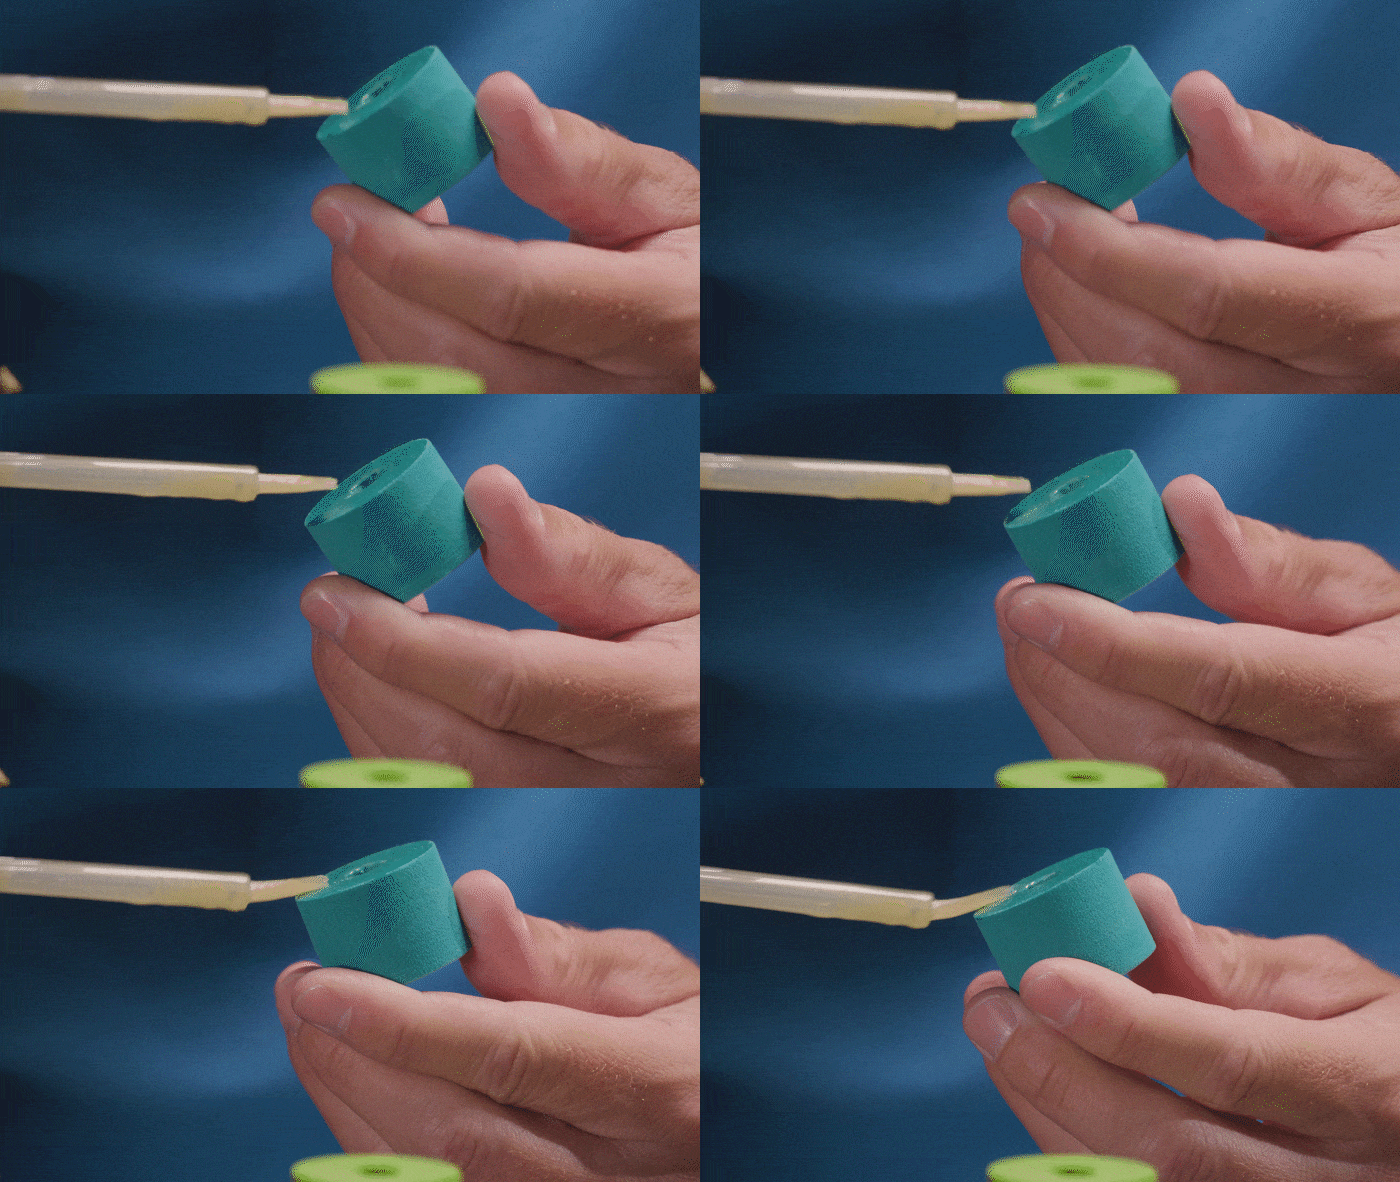
Step Six: Keep on Gluing
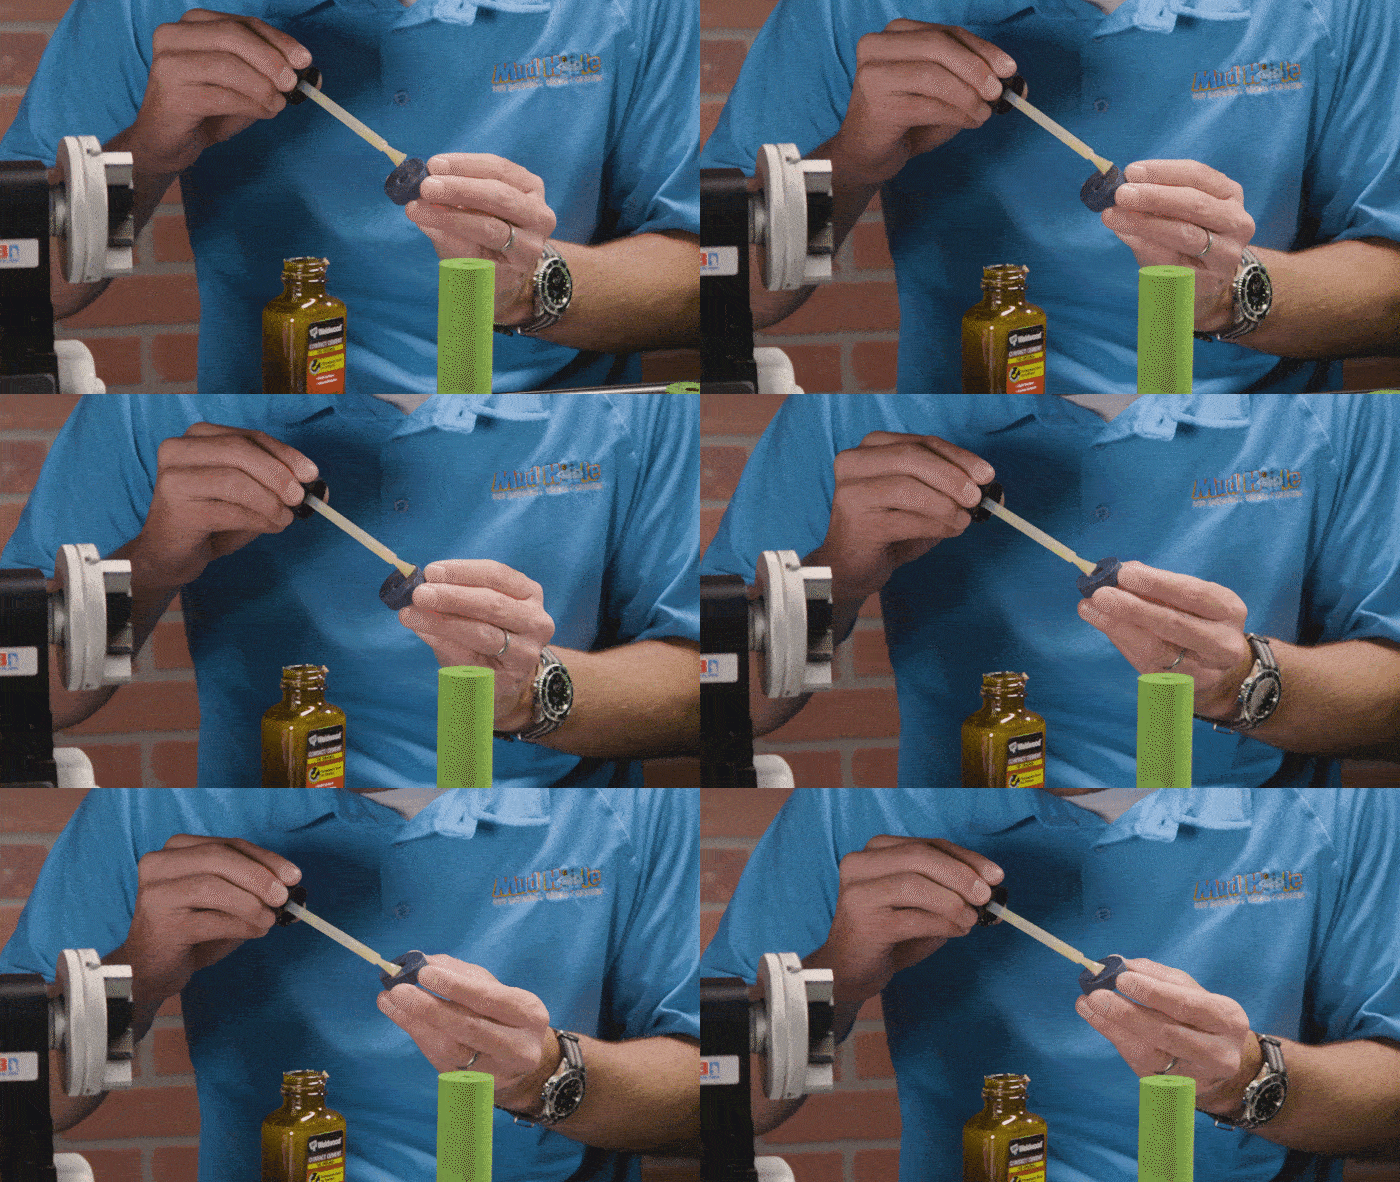
Repeat step 5 on the opposite sides but leave the grip’s outside edges unglued.
Step Seven: Build Your Grip
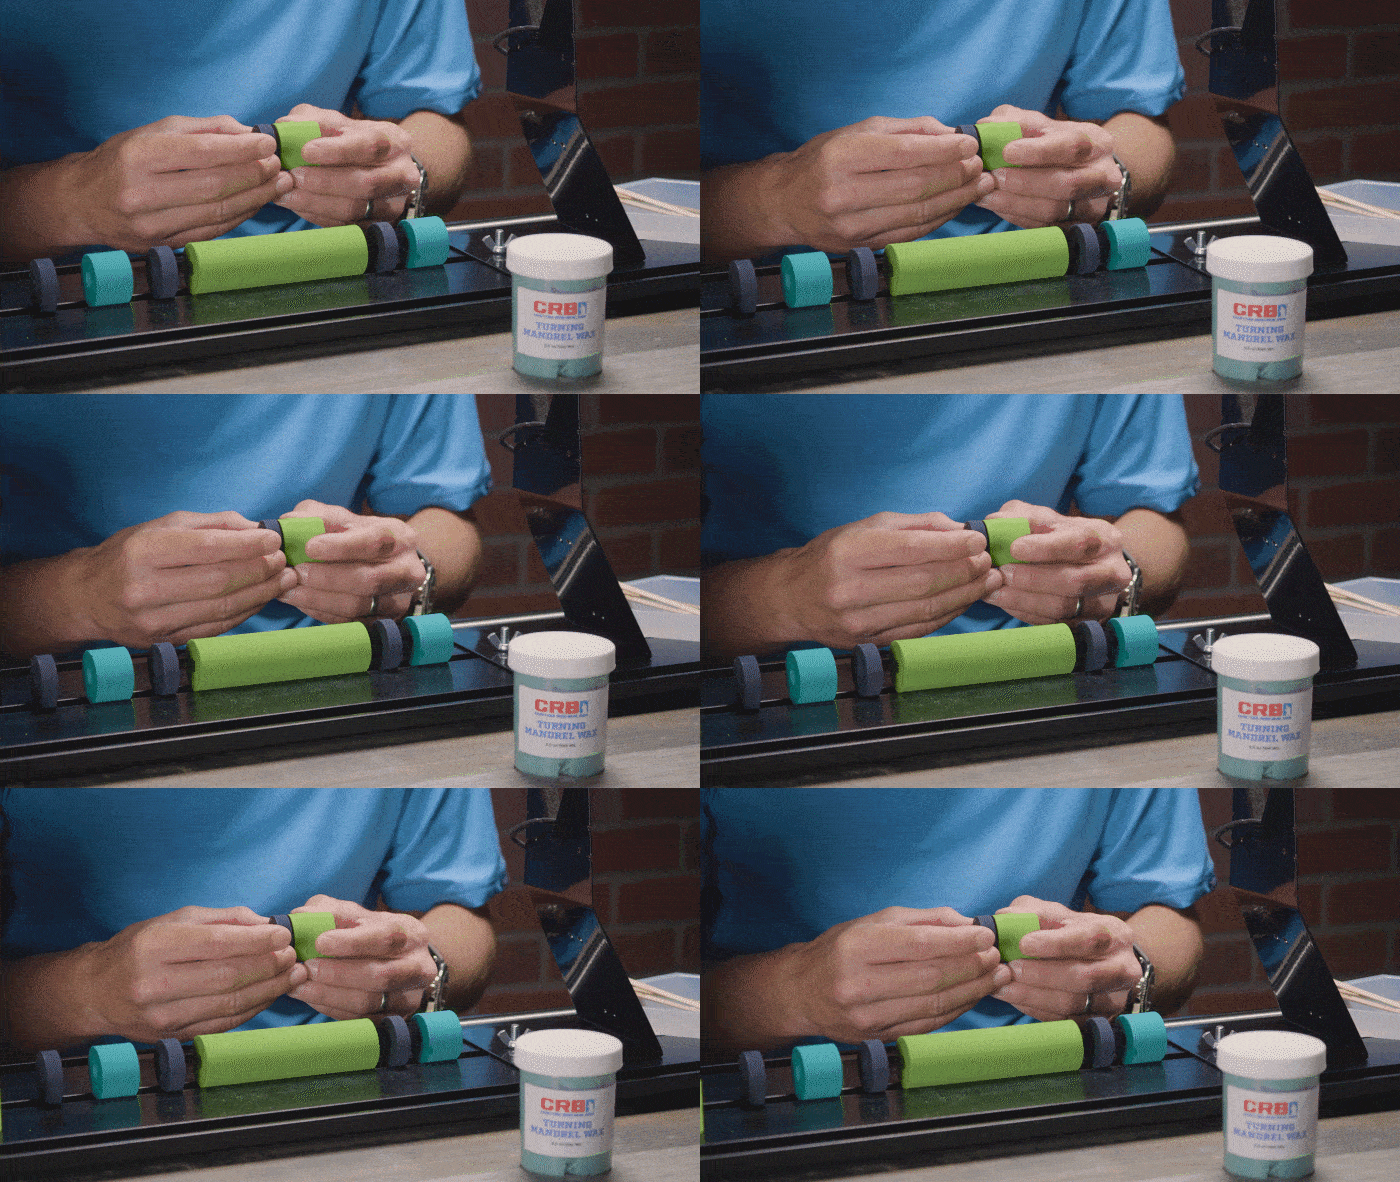
Align your first two pieces & stick them together.
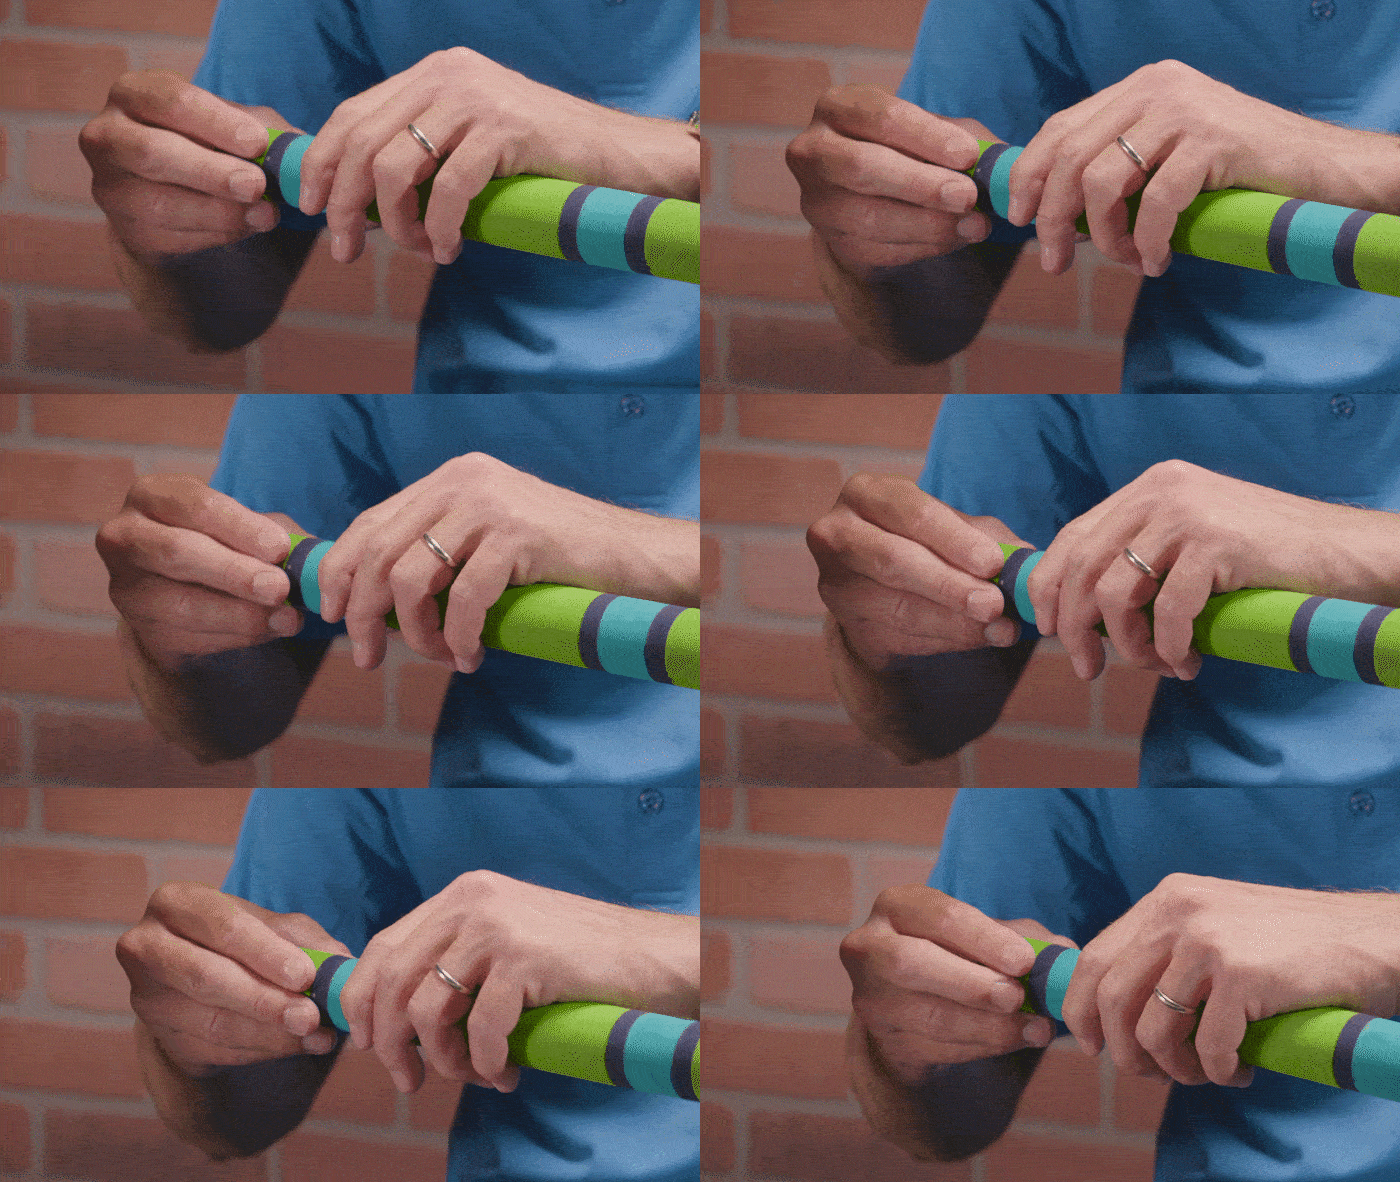
Note: Contact cement’s bond is immediate & permanent.
Step Eight: Prepare Your Mandrel
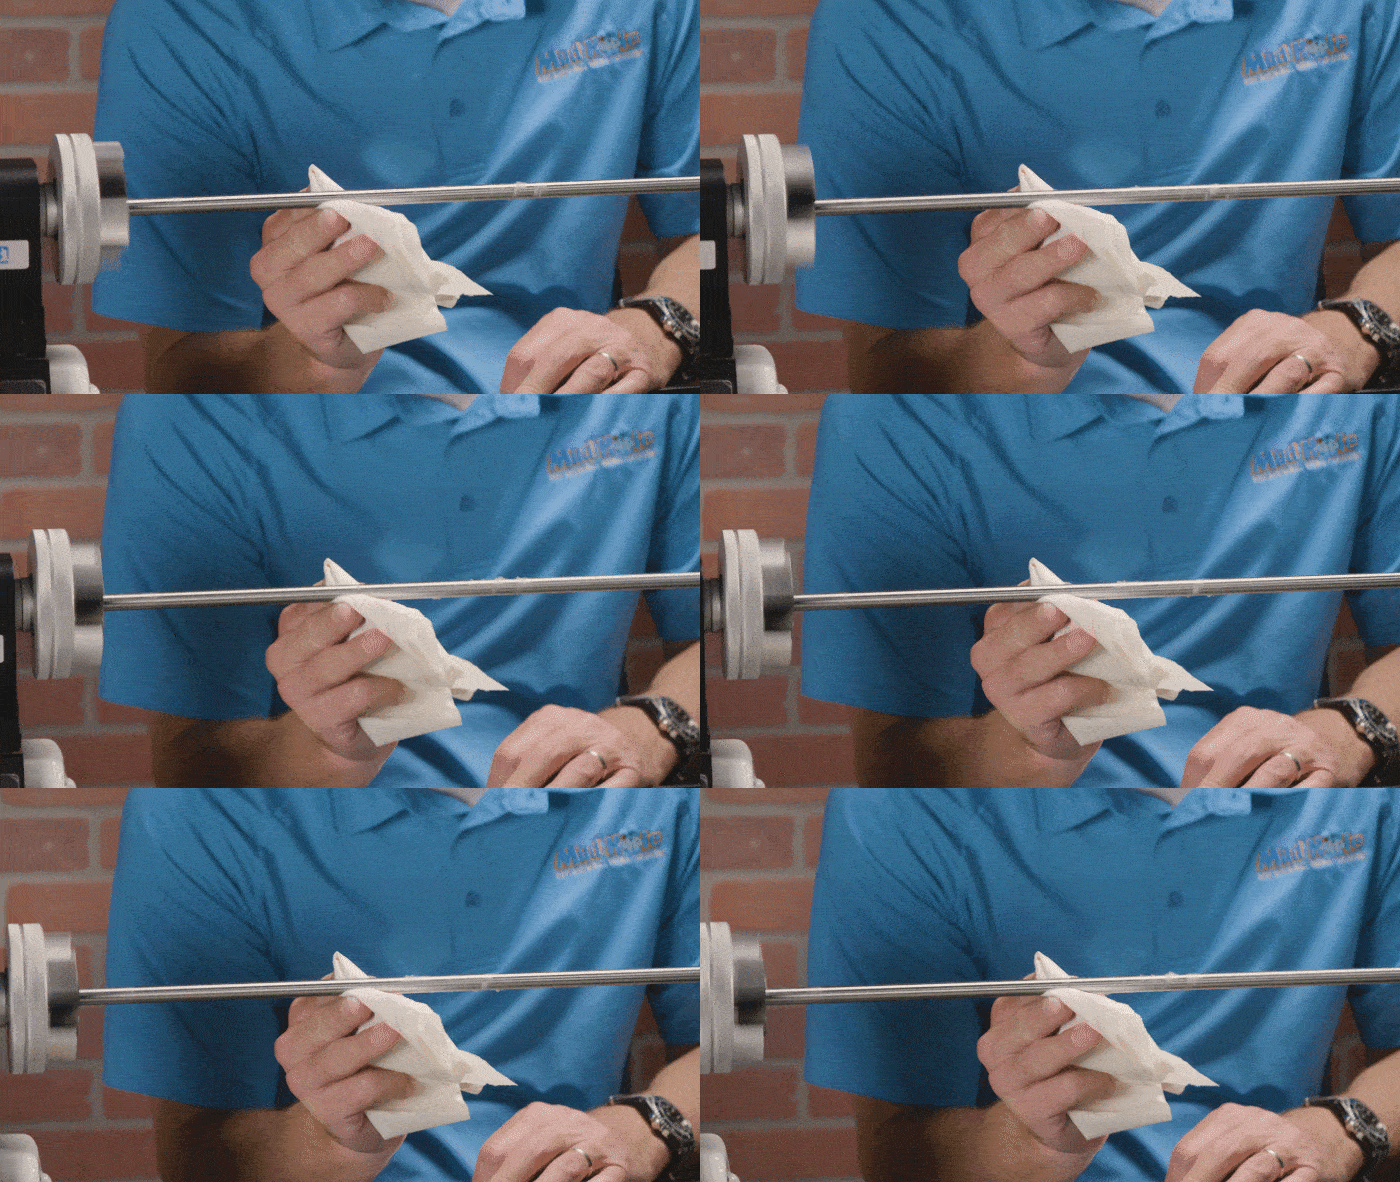
Use a dry towel to apply a small amount of mandrel wax over the mandrel.
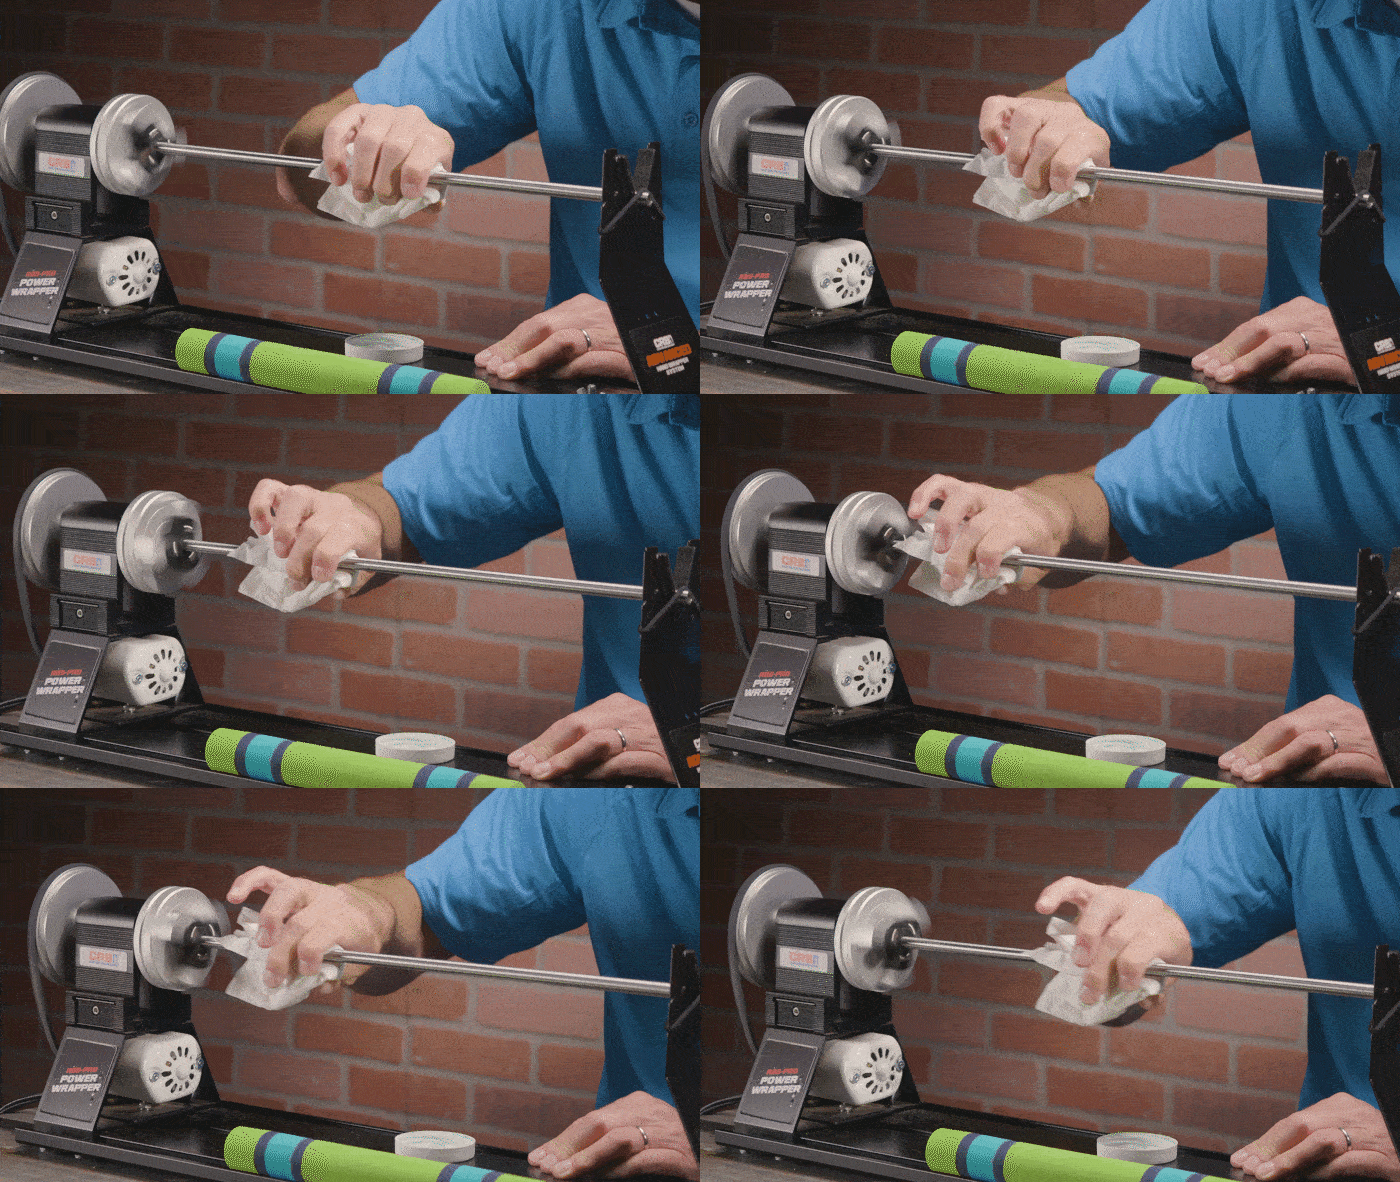
Note: Wax keeps EVA from sticking to the mandrel.
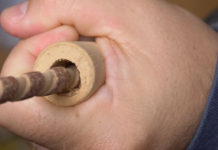
Step Nine: Slide Grip on the Mandrel
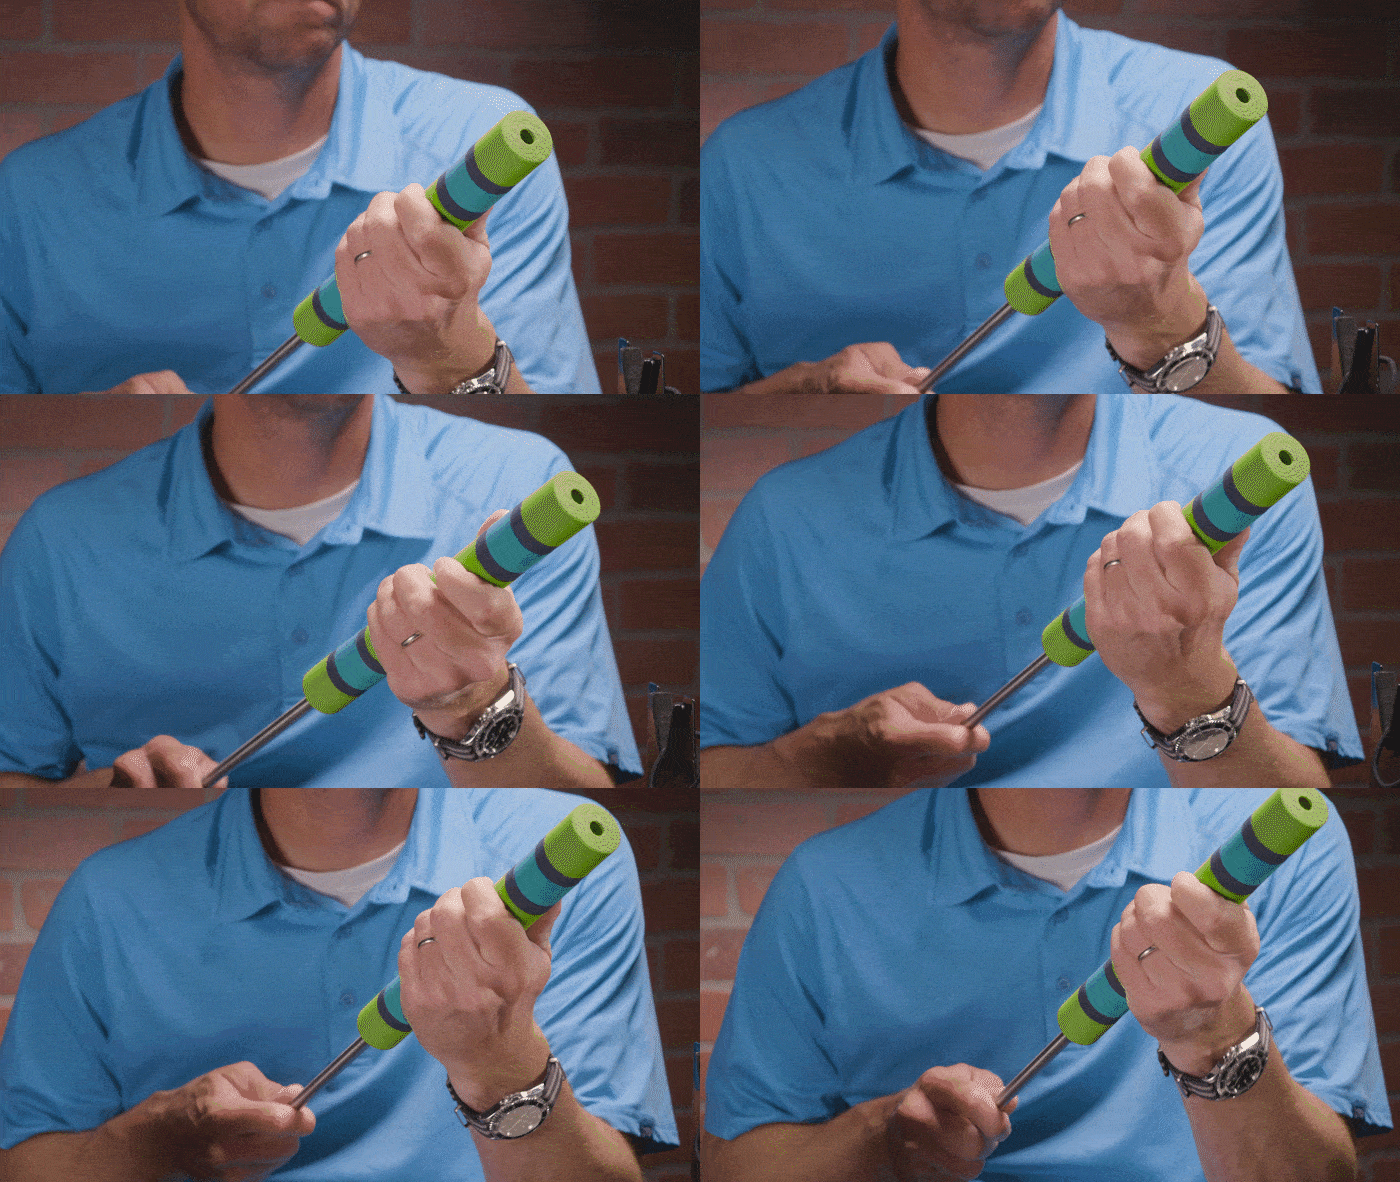
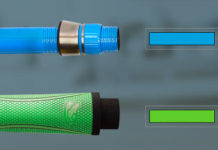
Size the mandrel per your grip’s inner diameter & leave room for the RBS Pro & Support.
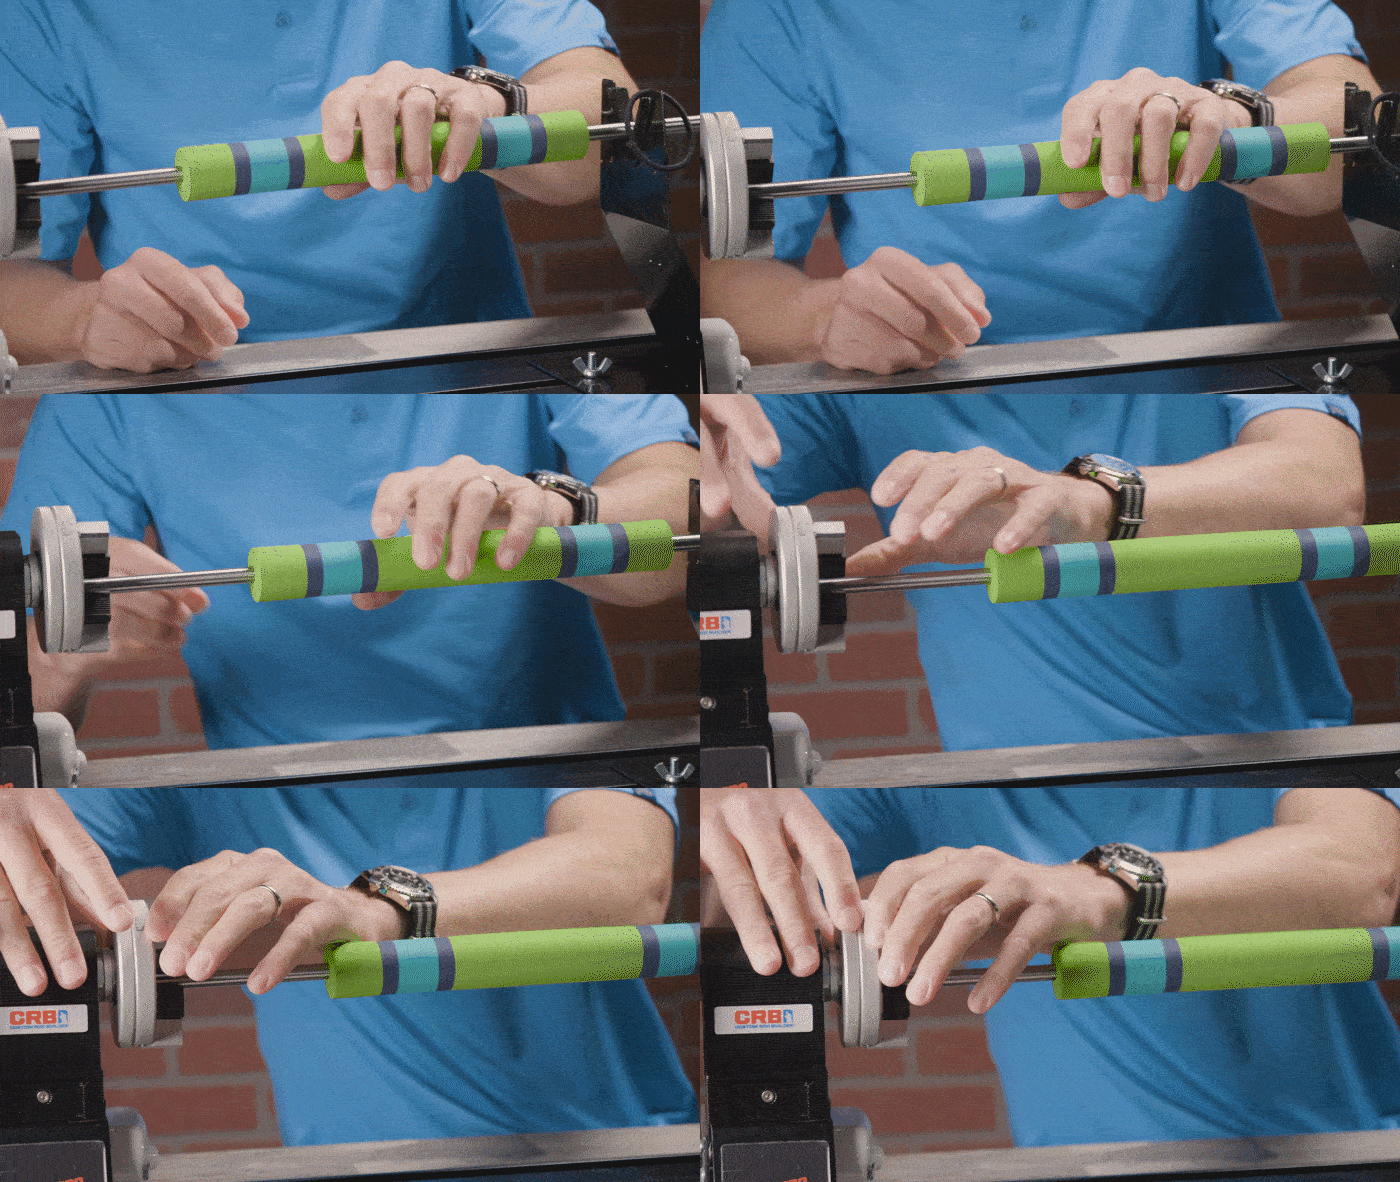
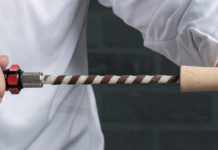
Step Ten: Sand & Turn Your Grip
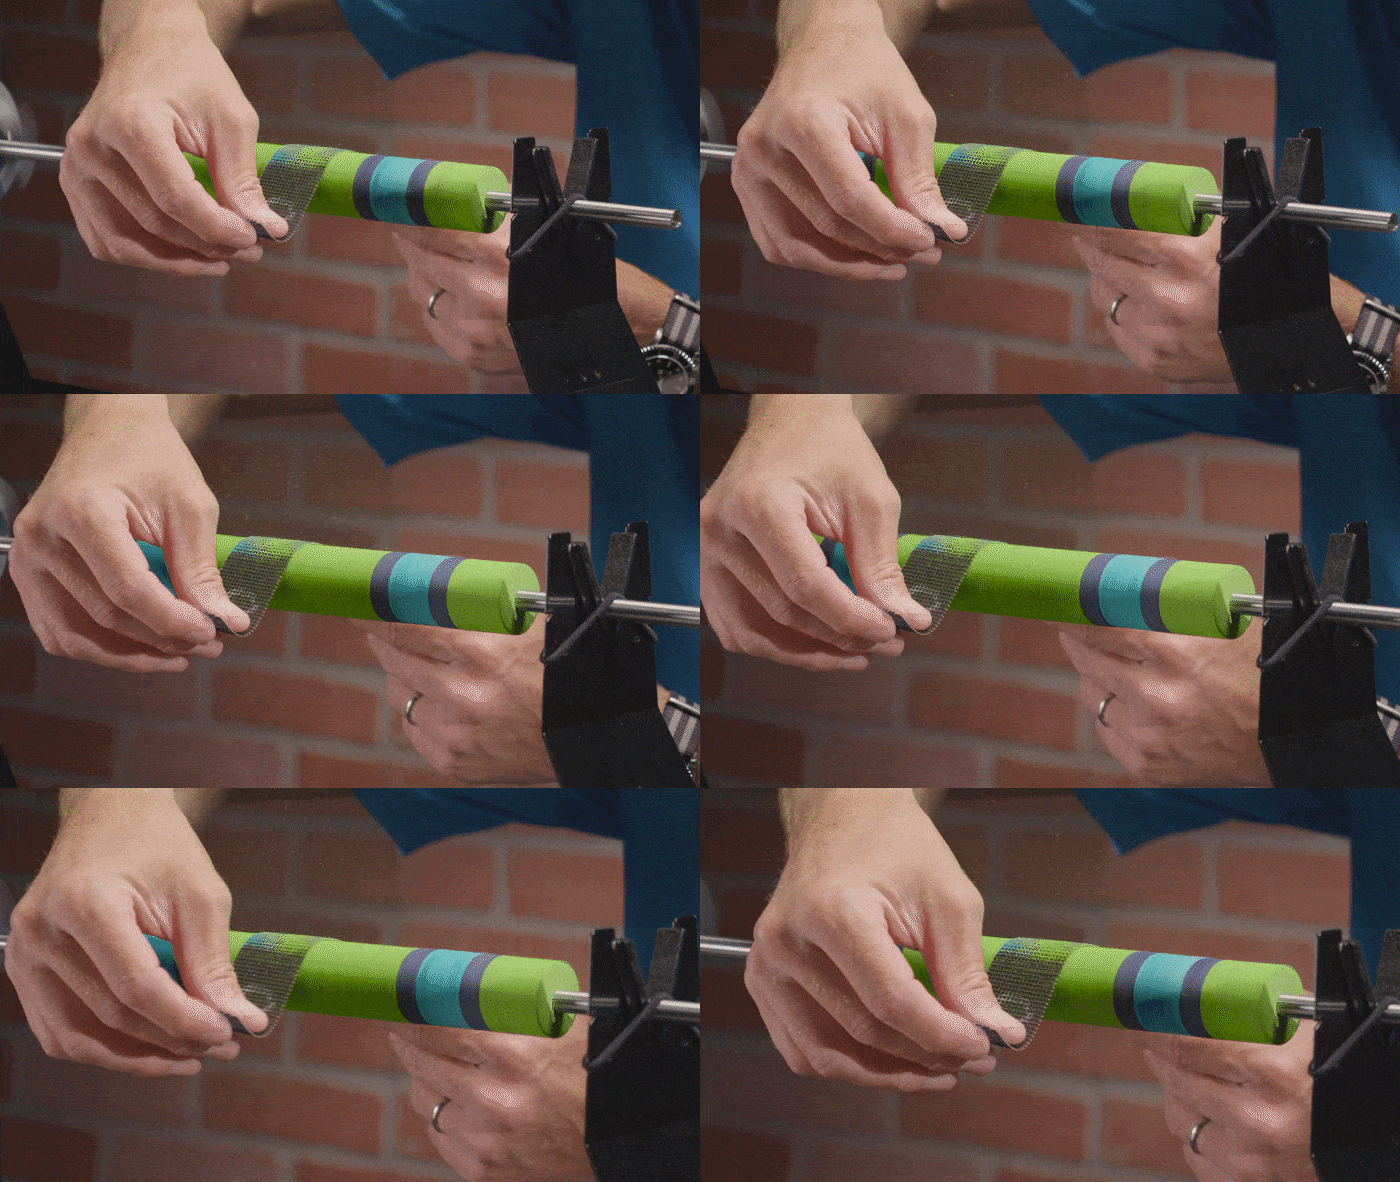
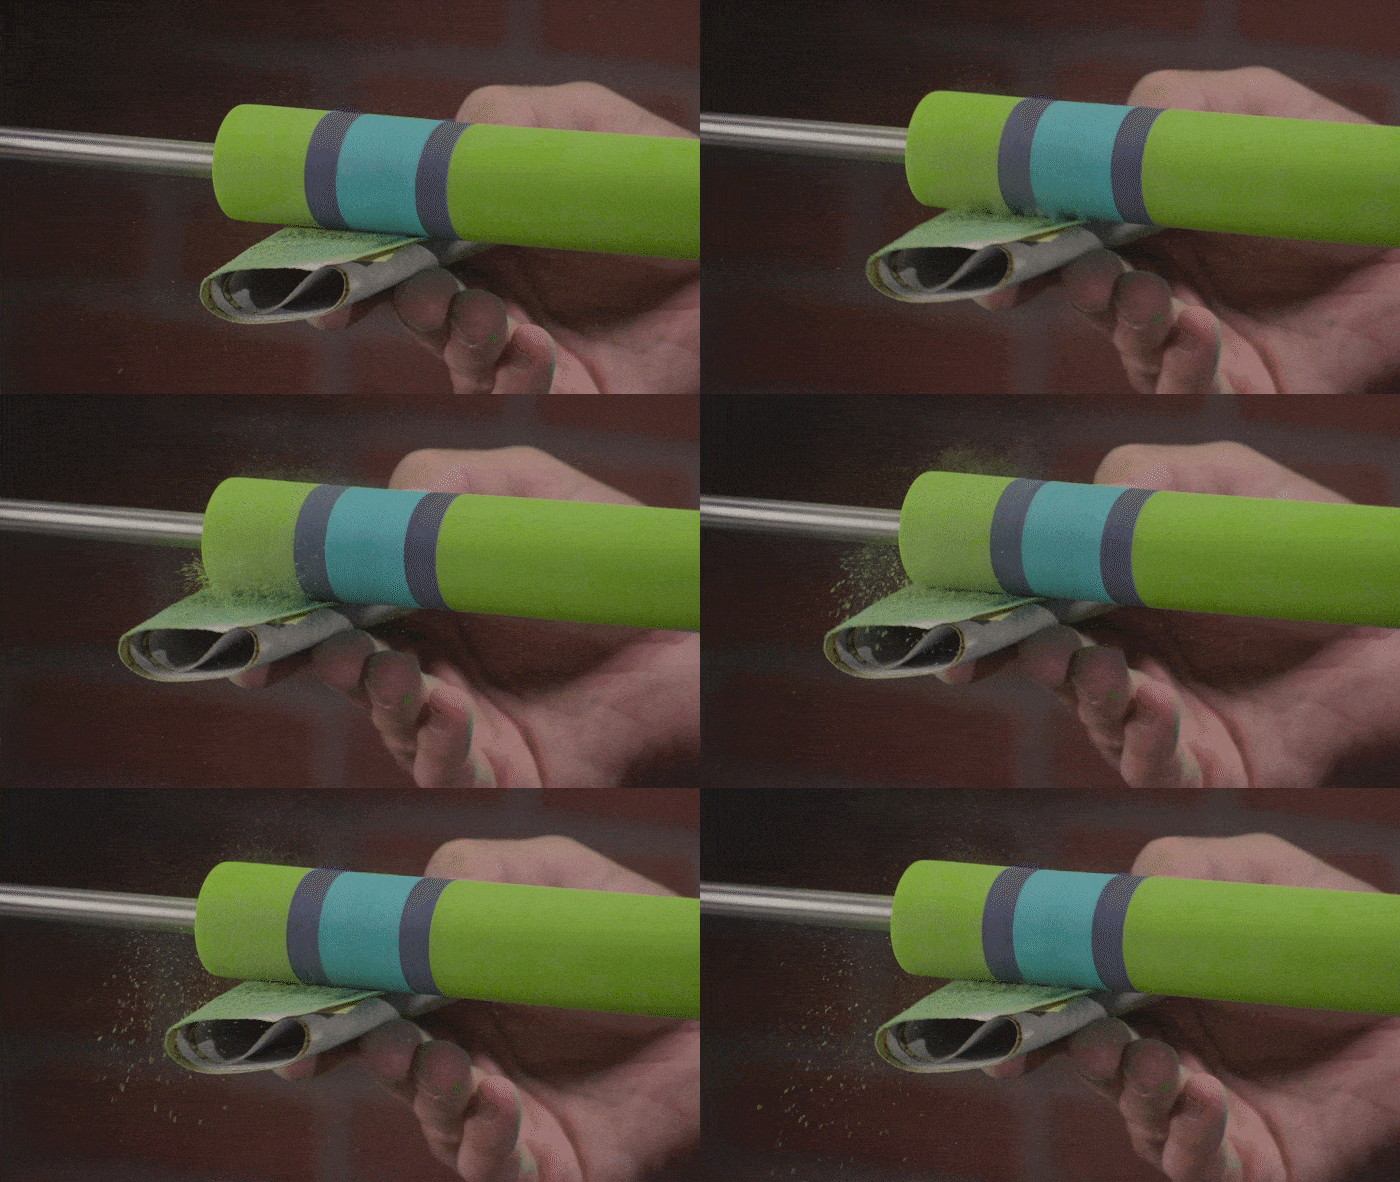
Use sanding screen to shape the grip & finish it with fine grit sand paper to remove blemishes.
Enjoy your New Custom EVA Grip!
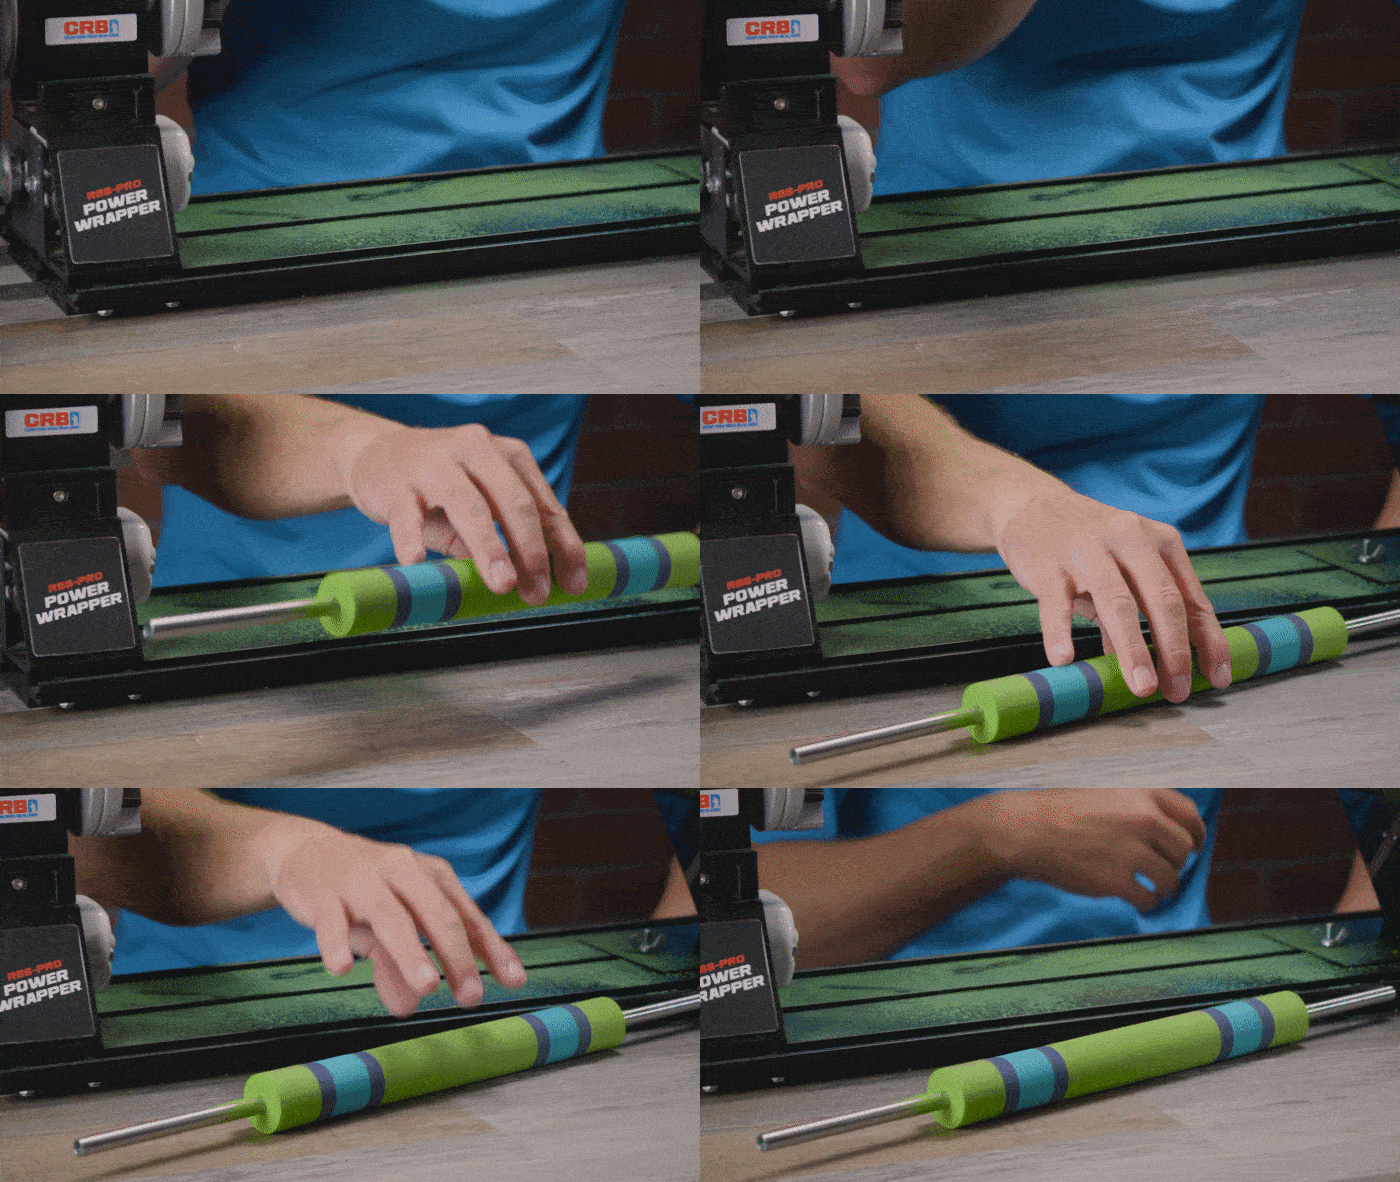
With the EVA shaped to your liking, remove it from the mandrel and get ready to mount your new grip on your custom rod. Use your Extreme Reamers to size the grip’s inner diameter to fit onto your rod’s handle.
Once you have the grip reamed to fit, use your ProPaste Epoxy to mount the grip in place and finish out your new build.
Finally – Enjoy fishing your new favorite rod with your own custom EVA Grip!

Credit: Source link


