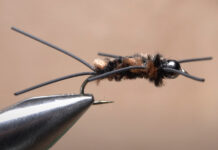
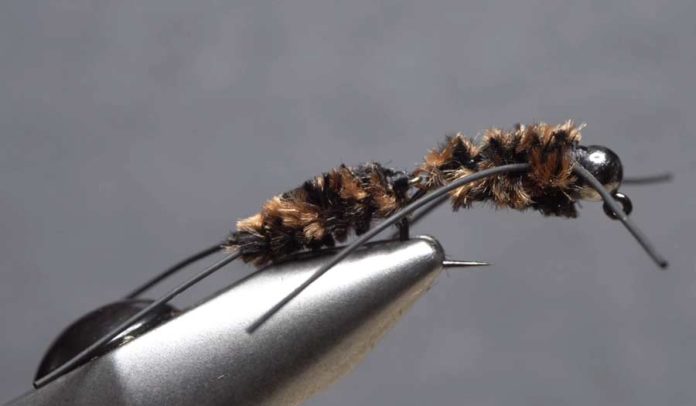
There’s little doubt that Tim Flagler of Tightline Productions loves the Pat’s Rubber legs. He first showed us how to tie his version of the original, and has followed up over the years with two other variations: the Pat’s Plus and the Get It Down Pat’s. Now he’s back with a third, really cool variant that’s articulated, which adds a new dimension to the venerable pattern.
In this week’s video, Tim shows you how to create the Jiggly Pat’s, which features a rear body attached to the hook with a monofilament connection. As usual, you’ll learn a few tips along the way, which will help you tie lots of other patterns. Don’t worry that an articulated pattern is beyond your skills at the vise because Tim makes everything simple. The result looks fishy as all get out.
Jiggly Pat’s
Rear Hook: 2X-long nymph/hopper hook (here a Lightning Strike NH7), size 12.
Thread: Black, 6/0 or 140-denier.
Body: Variegated black and coffee chenille, medium.
Tails: Black round rubber legs, small.
Adhesive #1: Head cement (here, Sally Hansen Hard-As-Nails).
Front Hook: Jig hook (here a Lightning Strike JF2), size 10.
Thread: Black, 6/0 or 140-denier.
Head: Black nickel slotted tungsten bead, 5/32-inch.
Weight: Lead-free round wire, .020.
Connection: 8-pound test leader material.
Adhesive #2: Superglue (here, Fly Tyers Z-Ment).
Body: Variegated black and coffee chenille, medium.
Legs: Black round rubber legs, small.
Adhesive #3: Head cement (here, Sally Hansen Hard-As-Nails).
Tools: Bodkin, wire cutters, plunger-style hackle pliers, and whip-finish tool.
Credit: Source link


