


Learn the easy way to magic marble fishing grips, reel seats, and more for your next rod build.
Pour it. Mix it… Marble it! See All About Marbling 8/18 at 6:30PM EST!
Marbling can turn any custom build into a true masterpiece, and we’re sharing all the best tips and tricks you need to make it happen. From using colorful magic marble, to applying fun patterns with pigments and epoxy, watch Mud Hole Live to make your next rod an original work of art.
Featured Demos:
• Learn the Basics of Marbling
• How to Magic Marble Custom Grips
• Step-by-Step Marbling on Carbon Fiber
Watch for LIVE Q & A and FREE GIVEAWAY PRIZES!
3rd Place | Starter Marbling Kit
2nd Place | Professional Marbling Kit
1st Place | CRB Color Series IS661 Rod Kit + (3) Magic Marble
To win a FREE PRIZE, watch the show and LIKE & SHARE our Mud Hole Live post for your chance to WIN!
How to Add Magic Marbling in Rod Building
Few things say custom rod building more than crafting an original fishing rod that’s designed, built, and decorated to your preference. Marbling is a fun and fast way to make any custom rod truly one of a kind.
1. Fill a Container with Cold Water
First, get a disposable container that is large enough to submerge the entire fishing rod component that you want to marble.
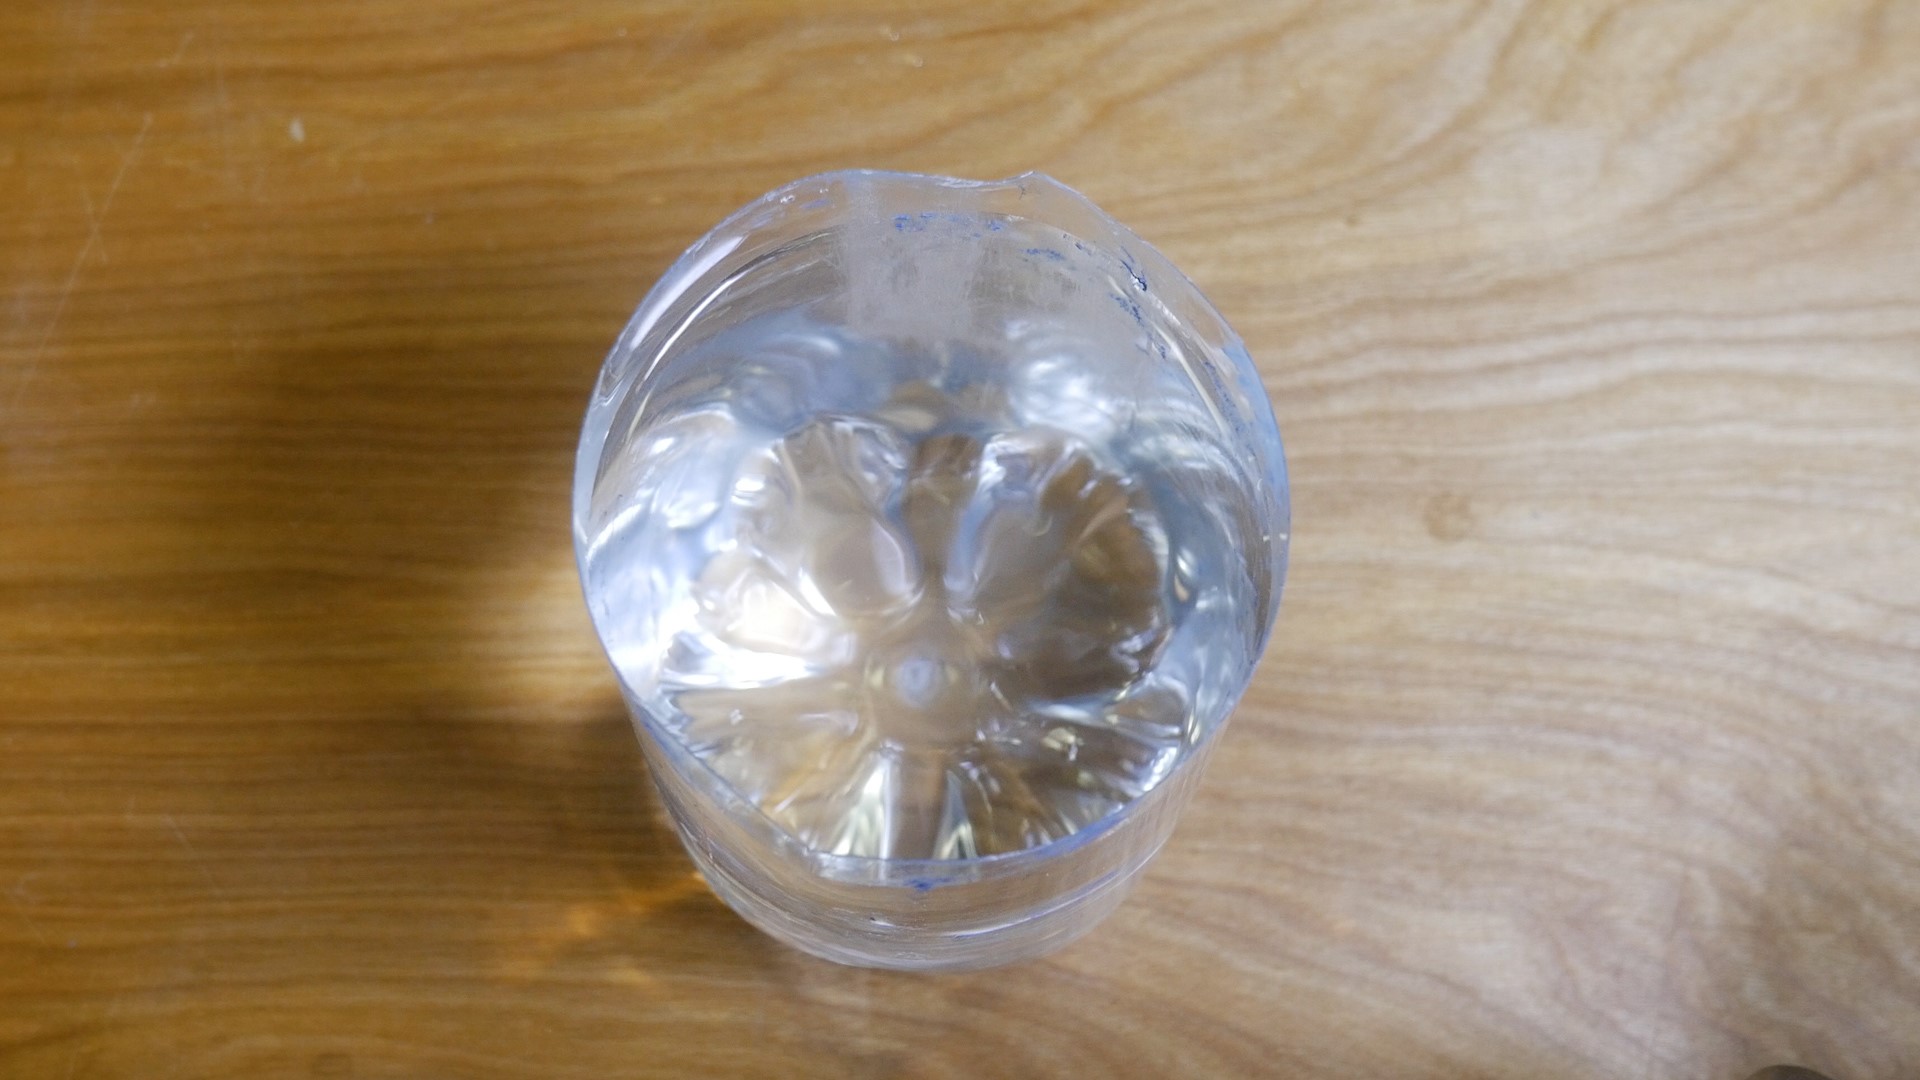
Then, fill the container with cold water. Make sure you have enough water for the rod component, but avoid filling container to the brim and spilling the displaced water.
2. Shake Up Paint and Drop Colors into Water
Choose 3-4 color paints that will look good together and shake each color up before beginning application.
Once you have shaken the paint colors, hold the bottle close to the water’s surface and begin dropping the colors into the container.
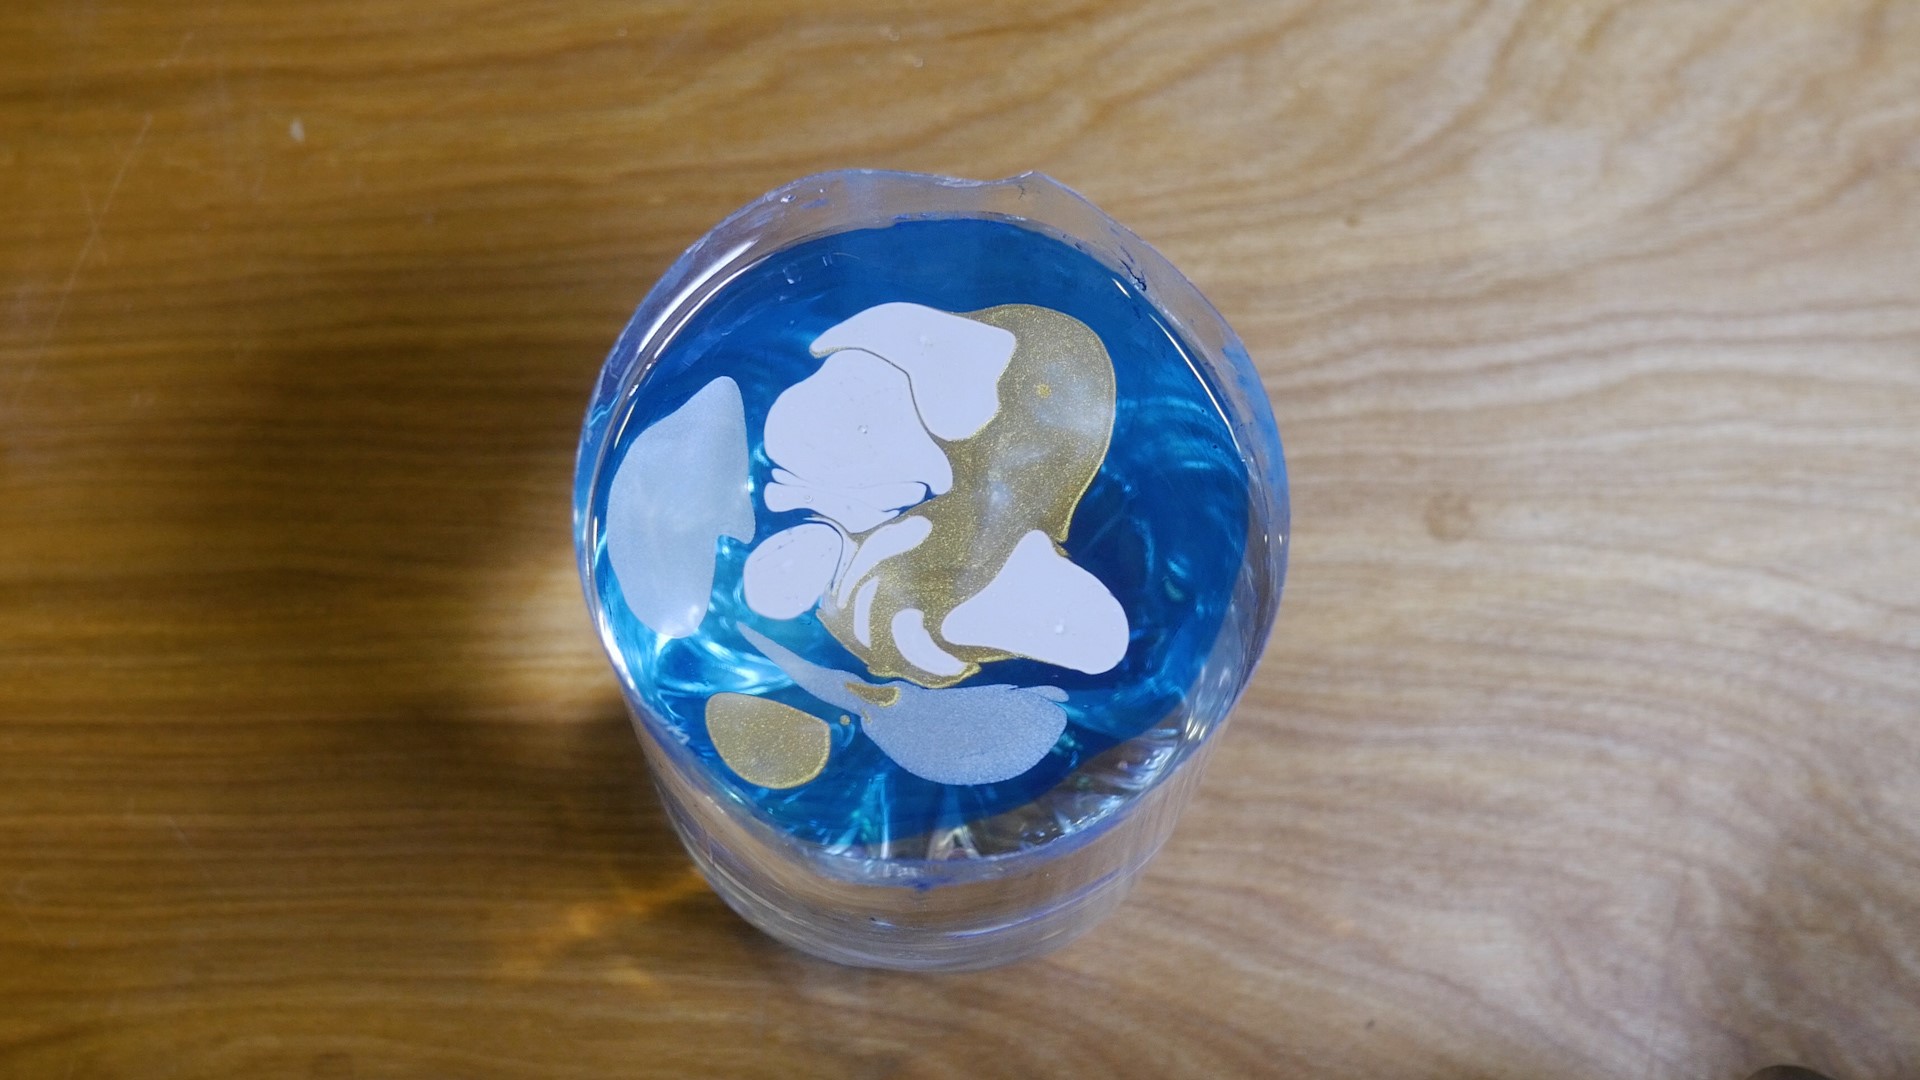
Start with 2-3 drops of each color before adding more paint. This ensures that you cover the surface of the water and your rod component without ruining your swirl design.
Darker colors work better than lighter colors as a base, so start with darker colors before adding any lighter paints.
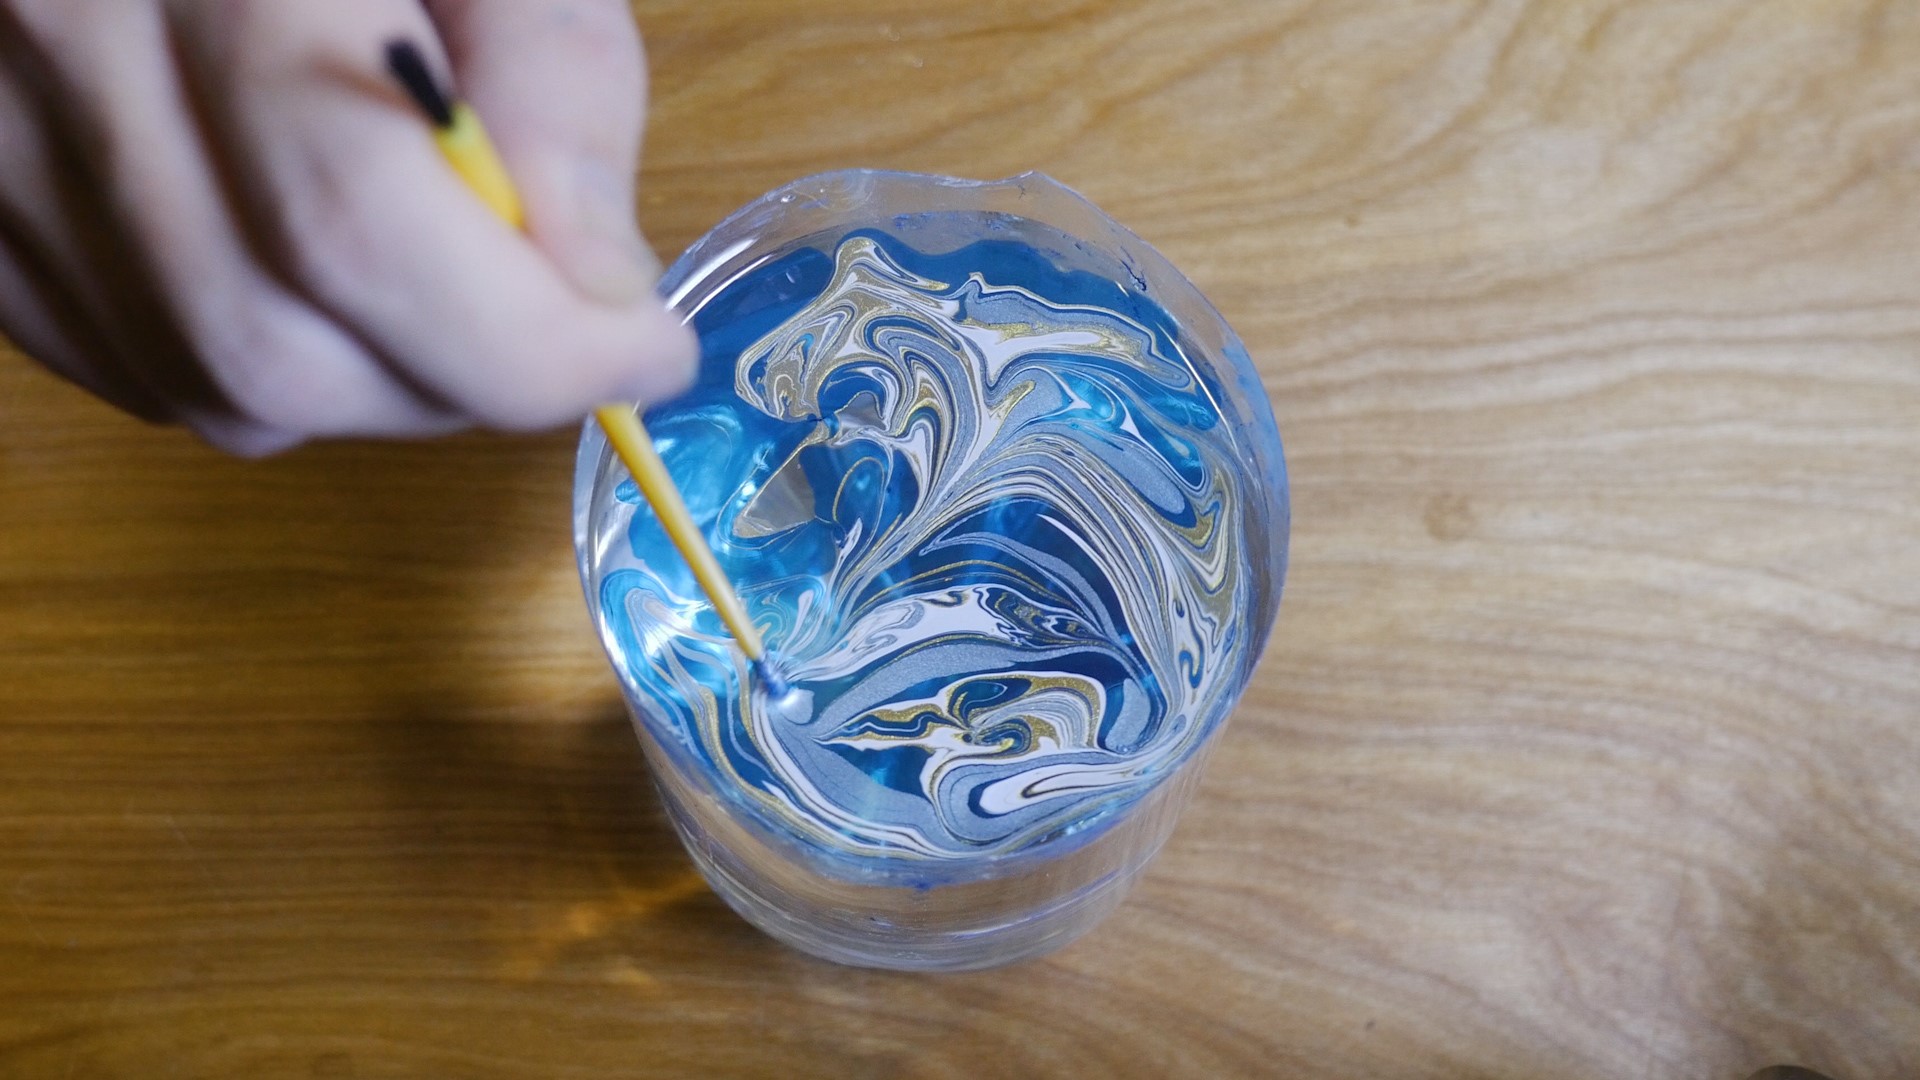
3. Swirl Paint Color for Marbled Design
After the surface of the water is completely covered with paint colors, use a stir stick to slowly swirl the colors into the design of your choice.
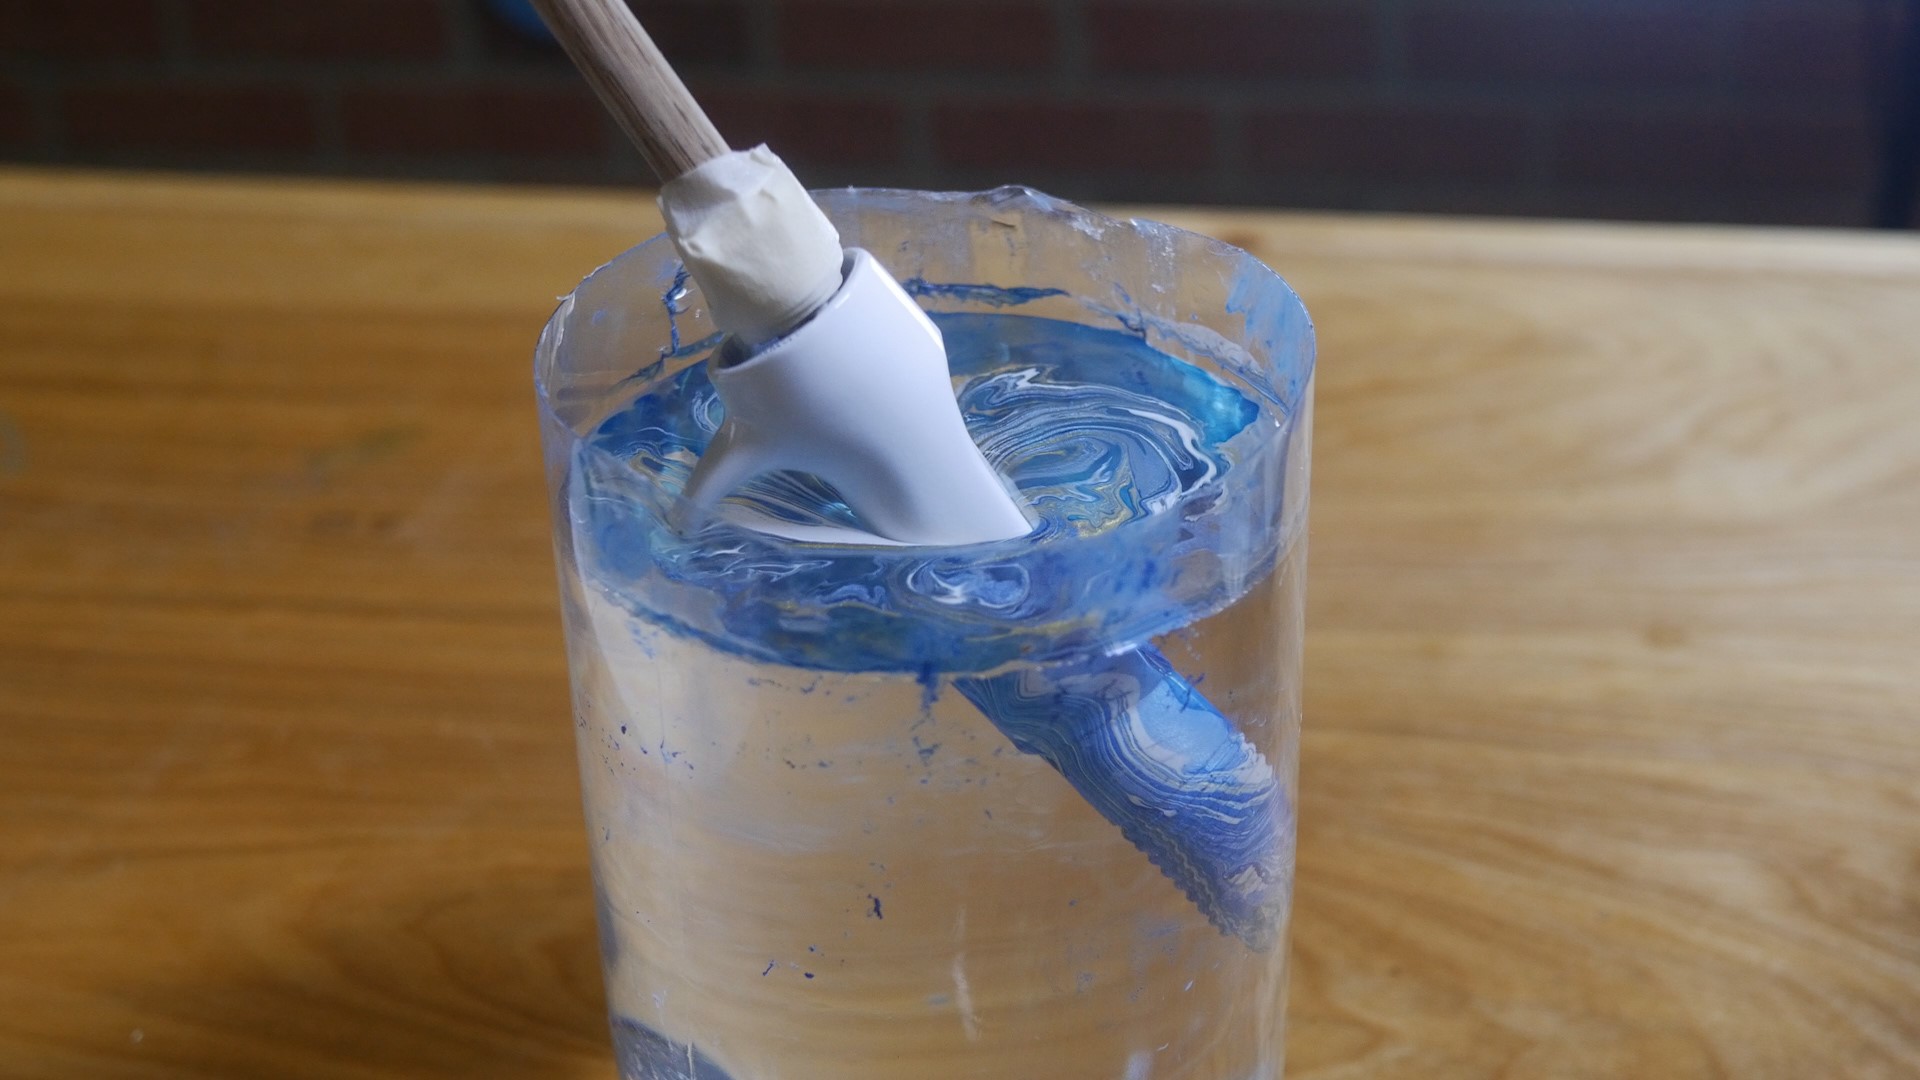
4. Dip Fishing Rod Component
When you’re ready to dip your rod component to add marbling, make sure you have a firm grip then gently, yet quickly push it under the water.
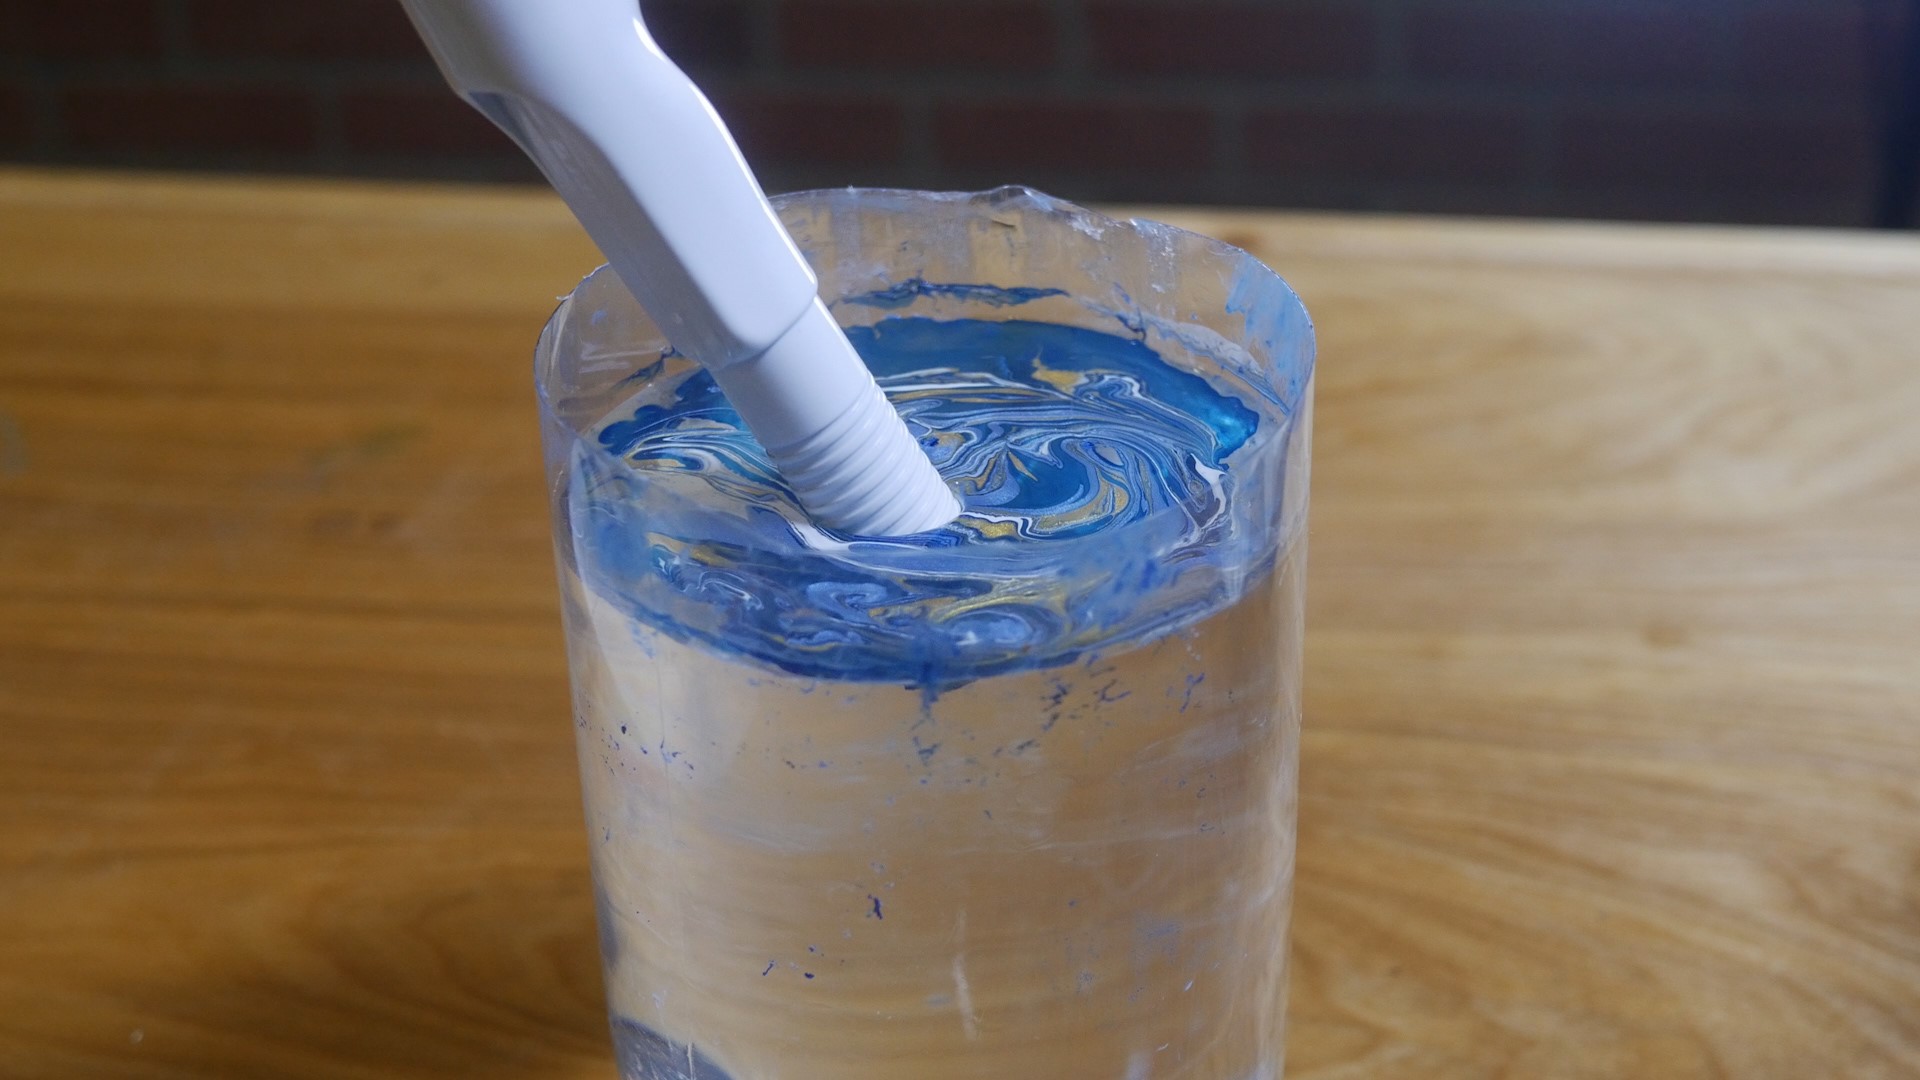
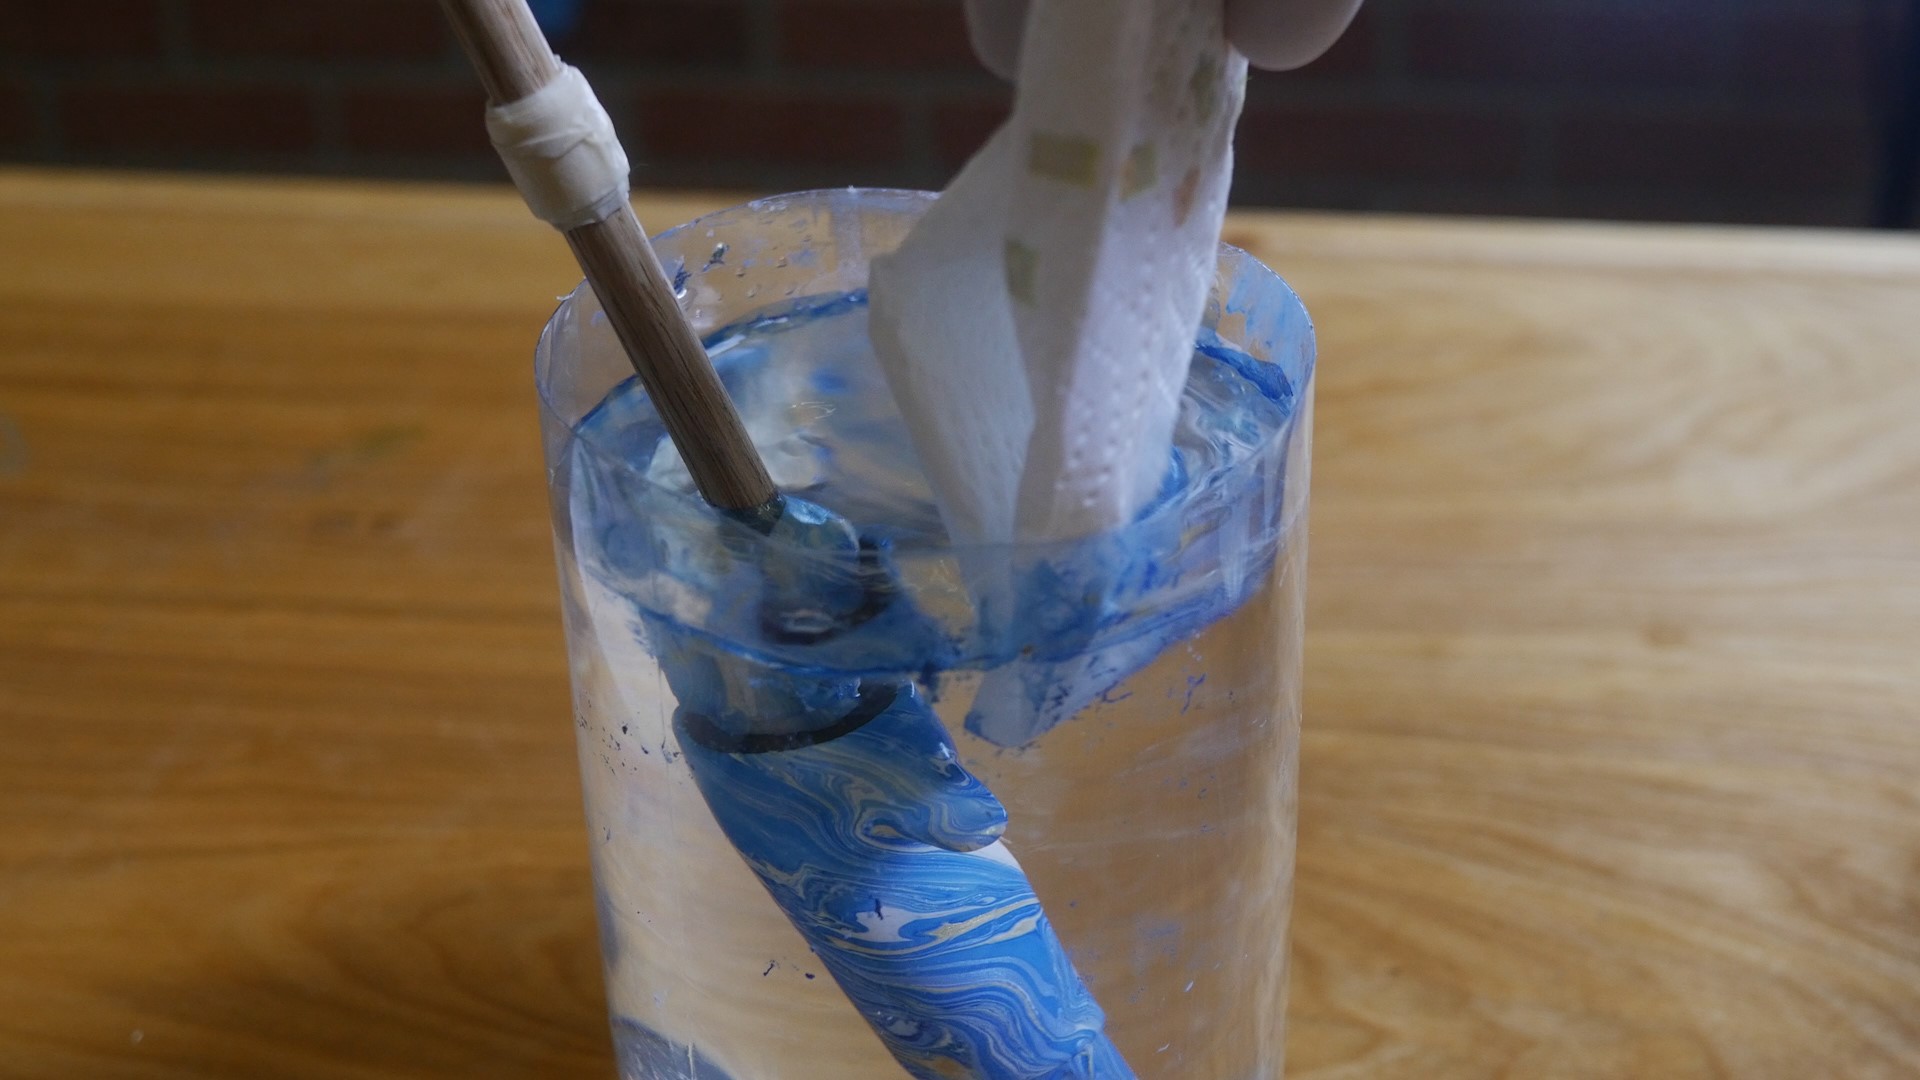
5. Clear Away Excess Paint from Surface
While holding the component underwater, blow away the excess paint or use a paper towel to soak it up from the water.
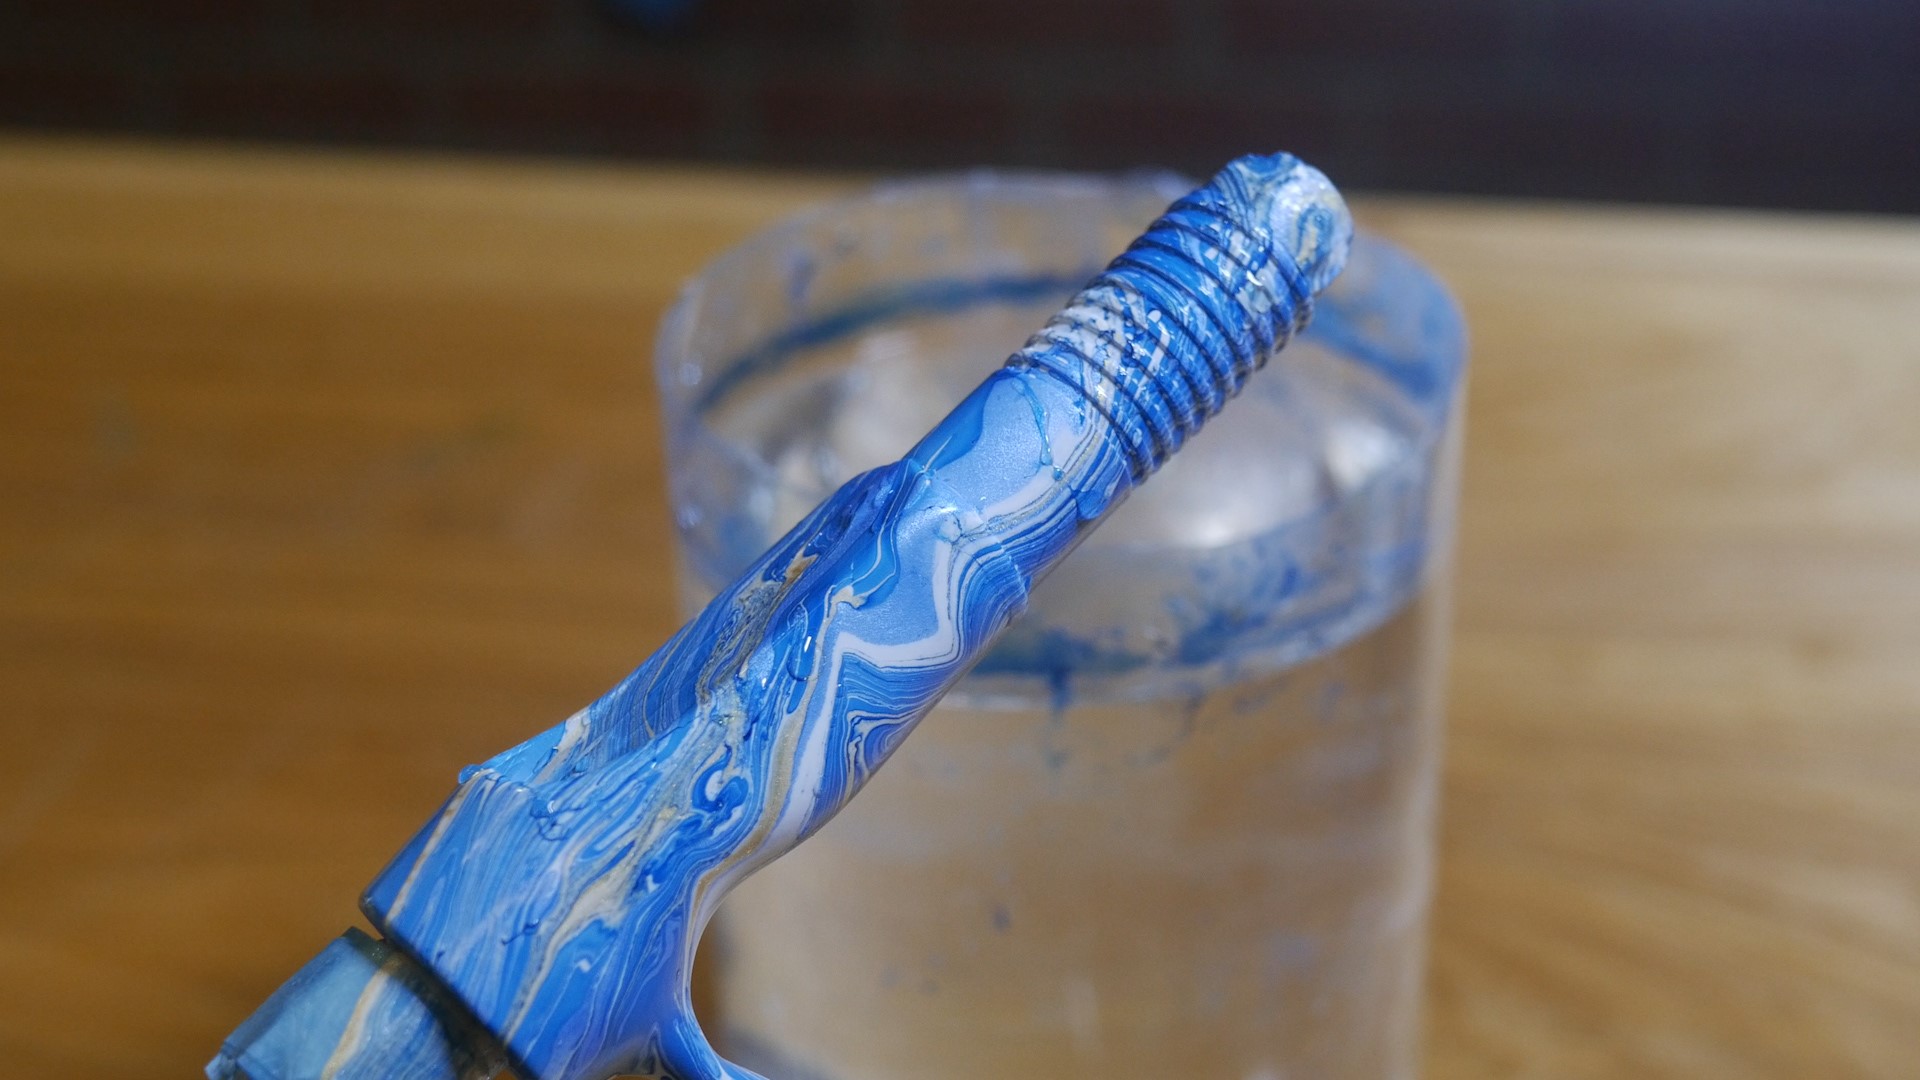
6. Remove Rod Component to Dry
With the surface clear of any excess paint, pull the rod component from the water and give it a few controlled shakes to remove any remaining water drops.

Set the component aside to dry for at least 60 minutes and then you’ll have an awesome marbled design for your next custom fishing rod.
Whether marbling your Fishing Grips, Reel Seats, or Winding Checks, Mud Hole has you covered with all the rod components and Magic Marbling Colors to do it.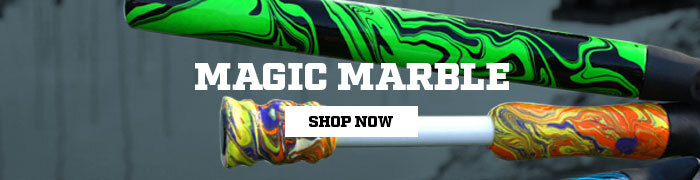
Try Shrink Tubing for Quick Rod Decor
Watch this quick video to find out more about marbling shrink tubing:
Pick out your Heat Shrink Tubing and Marbling Supplies at Mud Hole!
Don’t forget to Watch Mud Hole Live: All About Marbling 8/18 at 6:30PM EST!
Marbling can turn any custom build into a true masterpiece, and we’re sharing all the best tips and tricks you need to make it happen.
From using colorful magic marble, to applying fun patterns with pigments and epoxy, watch Mud Hole Live to make your next rod an original work of art!
Credit: Source link


