Written by: Darcy Toner and Timbre Pringle, Faceless Fly Fishing Media
A fish portrait, rather than a grip-and-grin, is better for the fish and makes for a more interesting image..
All photos by Faceless Fly Fishing
How would your fish want its photo taken? Because a fish is an aquatic creature, one would assume that it would want to stay in the water. Many fishermen, including me, are inclined to take a quick hero shot with their catch of the day. However, if you consider the safety of the fish first, then think about taking a portrait of your fish while it remains in the water or close to the water. For this reason, I am going to share a few tips on how to properly execute this style of photo.
First, let’s begin with a few “don’ts.” Never hold the fish out of the water longer than a few seconds, and try to keep its head underwater whenever possible. Do not mishandle the fish by squeezing or applying any pressure, as this will cause frantic movement and discomfort. Even a fish may have a “bad day,” so if it is being exceptionally uncooperative, just let the fish go and find one more willing to participate. As safety should always be your first consideration in the outdoors, please use your best judgement when taking photos of any wildlife.
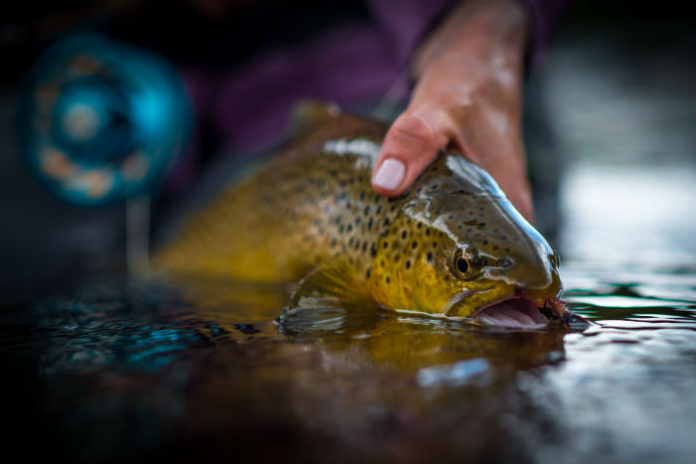
Keeping the fish submerged gives you an added opportunity to incorporate water movement in the shot. Hold the fish in the water with its eye above the surface, as this gives you a few extra seconds to get that perfect shot while the fish remains at ease.

The movement of the water adds to the image, and the fish is more comfortable.

There’s more drama in a half-submerged shot..
Changing a prospective or angle will transform your photos!

Shots from interesting angles offer a new way of looking at a fish.

Perspective changes can lead to really interesting compositions, as well.

Instead of the same, old horizontal “slab” shot, consider changing things up.
Showcasing any gear or equipment, such as a new rod or reel, is a great way to add colour and depth to your photo. My favourite piece of equipment to incorporate is my net; it looks great and adds for a perfect resting spot for your fish once you have reeled him in.

Here the net is a subtle element adding texture.

The net can also be a dramatic background.

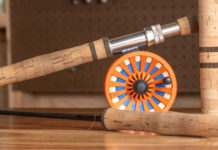
The contrast between the warm fish colors and the cold metal of the reel is striking.

The net makes a nice base for posing a fish at water level.
Achieving the perfect shot means getting down low and dirty. By adjusting your height to eye level with your subject means you get a great picture and barely need to lift your fish out of the water. Furthermore, if your camera has aperture adjustment capability, I recommend shooting with the aperture wide open (1.8-4.0), so your photo encompasses a shallower depth feeling with a blurred background and foreground.

The low angle captures this brown’s reflection beautifully.

There’s a certain intimacy captured by this low perspective.

The scale of this fin is better represented in closeup.

The blurry background focuses on the eye.

The short depth of field tells the viewer’s eye right where to go.
Always make use of your surroundings. If you capture a picture in shallow water, use any grass, flowers, or hanging foliage surrounding you; it the overall portrait will look more natural. Even a winding river makes for a great backdrop when you find the right angle. The photos below demonstrate examples of background and foreground framing.


Photos take on more characteristics when you add yourself, friends or family. By just including a side peak of a dog or someone you know, the picture may become more personal and familiar to the viewer. If you are alone and the fish is cooperative, holding onto the fish for a “fish selfie” could be a good option. On a precautionary note, never lay the fish out on grass, rocks or any other surface, as this may cause undue stress and even injure or kill the fish.

Even though it is blurred-out, the dog adds to the story of the photo.

The relationship among the three personalities here are really interesting.
Finally, post-editing is an added opportunity to make a good picture great. Never be afraid of cropping your photo to make an ideal composition. Make sure you follow the rule of thirds, as seen below; you want the focal point of your photo to be at the intersection of two lines. There are many editing programs available–such as the one I use, called Light Room–that allow you to create your own vision. I recommend that if you are just getting started, you should experiment with a free program and try out tutorials.

The focus of the photo occurs at the intersection of lines.
Darcy Toner and Timbre Pringle operate Faceless Fly Fishing Media, based in Calgary, Alberta, and specializing in outdoor photography.
Credit: Source link


