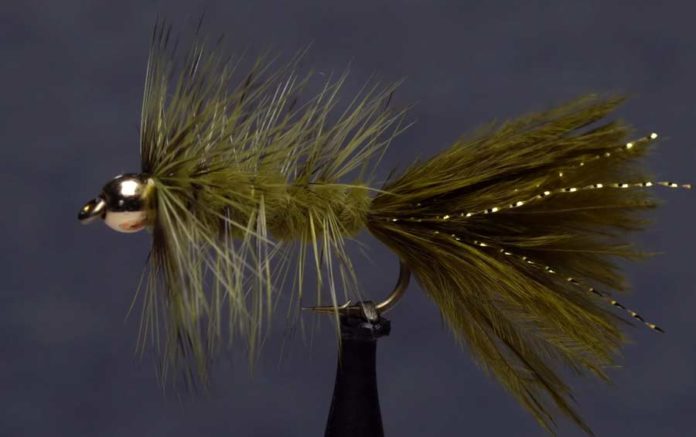
The Woolly Bugger has been around since the 1960s, and I doubt that there’s a single trout angler who doesn’t have a few Buggers in his fly box. But that doesn’t mean they’re as well-tied as they could be. Whether you’re a new fly tier looking for a simple pattern to get started on or you’re on old hand who wouldn’t mind creating better-looking, more durable Buggers, this video from Tim Flagler of Tightline Productions is for you.
Flagler walks you through the steps to create an elegant and durable Woolly Bugger that looks better than the store-bought ones. His method is not as simple as the one you may use now, but the extra complications are worth the effort. In the course of his instruction, Flagler shows you how to make the tail look better by stripping the tips of the marabou blood quill, how to avoid the unsightly bump at the rear of the body, how to properly prepare your hackle, and how to use the thread as a rib to make the fly hold up to more punishment.
Beadhead Olive Woolly Bugger
Hook: 3X-long streamer/nymph hook (here a Lightning Strike SN3), size 8.
Bead: Gold, 5/32-inch.
Weight: Lead-free round wire, .020.
Thread: Olive, 6/0 or 140-denier.
Tail: Olive marabou.
Flash: 3 strands of Gold Krystal Flash.
Body: Olive Ultra Chenille.
Hackle: Dyed-olive grizzly hackle.
Adhesive: Head cement.
Credit: Source link


